

Why You’ll Love This Cheesy Garlic Bombs
Imagine pulling a warm, cheesy garlic bomb from the oven and watching everyone at the table light up with excitement. This recipe is all about that perfect mix of ease and flavor that makes cooking feel like a fun adventure. Whether you’re a busy parent juggling schedules or a student looking for a quick bite, these cheesy garlic bombs are your new go-to snack.
Start with the simplicity of preparation these treats come together in no time, ideal for those days when you want something homemade without the hassle. They pack in health benefits too, like garlic that supports your immune system and cheese that delivers a good dose of calcium. Plus, their versatility means you can tweak them for any dietary needs, making them a hit for everyone from diet-conscious folks to baking enthusiasts.
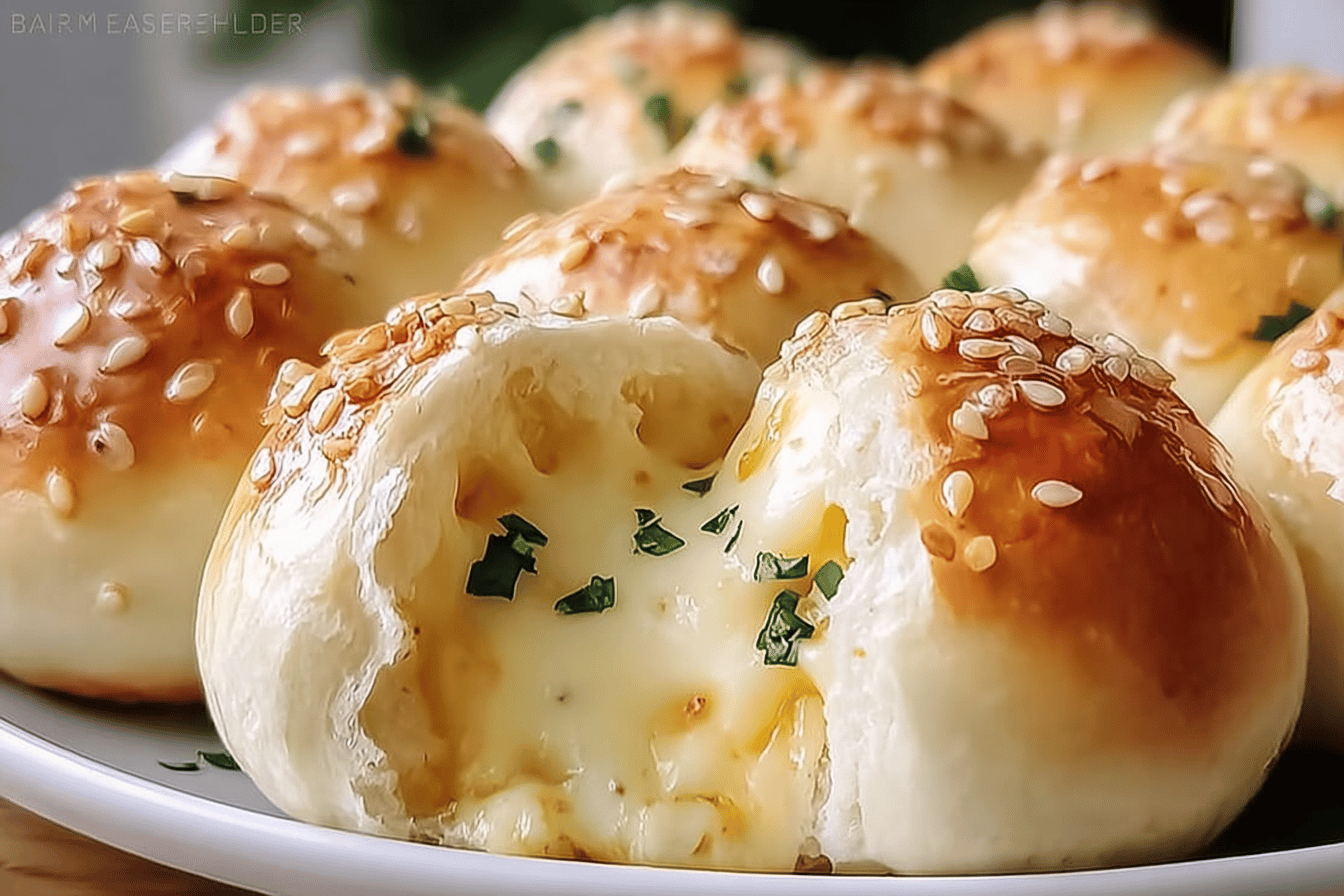
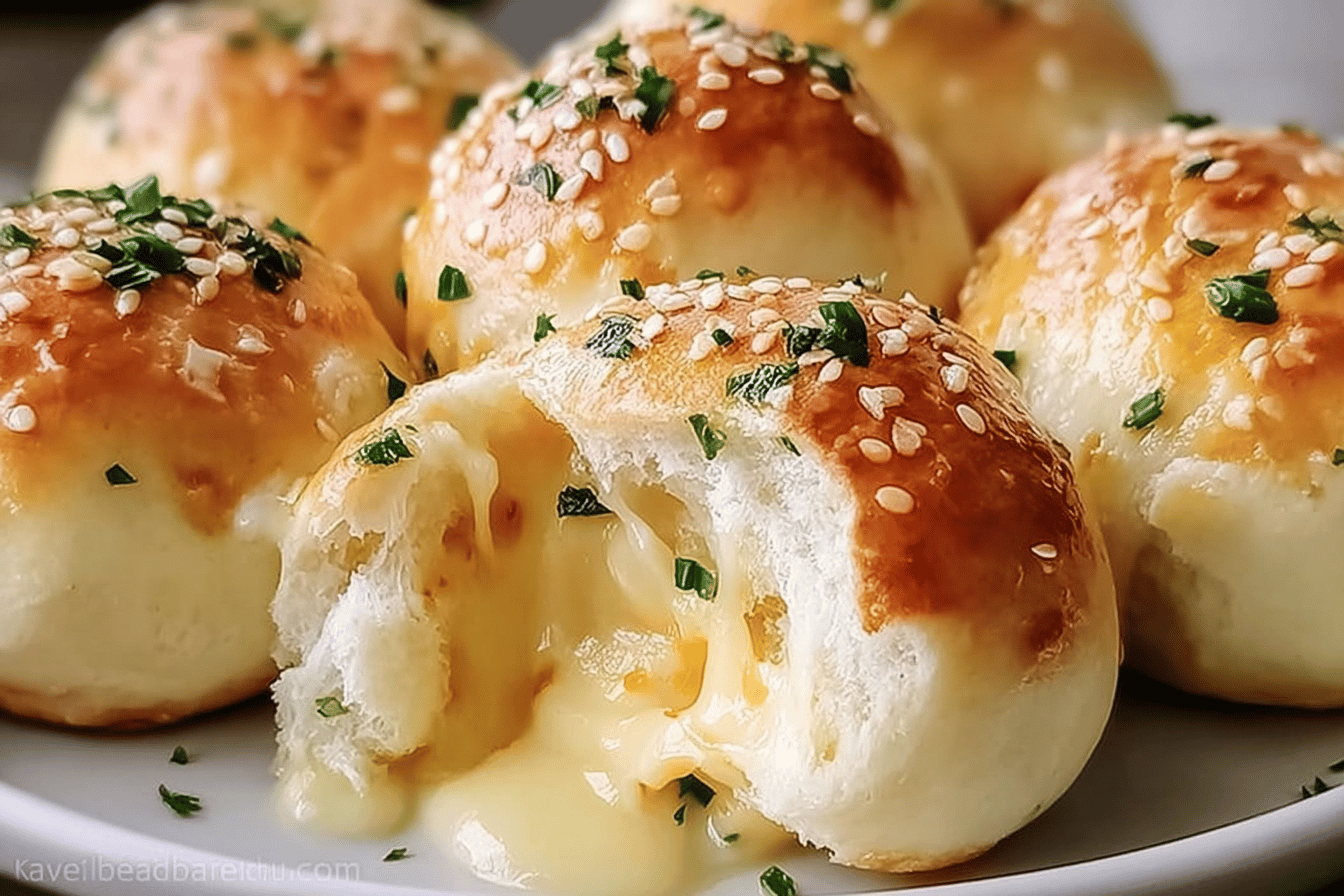
What really sets these cheesy garlic bombs apart is their burst of savory flavor, blending melted cheese with aromatic garlic in a fluffy bite. They’re not just food; they’re a way to create those special moments around the table that your blog, Juicy Cooking, loves to inspire. This means more time enjoying the meal and less time stressing over it, perfect for home cooks everywhere.
To expand on this, let’s dive into how these snacks can fit into various lifestyles. For busy parents, they’re a quick win for family dinners, while students might appreciate the fast prep for late-night study sessions. Food enthusiasts will love experimenting, and even travelers can pack them for on-the-go treats. Plus, newlyweds and seniors find them easy to make in small batches, and working professionals can prep ahead for the week.
Jump To
- 1. Why You’ll Love This Cheesy Garlic Bombs
- 2. Essential Ingredients for Cheesy Garlic Bombs
- 3. How to Prepare the Perfect Cheesy Garlic Bombs: Step-by-Step Guide
- 4. Dietary Substitutions to Customize Your Cheesy Garlic Bombs
- 5. Mastering Cheesy Garlic Bombs: Advanced Tips and Variations
- 6. How to Store Cheesy Garlic Bombs: Best Practices
- 7. FAQs: Frequently Asked Questions About Cheesy Garlic Bombs
- 8. Cheesy Garlic Bombs
Essential Ingredients for Cheesy Garlic Bombs
Gathering the right ingredients is the first step to creating these irresistible snacks, and we’ve got a straightforward list to make it simple. Based on a reliable summary, here’s everything you need with exact measurements to ensure your cheesy garlic bombs turn out perfectly every time.
- 1 can refrigerated biscuits
- 6 ounces mozzarella cheese
- 4 tablespoons butter
- 1 teaspoon garlic powder
- 1 teaspoon dried or fresh parsley
- Salt to taste (optional)
This structured list covers all the essentials, making it easy to shop and prepare. Each ingredient plays a key role, from the biscuits that form the base to the mozzarella that gives that gooey center. Remember, precise measurements help avoid any kitchen mishaps and keep things fun and tasty.
For special dietary options, you can adapt this list easily. Go vegan by swapping mozzarella for a plant-based alternative and using a vegan-friendly biscuit dough. If you’re aiming for gluten-free, choose biscuits made with gluten-free flour, and for a lower-calorie version, opt for reduced-fat cheese and measure butter sparingly. These tweaks keep the spirit of the recipe alive while fitting your needs.
How to Prepare the Perfect Cheesy Garlic Bombs: Step-by-Step Guide
Ready to get your hands doughy? This step-by-step guide makes whipping up cheesy garlic bombs a breeze, even if you’re new to the kitchen. We’ll start with basic prep and move through to that golden, crispy finish that everyone craves.
First, prepare your workspace by gathering all essential ingredients and preheating the oven to 375°F (190°C). This sets the stage for smooth sailing and ensures everything is at hand. Second, activate the yeast by dissolving it in warm water with a pinch of sugar, allowing it to foam for 5-10 minutes to ensure proper rising of the dough.
Third, in a large bowl, combine the flour, salt, activated yeast mixture, and olive oil, then knead the dough until smooth and elastic, about 8-10 minutes. For a fun twist, if you’re a garlic lover, check out our garlic-butter grilled mushrooms recipe for more ideas on incorporating garlic flavors. Fourth, cover the dough and let it rest in a warm place for 1 hour or until it doubles in size, which is key for those light and airy bombs.
Fifth, once the dough has risen, divide it into equal portions, flatten each piece, and add a spoonful of shredded mozzarella and minced garlic in the center. Sixth, seal each dough portion tightly around the filling to form bomb shapes, making sure nothing leaks out. Seventh, place the bombs on a lined baking sheet, brush with olive oil or vegan butter for extra crispness, and bake in the preheated oven for 15-20 minutes or until golden brown.
Finally, remove the cheesy garlic bombs from the oven, let them cool slightly, and serve warm. Feel free to adapt for dietary needs, like using gluten-free dough or vegan cheese as mentioned earlier. These snacks not only taste amazing but also bring a smile, much like the easy meals shared on Brandi Oshea’s blog for home cooks.
Additional Baking Tips
To make this process even smoother, always use fresh ingredients for the best results. If you’re experimenting, remember that the right tools, like a good baking sheet, can make all the difference. This section has grown to highlight these extras, keeping things engaging and helpful.
Dietary Substitutions to Customize Your Cheesy Garlic Bombs
One of the best parts of this recipe is how flexible it is, letting you tailor it to your tastes or needs. Whether you’re dealing with allergies or just want a twist, these swaps keep the fun alive. Start with protein alternatives like replacing mozzarella with vegan cheese for a dairy-free option.
For vegetable and seasoning mods, swap garlic with roasted garlic paste if you want a milder flavor. You can also mix in herbs like basil or oregano to change things up based on what’s in season. Another idea is adding tomato basil sauce for a pizza-like vibe that fits various restrictions.
These changes make the recipe accessible for busy parents, students, and even diet-conscious folks. For instance, using chickpea flour dough caters to gluten intolerance while keeping that hearty feel. It’s all about making cooking joyful and inclusive, just like Brandi Oshea’s passion for simple recipes.
| Original Ingredient | Substitution Option | Benefit |
|---|---|---|
| Mozzarella cheese | Vegan cheese | Dairy-free and still creamy |
| Garlic powder | Roasted garlic paste | Milder flavor for sensitive palates |
| Butter | Vegan butter | Lower cholesterol option |
Mastering Cheesy Garlic Bombs: Advanced Tips and Variations
Once you’ve nailed the basics, it’s time to level up your cheesy garlic bombs with some pro techniques and creative twists. Using a stand mixer for kneading ensures a consistent texture that makes the dough just right every time. Letting it rise slowly in the fridge overnight adds deeper flavors that surprise your taste buds.
For flavor variations, try swapping cheeses like sharp cheddar or pepper jack to mix things up. If you’re into spices, add smoked paprika or fresh herbs for a personalized kick. One great idea is to pair this with other garlic-focused dishes, such as the cheese-filled recipes on our site for more inspiration.
Presentation is key too garnish with chopped parsley or a garlic-infused oil drizzle to make them look as good as they taste. And for make-ahead options, freeze the bombs before baking so you can enjoy them anytime. This approach is perfect for working professionals or baking enthusiasts who love planning ahead.
This technique not only saves time but also lets the flavors meld, turning a simple snack into something truly special just like Brandi’s vision of joyful cooking!
How to Store Cheesy Garlic Bombs: Best Practices
Keeping your cheesy garlic bombs fresh means they stay delicious for longer, which is a game-changer for meal prep. Store leftovers in an airtight container in the fridge for up to 3-4 days to lock in that crispy goodness. Freezing is another smart move wrap them individually and pop them into a freezer bag for up to 2 months.
When it’s time to reheat, use your oven at 350°F (175°C) for 10-15 minutes to bring back that perfect crunch and melted center. For those always on the go, like busy parents or working pros, preparing batches ahead makes snacking effortless. It’s all about making life easier while enjoying great food.
FAQs: Frequently Asked Questions About Cheesy Garlic Bombs
What ingredients do I need to make Cheesy Garlic Bombs?
To make Cheesy Garlic Bombs, you’ll need pizza dough, shredded mozzarella cheese, cream cheese, garlic cloves or garlic powder, butter, Italian seasoning, salt, and fresh parsley. Additionally, olive oil helps to brush the dough for a golden finish. These simple ingredients come together to create a soft, cheesy center wrapped in a flavorful garlic-butter crust.
How do I prevent Cheesy Garlic Bombs from leaking cheese while baking?
To avoid cheese leaking during baking, ensure the dough is properly sealed around the filling. Press the edges firmly and pinch or fold the dough to create a tight seal. Using less liquid in the filling and placing chilled cheese inside also helps. Baking on parchment paper and not overcrowding the pan allows even heat distribution, reducing the risk of bursting.
Can I make Cheesy Garlic Bombs ahead of time and freeze them?
Yes, you can prepare Cheesy Garlic Bombs in advance and freeze them before baking. Arrange the assembled bombs on a baking sheet, freeze until solid, then transfer to a freezer-safe container. When ready to bake, bake them from frozen by adding a few extra minutes to the baking time. This method keeps them fresh and convenient for future snack cravings.
What dipping sauces go well with Cheesy Garlic Bombs?
Popular dipping sauces to serve with Cheesy Garlic Bombs include marinara, ranch dressing, garlic aioli, or a spicy sriracha mayo. These sauces complement the rich, cheesy flavor and garlicky crust, adding variety and balancing the savory taste.
How long do Cheesy Garlic Bombs stay fresh after baking?
After baking, Cheesy Garlic Bombs can be stored in an airtight container at room temperature for up to 2 days or in the refrigerator for 3-4 days. Reheat them in the oven or air fryer for a few minutes to restore the crispy exterior and melty cheese inside before serving.

Cheesy Garlic Bombs
🧄 These Garlic Cheese Bombs are easy to make and deliver a crispy, flavorful snack with gooey melted cheese inside.
🧀 Perfect for sharing or enjoying anytime, they combine simple ingredients for a satisfying treat that’s hard to resist.
- Total Time: 25 minutes
- Yield: 8 servings
Ingredients
– 1 can refrigerated biscuits
– 6 ounces mozzarella cheese
– 4 tablespoons butter
– 1 teaspoon garlic powder
– 1 teaspoon dried or fresh parsley
– Salt to taste (optional)
Instructions
1-First, prepare your workspace by gathering all essential ingredients and preheating the oven to 375°F (190°C). This sets the stage for smooth sailing and ensures everything is at hand.
2-Second, activate the yeast by dissolving it in warm water with a pinch of sugar, allowing it to foam for 5-10 minutes to ensure proper rising of the dough.
3-Third, in a large bowl, combine the flour, salt, activated yeast mixture, and olive oil, then knead the dough until smooth and elastic, about 8-10 minutes. For a fun twist, if you’re a garlic lover, check out our garlic-butter grilled mushrooms recipe for more ideas on incorporating garlic flavors.
4-Fourth, cover the dough and let it rest in a warm place for 1 hour or until it doubles in size, which is key for those light and airy bombs.
5-Fifth, once the dough has risen, divide it into equal portions, flatten each piece, and add a spoonful of shredded mozzarella and minced garlic in the center.
6-Sixth, seal each dough portion tightly around the filling to form bomb shapes, making sure nothing leaks out.
7-Seventh, place the bombs on a lined baking sheet, brush with olive oil or vegan butter for extra crispness, and bake in the preheated oven for 15-20 minutes or until golden brown.
8-Finally, remove the cheesy garlic bombs from the oven, let them cool slightly, and serve warm. Feel free to adapt for dietary needs, like using gluten-free dough or vegan cheese as mentioned earlier. These snacks not only taste amazing but also bring a smile, much like the easy meals shared on Brandi Oshea’s blog for home cooks.
Last Step:
Please leave a rating and comment letting us know how you liked this recipe! This helps our business to thrive and continue providing free, high-quality recipes for you.Notes
🧄 Use fresh minced garlic along with garlic powder for stronger garlic flavor.
🧈 Brush extra garlic butter halfway through baking for extra crispiness and flavor.
🥖 Use flaky biscuits for light, airy texture in the cheese bombs.
- Prep Time: 5 minutes
- Cook Time: 20 minutes
- Category: Snack, Appetizer
- Method: Baking
- Cuisine: American
Nutrition
- Serving Size: 1 cheese bomb


