Ingredients
– 3 pounds pork shoulder (or pork butt)
– ¼ cup honey
– ½ cup hoisin sauce
– ¼ cup ketchup
– ¼ cup oyster sauce
– 3 tablespoons Shaoxing wine
– 2 tablespoons dark soy sauce
– 2 cubes red preserved bean curd (smashed)
– 1 teaspoon Chinese five-spice powder
– ¼ teaspoon ground white pepper
– ½ teaspoon salt
– ¼ teaspoon red food coloring (optional)
– 2 tablespoons honey (for glaze)
– 1 tablespoon reserved marinade (for glaze)
Instructions
1-First Step: In a small bowl, combine all the marinade ingredients including the honey, hoisin sauce, ketchup, oyster sauce, Shaoxing wine, dark soy sauce, smashed red preserved bean curd, Chinese five-spice powder, white pepper, salt, and red food coloring if using. Mix thoroughly until all ingredients are well incorporated. Reserve 1 tablespoon of this mixture for the glaze later.
2-Second Step: Prepare the pork by slicing it into 1-inch thick long strips. Try to keep the thickness as consistent as possible to ensure even cooking. Use a fork to poke holes all over the meat strips. This simple step helps the marinade penetrate deeper into the pork, resulting in more flavorful meat throughout.
3-Third Step: Place the pork strips in a bowl and pour the marinade over them. Massage the meat gently to ensure it’s evenly coated with the sauce. Transfer the marinated pork to vacuum-sealable bags or heavy-duty Ziplock bags. Remove as much air as possible before sealing. If using Ziplock bags, you can use the water displacement method by slowly lowering the bag into water to push the air out before sealing. Refrigerate the bags for 4 to 24 hours, with 8 hours being the recommended time for optimal flavor penetration.
4-Fourth Step: Preheat your water bath by setting your immersion circulator to 150°F. This temperature strikes the perfect balance between rendering the fat and keeping the meat tender and juicy. Once the water has reached the target temperature, carefully lower the sealed bags into the water bath. Make sure the bags remain submerged throughout the cooking process.
5-Fifth Step: Cook the pork in the water bath for 4 hours minimum, but you can extend this up to 24 hours if you prefer an even more tender result. The extended cooking time helps break down connective tissue further, making the meat exceptionally tender. For most home cooks, 4 hours provides excellent results while keeping the recipe practical for weeknight meals.
6-Sixth Step: After the cooking time is complete, remove the bags from the water bath. To prepare the meat for the final broiling step, place the bags in cold water for at least 20 minutes. This cooling step helps firm up the meat slightly, making it easier to handle and slice later. It also stops the cooking process to ensure the pork doesn’t continue cooking beyond the perfect temperature.
7-Seventh Step: While the pork is cooling, prepare the glaze by mixing the reserved tablespoon of marinade with 2 tablespoons of honey. Set this aside until ready to use.
8-Eighth Step: Prepare your broiling setup by adding 1 cup of water or a layer of salt to a baking sheet. Place a wire rack on top of the baking sheet. This simple trick prevents the drippings from burning and creating excessive smoke in your oven.
9-Ninth Step: Remove the pork strips from the bags and pat them dry with paper towels. Place the strips on the wire rack. Brush the glaze generously over the top and sides of each pork strip. Set your oven to broil at 500°F and place the baking sheet on the top rack. Broil for 3-4 minutes until the glaze begins to caramelize and bubble. Remove from the oven, brush another layer of glaze over the pork, then return to the oven for another 3-4 minutes. Keep a close eye on the meat during this process, as the high sugar content in the glaze can burn quickly. Use a thermometer to ensure the internal temperature stays below 150°F to avoid overcooking.
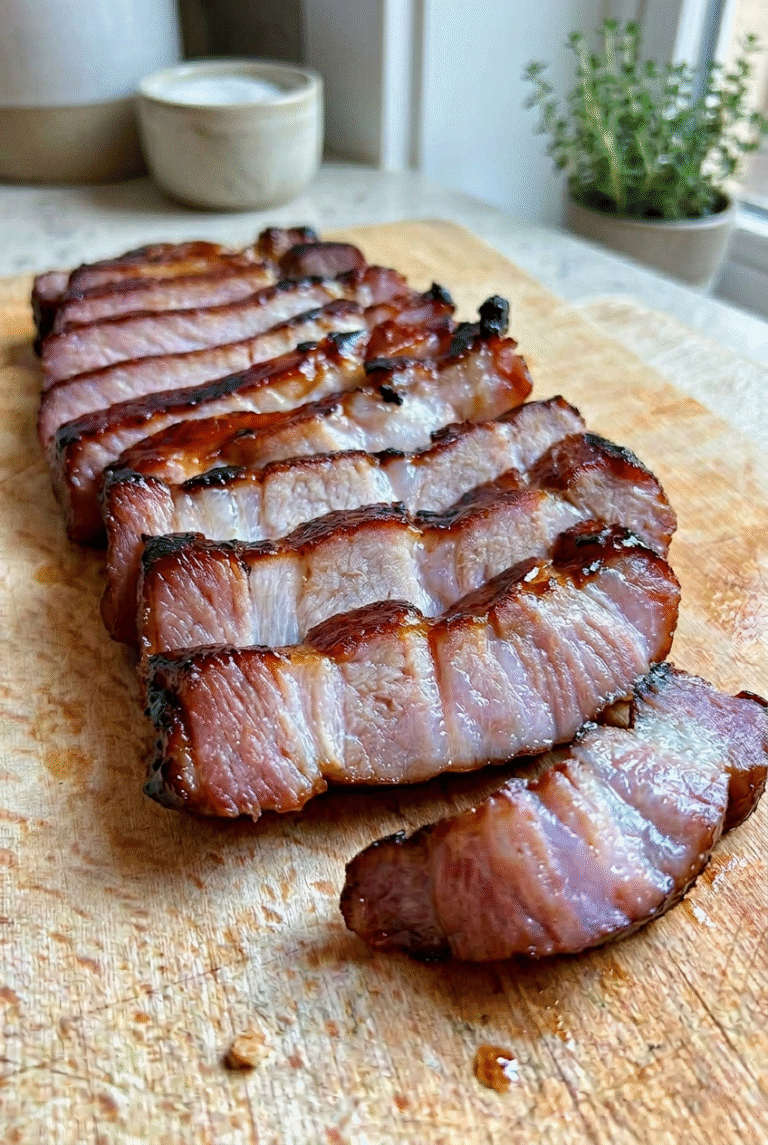
10-Final Step: Remove the char siu from the oven and let it rest for at least 10 minutes before slicing. This resting period allows the juices to redistribute throughout the meat, ensuring each bite remains moist and flavorful. Slice the pork against the grain into thin strips and serve hot. Enjoy your homemade sous vide char siu on its own, with rice, or in your favorite Chinese dishes. For a traditional recipe to compare, see this classic char siu recipe.
Last Step:
Please leave a rating and comment letting us know how you liked this recipe! This helps our business to thrive and continue providing free, high-quality recipes for you.Notes
🍖 Pork shoulder balances fat and tenderness perfectly for sous vide char siu.
⏱️ Sous vide at 150°F renders fat slowly for juicy results without drying.
🔥 Broil carefully with water below rack to char exterior without smoke or burning.
- Prep Time: 15 minutes
- Marinating + Sous Vide: 8 hours
- Cook Time: 4 hours
- Category: Main Dishes
- Method: Sous Vide
- Cuisine: Chinese
Nutrition
- Serving Size: 1 serving
- Calories: 351 kcal
- Sugar: 26g
- Sodium: 1361mg
- Fat: 11g
- Saturated Fat: 4g
- Unsaturated Fat: 6g
- Trans Fat: 0g
- Carbohydrates: 32g
- Fiber: 1g
- Protein: 29g
- Cholesterol: 93mg