

Pumpkin Queijadas (Pumpkin Milk Tarts)
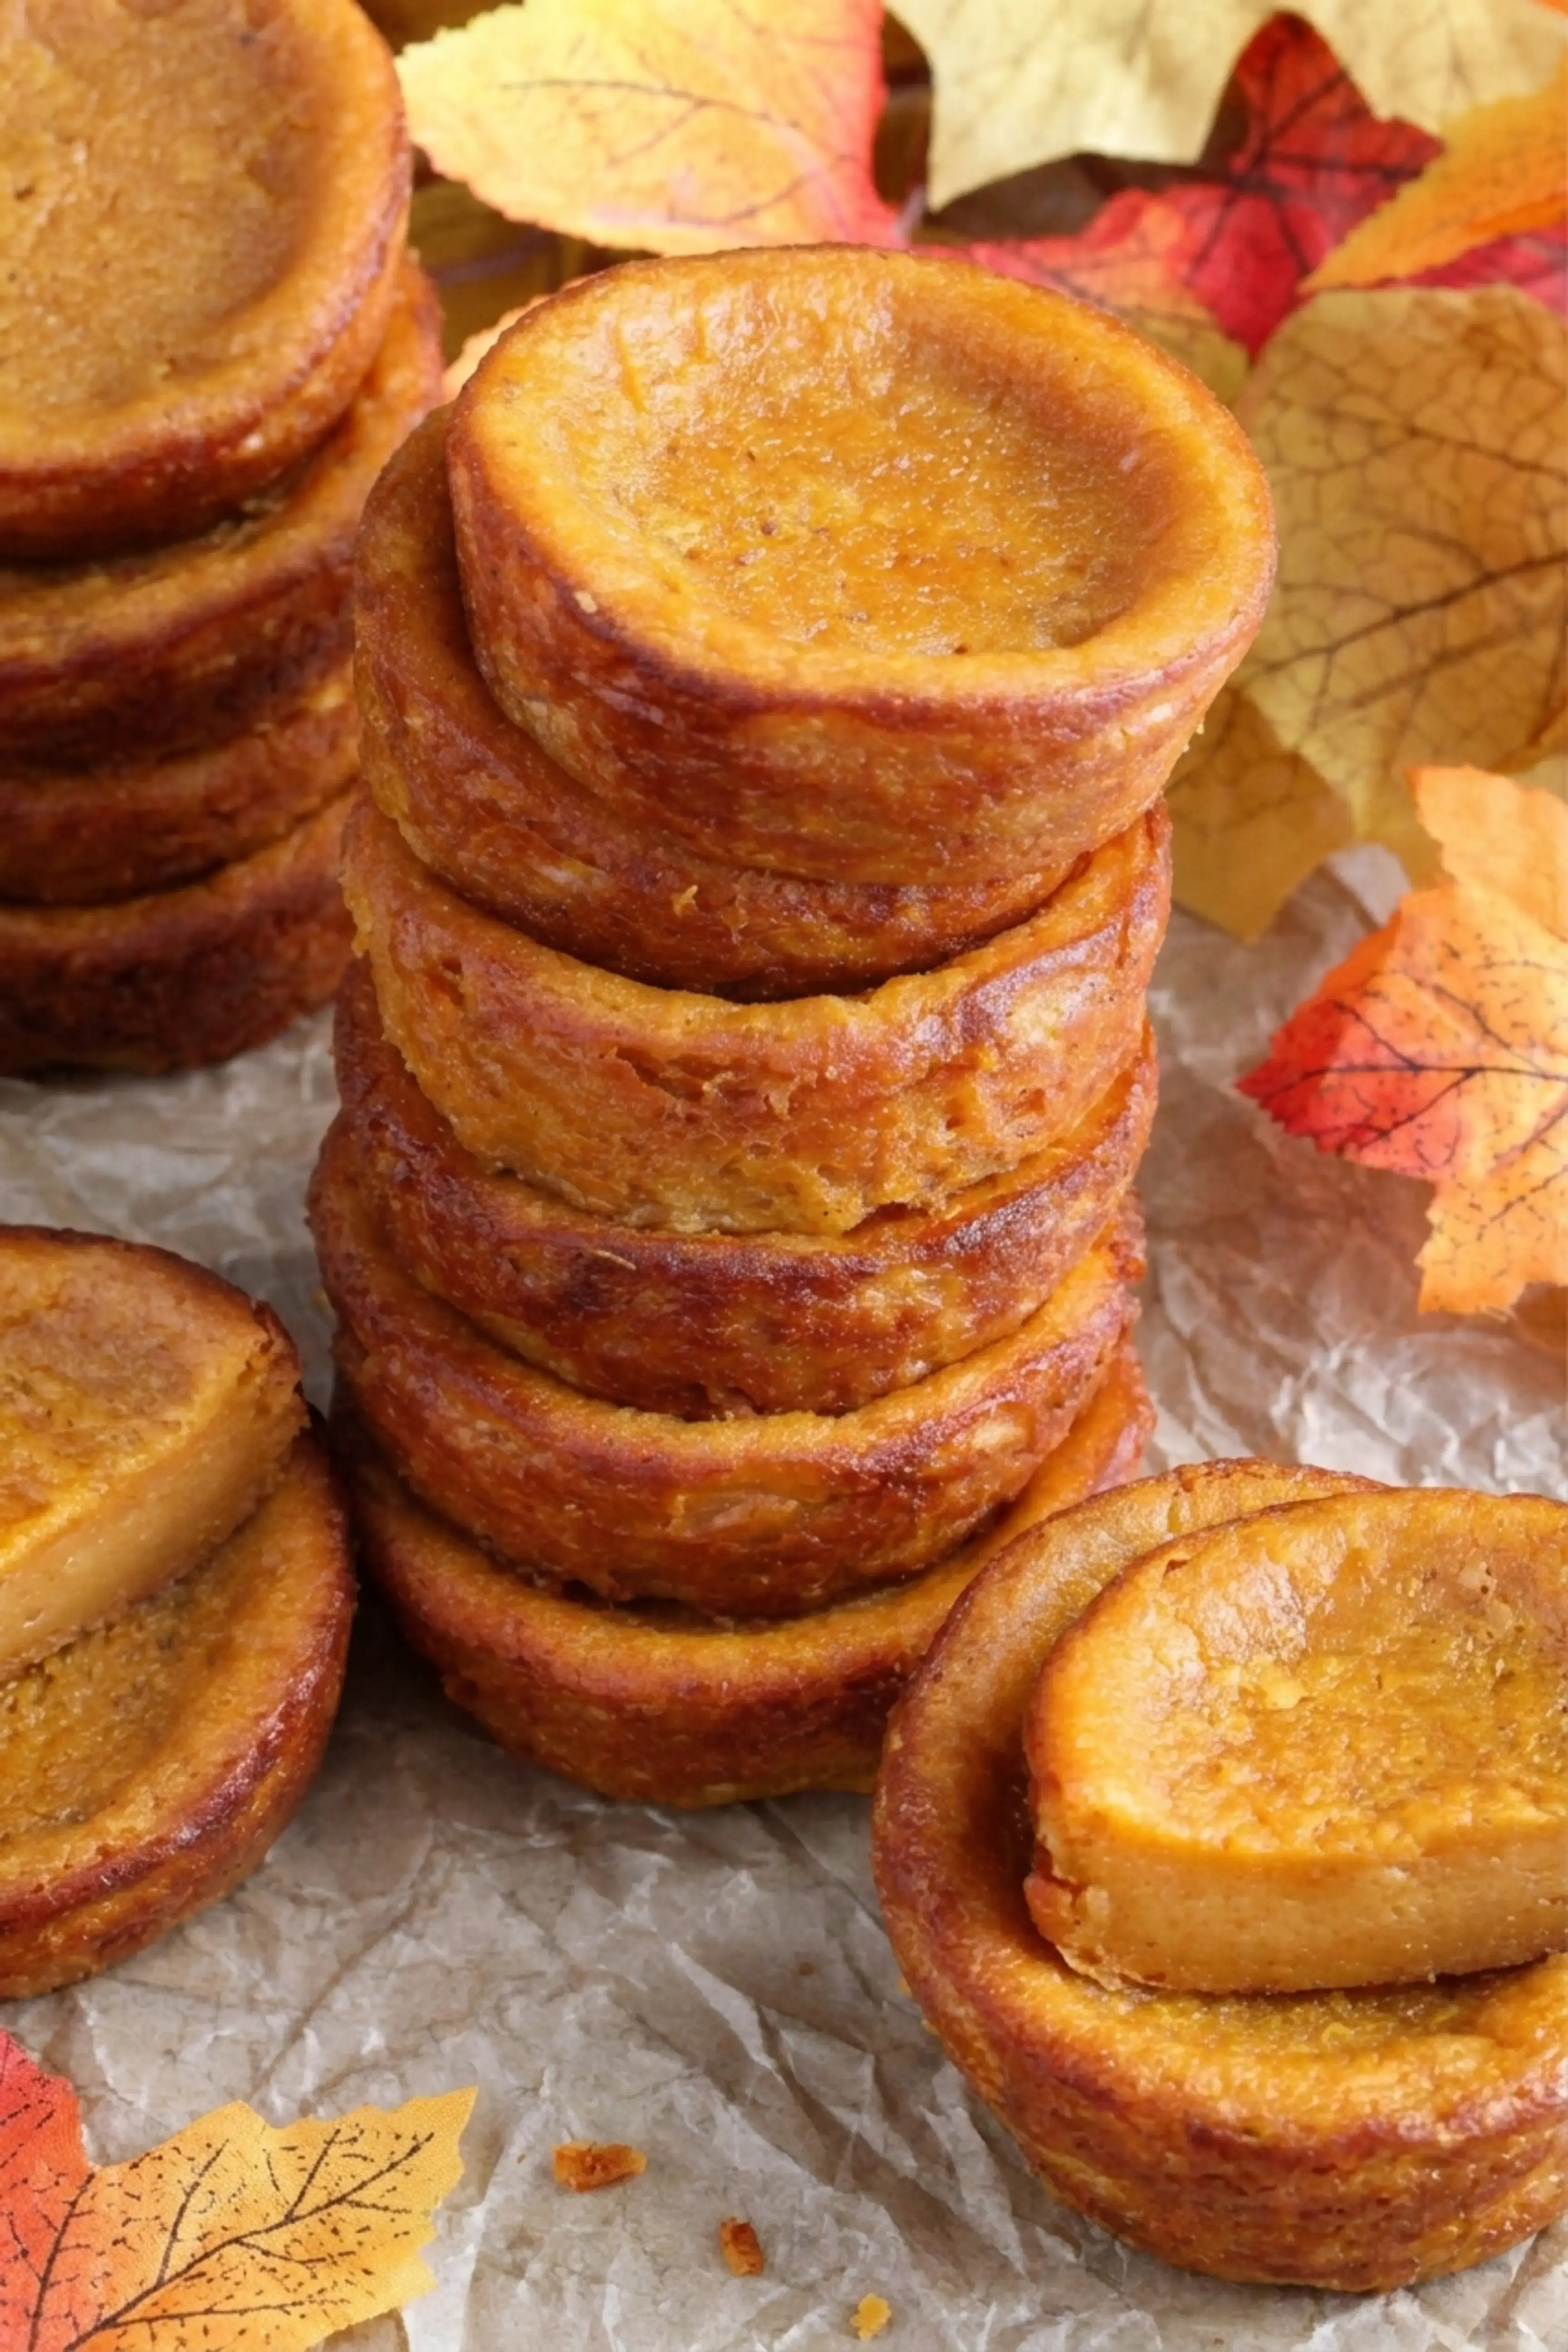
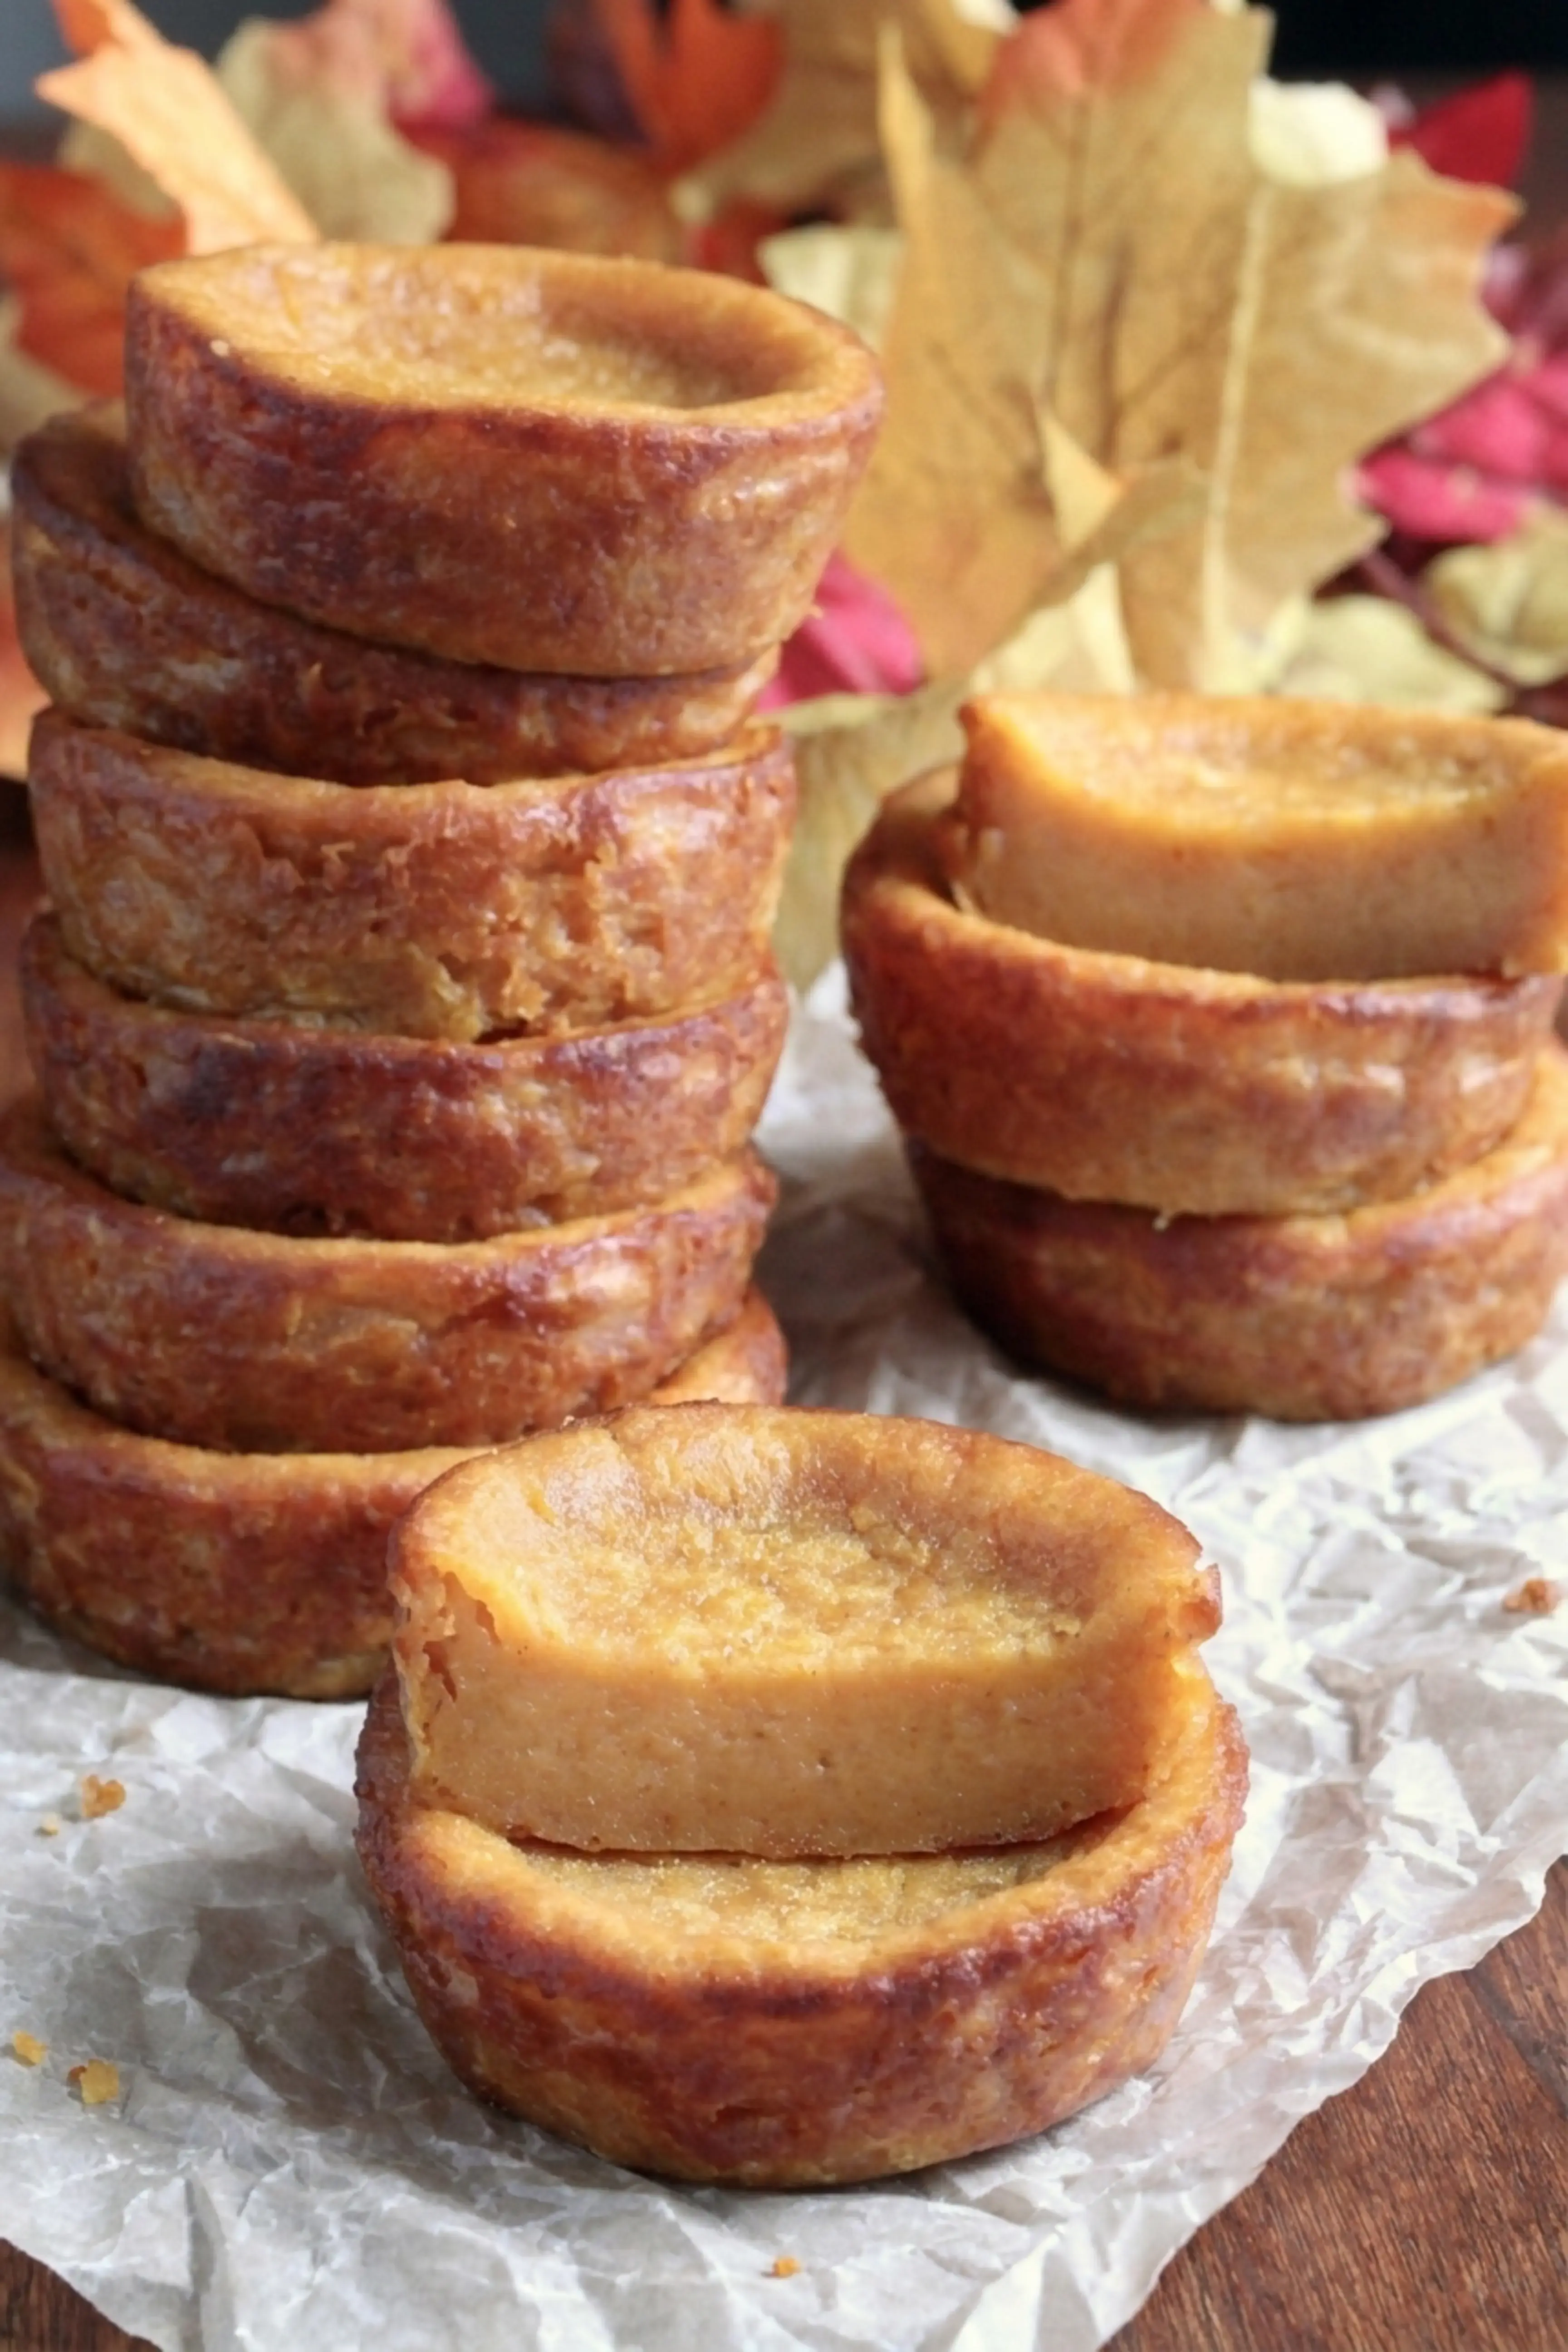
If you have a soft spot for classic Portuguese custard tarts, these Pumpkin Queijadas bring warm fall spices to a creamy handheld treat you can enjoy without a fork.
They are a pumpkin spiced take on the Portuguese Queijadas de Leite, the little milk tarts that have been one of the most loved recipes on this blog for years.
This version swaps the lemon flavor of the original for pumpkin and cozy spice, which makes it a natural fit for fall and winter dessert tables.

These custardy tarts are genuinely easy to make. There are no special techniques, no pastry dough to roll, and no complicated steps.
You heat a little butter and milk on the stovetop, mix the batter with an electric beater or a stand mixer, and let the oven do the rest.
I like to make a batch on a Sunday afternoon and keep them chilled for the week, and they always disappear at potlucks and holiday gatherings.
- Servings: 24 tarts
- Prep time: 10 minutes
- Cook time: 40 minutes
- Total time: 50 minutes
- Oven temperature: 350 degrees Fahrenheit
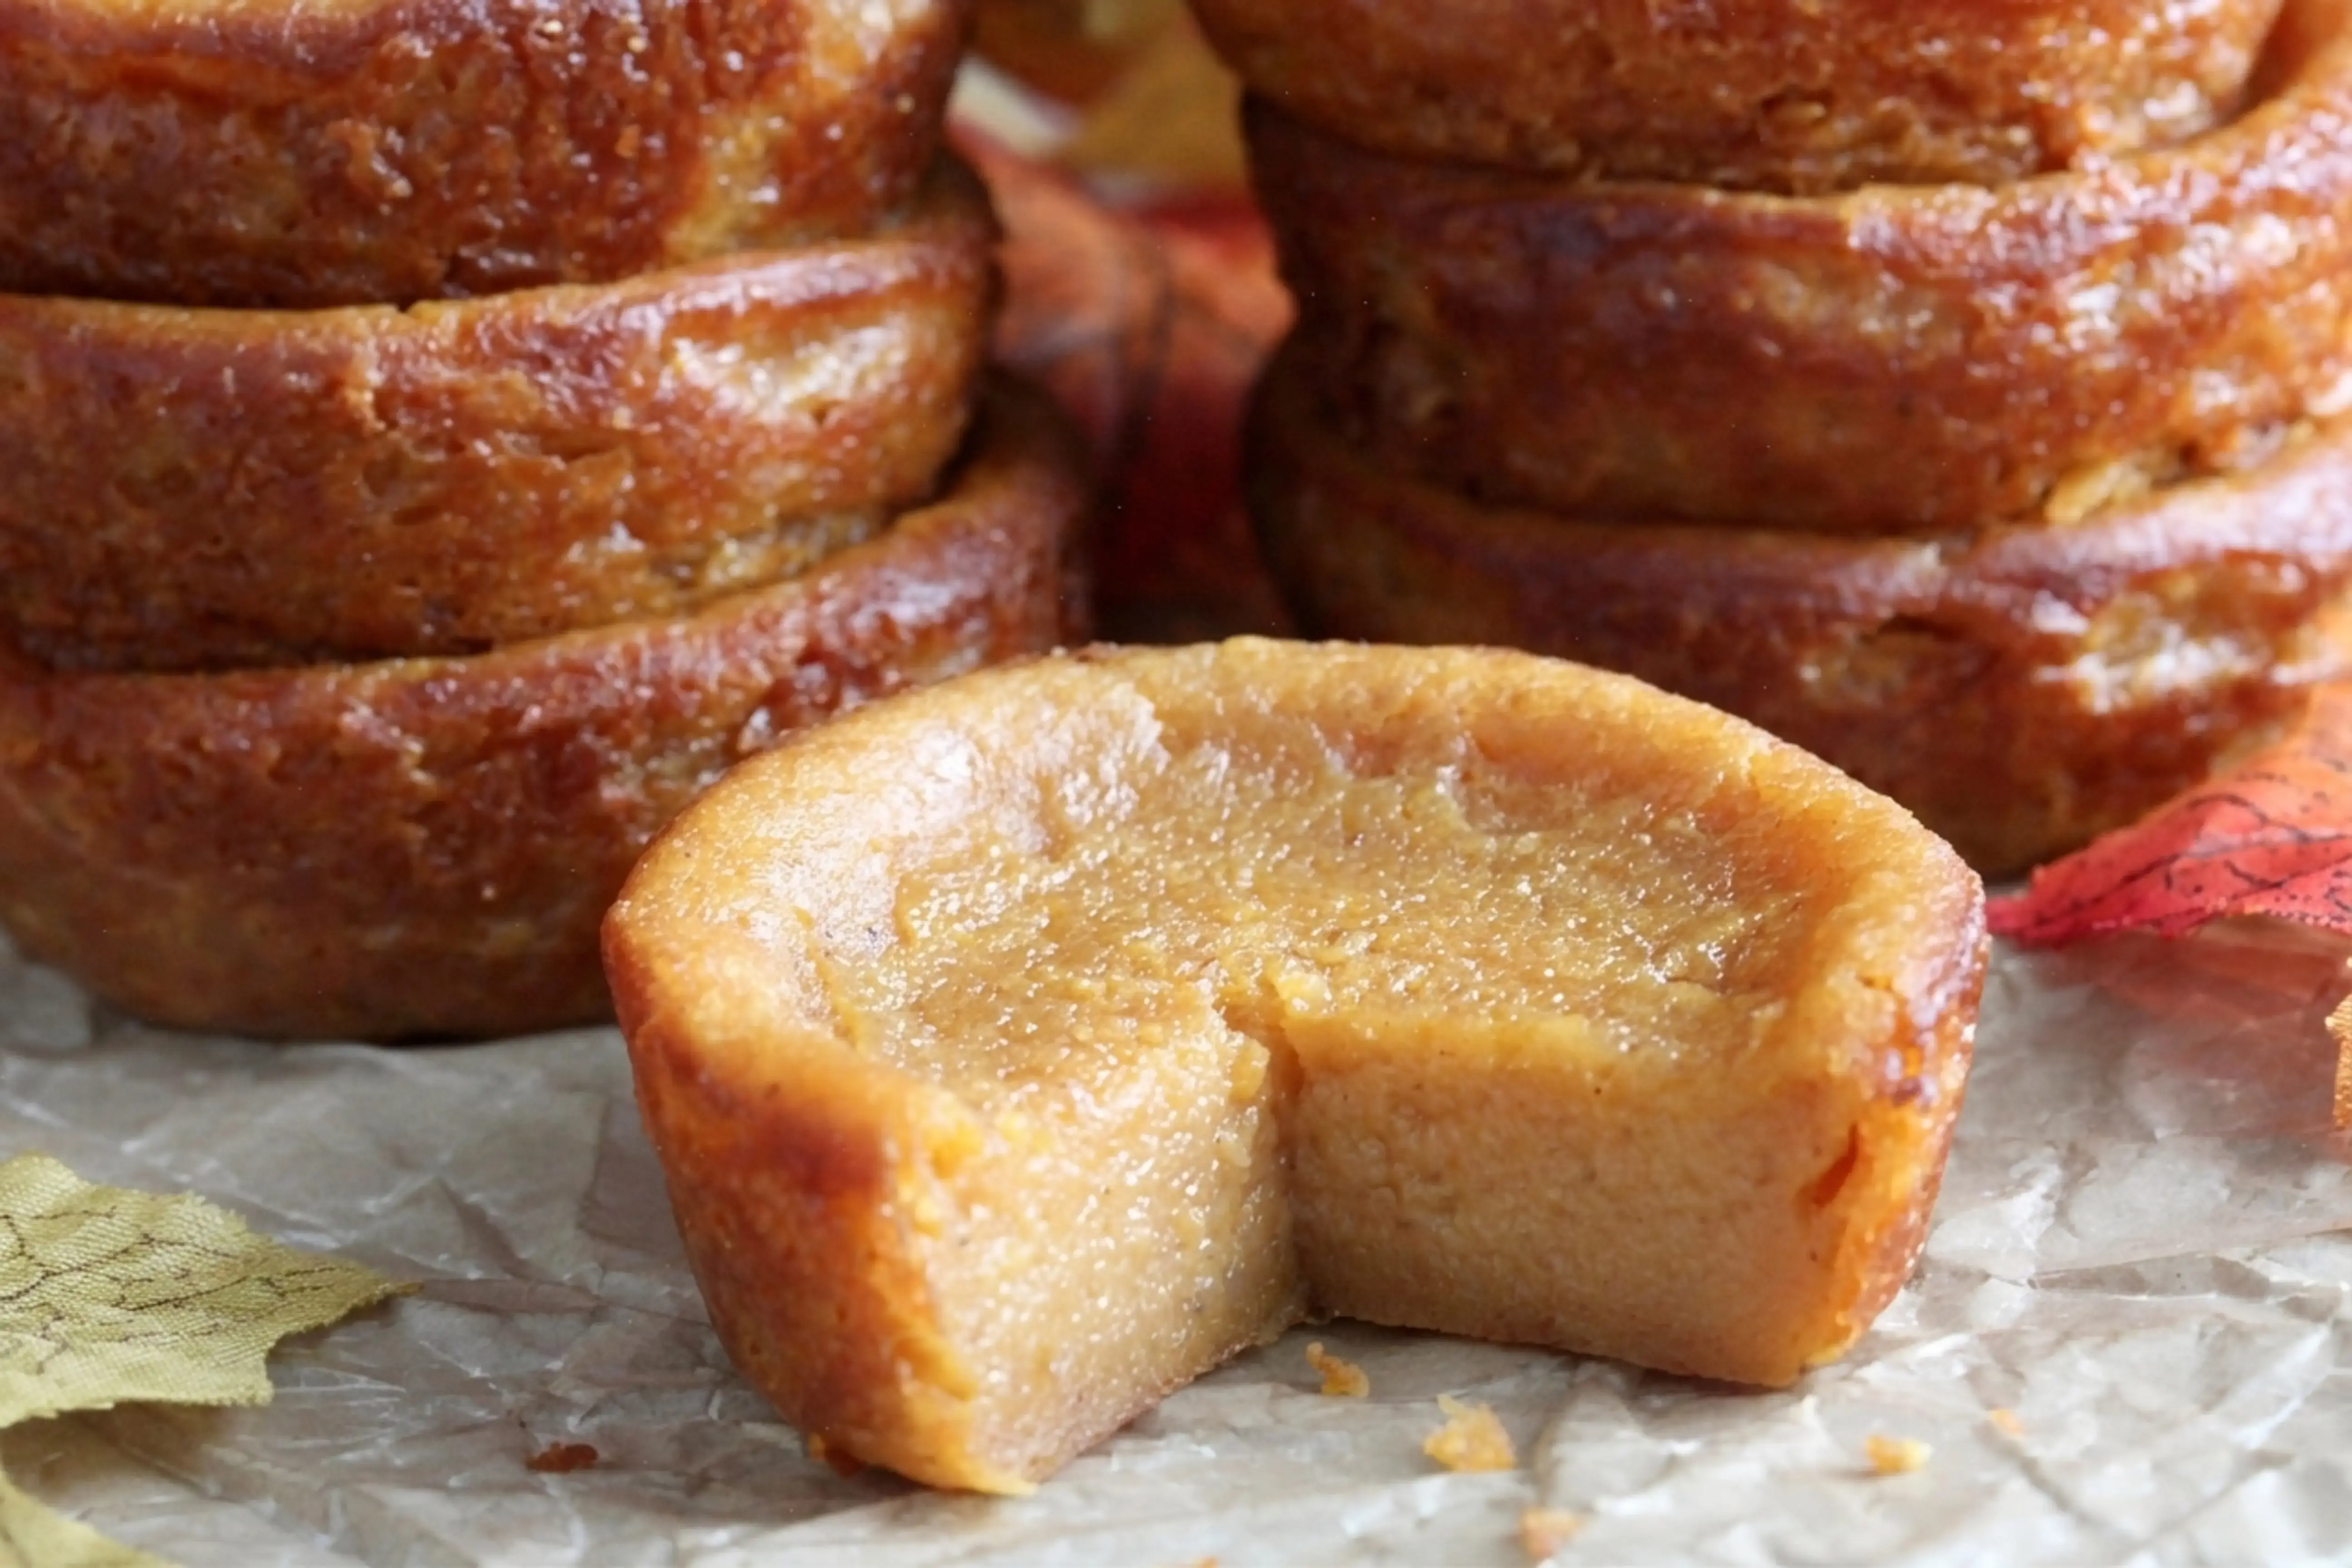
- Texture: creamy and lightly spiced, with a soft custard set
Jump To
What to love:
The first thing you notice is the spice. Pumpkin pie spice is a blend of cinnamon, nutmeg, allspice, ginger, and cloves, and it turns a simple milk custard into something that tastes like a handheld slice of pumpkin pie. The pumpkin puree keeps everything tender and gives the tarts that warm orange color you expect on a fall table.
They are also wonderfully low effort for how impressive they look:
- No special techniques are needed. You heat the milk on the stovetop, then mix everything with an electric beater or a stand mixer.
- There is no crust to make, chill, or roll out, so the whole process stays simple from start to finish.
- They are a mess free finger food. Guests can pick one up and eat it without a utensil or a plate.
- They travel well to gatherings, which makes them an easy bring along dessert.
The batter fills 24 cavities total, so a standard cupcake pan setup works and you do not need special tart molds. That keeps the equipment list short: a saucepan, a mixing bowl, a whisk or beater, and your muffin pans.
If you have ever made the original Portuguese milk tarts, this pumpkin version will feel familiar in the best way, just with a seasonal twist.
Ingredients needed:
You only need a short list of pantry staples and one can of pumpkin. Here is what goes into the batter.
| Ingredient | Amount |
|---|---|
| Pumpkin puree, 100 percent pumpkin | 1 can, 15 ounces, with 1 1/4 cups used |
| Whole milk, divided | 2 1/2 cups |
| Butter, cut into chunks | 6 tablespoons |
| Granulated sugar | 2 cups |
| Large eggs | 3 |
| All purpose flour | 1 cup |
| Baking powder | 1/2 teaspoon |
| Pumpkin pie spice | 2 teaspoons |
| Salt | 1/4 teaspoon |
| Cooking spray or melted butter for greasing | About 2 tablespoons melted butter |
One small note on the pumpkin. The recipe uses 1 1/4 cups of puree from a 15 ounce can, so you will have a little left over.
Freeze the rest in a small container and use it in pancakes, oatmeal, or a smoothie later in the week. Just make sure you buy plain pumpkin puree and not pumpkin pie filling, which is already sweetened and spiced.
Recipe highlights:
This is the full flow from saucepan to cooling rack. Read it once before you start, then work through it at your own pace. The batter comes together quickly, and the longest part of the process is simply waiting for the tarts to bake and cool.


Step by step
- Preheat the oven to 350 degrees Fahrenheit.
- Add the butter and 1 1/2 cups of the milk to a 2 quart saucepan over medium high heat. Whisk frequently until the milk begins to foam slightly, which takes about 6 minutes.
- While the milk heats, measure out 1 1/4 cups of pumpkin puree and set it aside. Use the same pocket of time to combine the flour, baking powder, salt, and pumpkin pie spice in a small bowl.
- Once the milk foams, gradually add the sugar, whisking constantly until it melts. If the milk foams excessively, reduce the heat.
- Remove the pan from the heat and whisk the remaining cold milk into the hot milk mixture. Set it aside to cool slightly.
- Add the eggs to a mixing bowl and beat on medium high for 1 minute. Reduce the speed to medium, then slowly pour in about 1/2 cup of the slightly cooled milk mixture and beat for 10 to 15 seconds. Slowly add another 1/2 cup while beating constantly, then add the remaining milk mixture and beat for 1 more minute.
- Slowly and gradually add the flour mixture so it has time to incorporate.
- Add the 1 1/4 cups of pumpkin puree and beat until thoroughly combined, about 30 to 45 seconds.
- Coat the cupcake pans, 24 cavities total, with cooking spray or melted butter. Grease well to prevent sticking, then fill each cavity about 3/4 full with the batter.
- Bake on the middle rack for 33 to 38 minutes, until the edges are lightly browned and a toothpick inserted in the center comes out clean.
- Let the queijadas cool in the pan for about 10 minutes, then run a butter knife around the edges to loosen them. Let them cool for another 30 minutes before removing them from the pan, then transfer to a cooling rack to cool completely.
- Refrigerate the tarts for about an hour to let them set completely before serving. They can also be served at room temperature. Store them in the refrigerator.
What the batter should look like
The batter will be watery, and that is exactly right. It should look like a thin custard rather than a thick cake batter, and it will pour easily into the cupcake cavities. Do not add extra flour to thicken it, because the soft, loose texture is what gives the finished tarts their creamy middle.
Baking and cooling cues
Set the pans on the middle rack and give them room to bake evenly. You are looking for edges that are lightly browned and a center that is fully set.
The toothpick test is the clearest signal, so use it rather than relying on color alone. After baking, the two stage cooling matters.
The first 10 minutes in the pan lets the custard firm up, the butter knife loosens the edges without tearing, and the next 30 minutes keeps the tarts from falling apart when you lift them out.
Why heat the milk and sugar?
Heating the milk and sugar is optional, but the author of the original recipe recommends it, and I do too. Warming the two together dissolves the sugar completely, which gives the finished tarts a silky consistency instead of a grainy one. It also helps the ingredients blend faster once you start mixing, so the batter comes together with less effort.
If you skip this step, you will need to whisk longer to get the sugar to dissolve, and the texture may be slightly less smooth. The stovetop step is short, only about 6 minutes of whisking, and it makes the rest of the process easier.
How to store:
These tarts keep beautifully, which is one of the reasons I make them ahead for parties.
- Store the queijadas in an airtight container in the refrigerator for up to 5 days.
- Stack layers with parchment or wax paper between them so the tarts do not stick together.
- To freeze, place them in a freezer safe container for up to 2 months, again separating the layers with parchment or wax paper.
- Thaw frozen queijadas in the refrigerator before serving.
I like them best cold from the fridge, when the custard is fully set and the spice has had time to settle. If you prefer a softer texture, let them sit at room temperature for about 15 minutes before serving.
Either way, keep them chilled between servings, especially if they are sitting out on a dessert table for a while. If you are packing them for a lunchbox or a bake sale, wrap each one individually so they hold their shape in transit.
Pro tips:
A few small habits make this recipe reliable every time.
- Use nonstick cupcake pans that are in good working order. A pan with worn coating is the most common reason tarts stick.
- Grease generously with baking spray or melted butter, and get into the corners of each cavity.
- Fill each cavity about 3/4 full. Overfilling causes the tarts to dome and spill over the edges.
- If the batter splashes while you are beating, hold a paper plate at an angle over the bowl to contain it.
- Chill the tarts for an hour before serving if you want the cleanest set and the neatest release from the pan.
These tarts are a lovely addition to a fall dessert table next to a slice of pumpkin pie or a warm mug of spiced cider, and they are just as welcome at a holiday brunch. Once you make them, keep a can of pumpkin in the pantry so you can whip up a batch whenever the craving hits.
FAQs
What is the difference between canned pumpkin puree and pumpkin pie filling for these tarts?
Use 100% pumpkin puree for this recipe, not pumpkin pie filling. Pumpkin pie filling is pre-sweetened and spiced, which will alter the intended sugar and spice balance. One 15-ounce can of pure pumpkin puree yields the 1 1/4 cups needed.
Why is the milk and sugar mixture heated before being added to the eggs?
Heating the milk and butter before whisking in the sugar ensures the sugar dissolves completely, which creates a silky, smooth custard texture. This technique also helps the ingredients blend more quickly and prevents a grainy final texture in the baked tarts.
How do I prevent the custard tarts from sticking to the muffin pan?
Generously coat each of the 24 cavities in your cupcake pans with cooking spray or melted butter before pouring in the batter. After baking, let the tarts cool in the pan for 10 minutes, then run a butter knife around the edges to loosen them before removing them to a cooling rack.
Can I freeze pumpkin queijadas for later?
Yes, these pumpkin milk tarts freeze well for up to two months. Store them in a freezer-safe container with a layer of parchment or wax paper between layers to prevent sticking. To serve, thaw the frozen tarts in the refrigerator overnight.

Pumpkin Queijadas (Pumpkin Milk Tarts)
Pumpkin Queijadas (Pumpkin Milk Tarts) If you have a soft spot for classic Portuguese custard tarts, these Pumpkin Queijadas bring warm fall spices to a creamy handheld treat you can enjoy without a fork. They are a pumpkin spiced take on the Portuguese Queijadas de Leite, the little milk tarts that have been one of the most loved recipes on this blog for years.
- Total Time: 50 min
- Yield: 24 1x
Ingredients
1 can pumpkin puree (100% pumpkin)
2 1/2 cups whole milk, divided
6 tablespoons butter, cut into chunks
2 cups granulated sugar
3 large eggs
1 cup all-purpose flour
1/2 teaspoon baking powder
2 teaspoons pumpkin pie spice
1/4 teaspoon salt
Cooking spray or 2 tablespoons of melted butter for greasing muffin pans
Instructions
1-Preheat the oven to 350° F: Preheat the oven to 350° F.
2-Add butter and 1 1/2 cups of: Add butter and 1 1/2 cups of milk to a 2.0-quart saucepan on medium-high heat. Whisk frequently until the milk begins to foam slightly (in about 6 minutes).
3-In the meantime, use the pocket of: In the meantime, use the pocket of time while the milk cooks to measure out 1 1/ 4 cups of pumpkin puree. Set aside. You can freeze the remaining pumpkin for another use. Also, use this time to combine flour, baking powder, salt, and pumpkin pie spice in a small bowl.
4-Once the milk foams, gradually add the: Once the milk foams, gradually add the sugar, whisking constantly until it’s melted. Reduce the heat if the milk foams excessively.
5-Remove the pan from the heat: Remove the pan from the heat. Whisk the remaining cold milk into the hot milk mixture. Set aside.
6-Add the eggs to a mixing bowl: Add the eggs to a mixing bowl. Beat on medium-high for one minute. Reduce speed to medium, then slowly pour about 1/2 cup of the slightly cooled milk. Beat for about 10 -15 seconds. Slowly add another 1/2 cup, beating constantly. Then add the remaining milk and continue to beat for one minute.
7-Slowly and gradually add the flour mixture: Slowly and gradually add the flour mixture to give it time to incorporate.
8-Next, add the 1 1/4 cups of: Next, add the 1 1/4 cups of pumpkin puree and beat until thoroughly combined (about 30-45 seconds). The batter will be watery.
9-Coat the cupcake pans (24 cavities total): Coat the cupcake pans (24 cavities total) with cooking spray or melted butter. Make sure to grease well to prevent sticking. Fill each cavity 3/4 full with the batter.
10-Bake on the middle rack for 33-38: Bake on the middle rack for 33-38 minutes or until the edges are lightly browned and a toothpick comes out clean.
11-Allow the queijadas to cool in the: Allow the queijadas to cool in the pan for about 10 minutes, then run a butter knife around the edges to loosen them. Allow to cool for another 30 minutes before removing them from the pan. Transfer to a cooling rack to cool completely.
12-It is recommended that the queijadas be: It is recommended that the queijadas be refrigerated for an hour to completely set before serving, but they can also be served at room temperature. Store in the refrigerator.
13-Makes 24 servings: Makes 24 servings.
Last Step:
Please leave a rating and comment letting us know how you liked this recipe! This helps our business to thrive and continue providing free, high-quality recipes for you.- Prep Time: 10 min
- Cook Time: 40 min
- Method: bake


