No Bake Key Lime Pie
There is something about a cold, creamy slice of Key lime pie on a warm afternoon that makes everyone at the table slow down and smile.
This no bake Key lime pie is the version I reach for when the oven is already busy or when I simply do not want to heat up the kitchen.
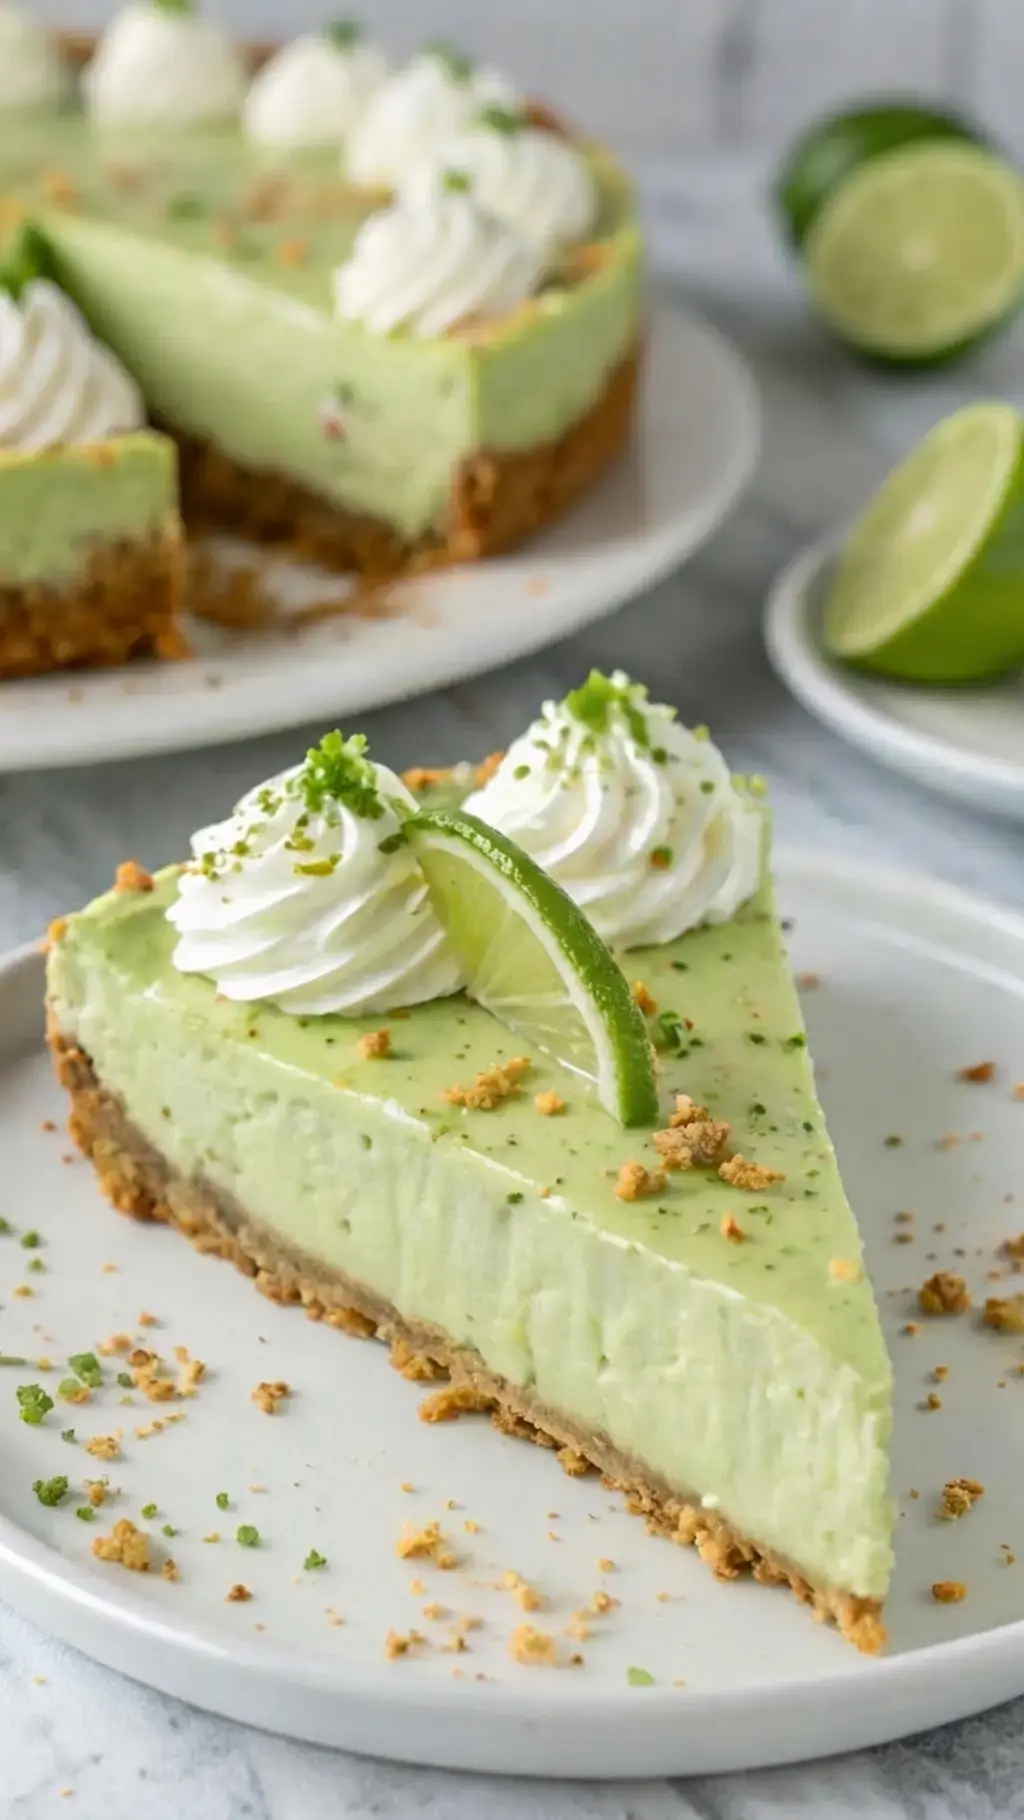
You get a buttery graham cracker crust, a tangy filling built from cream cheese and sweetened condensed milk, and a light, airy finish thanks to whipped topping folded in at the very end.
It is also one of the most forgiving desserts you can make. There is no custard to curdle, no crust to blind bake, and no tricky timing to watch. You press the crust, beat the filling, chill the pie, and slice.
That is the whole story. I have brought this pie to backyard cookouts, potlucks, and quiet Sunday dinners, and the plate always comes back empty.
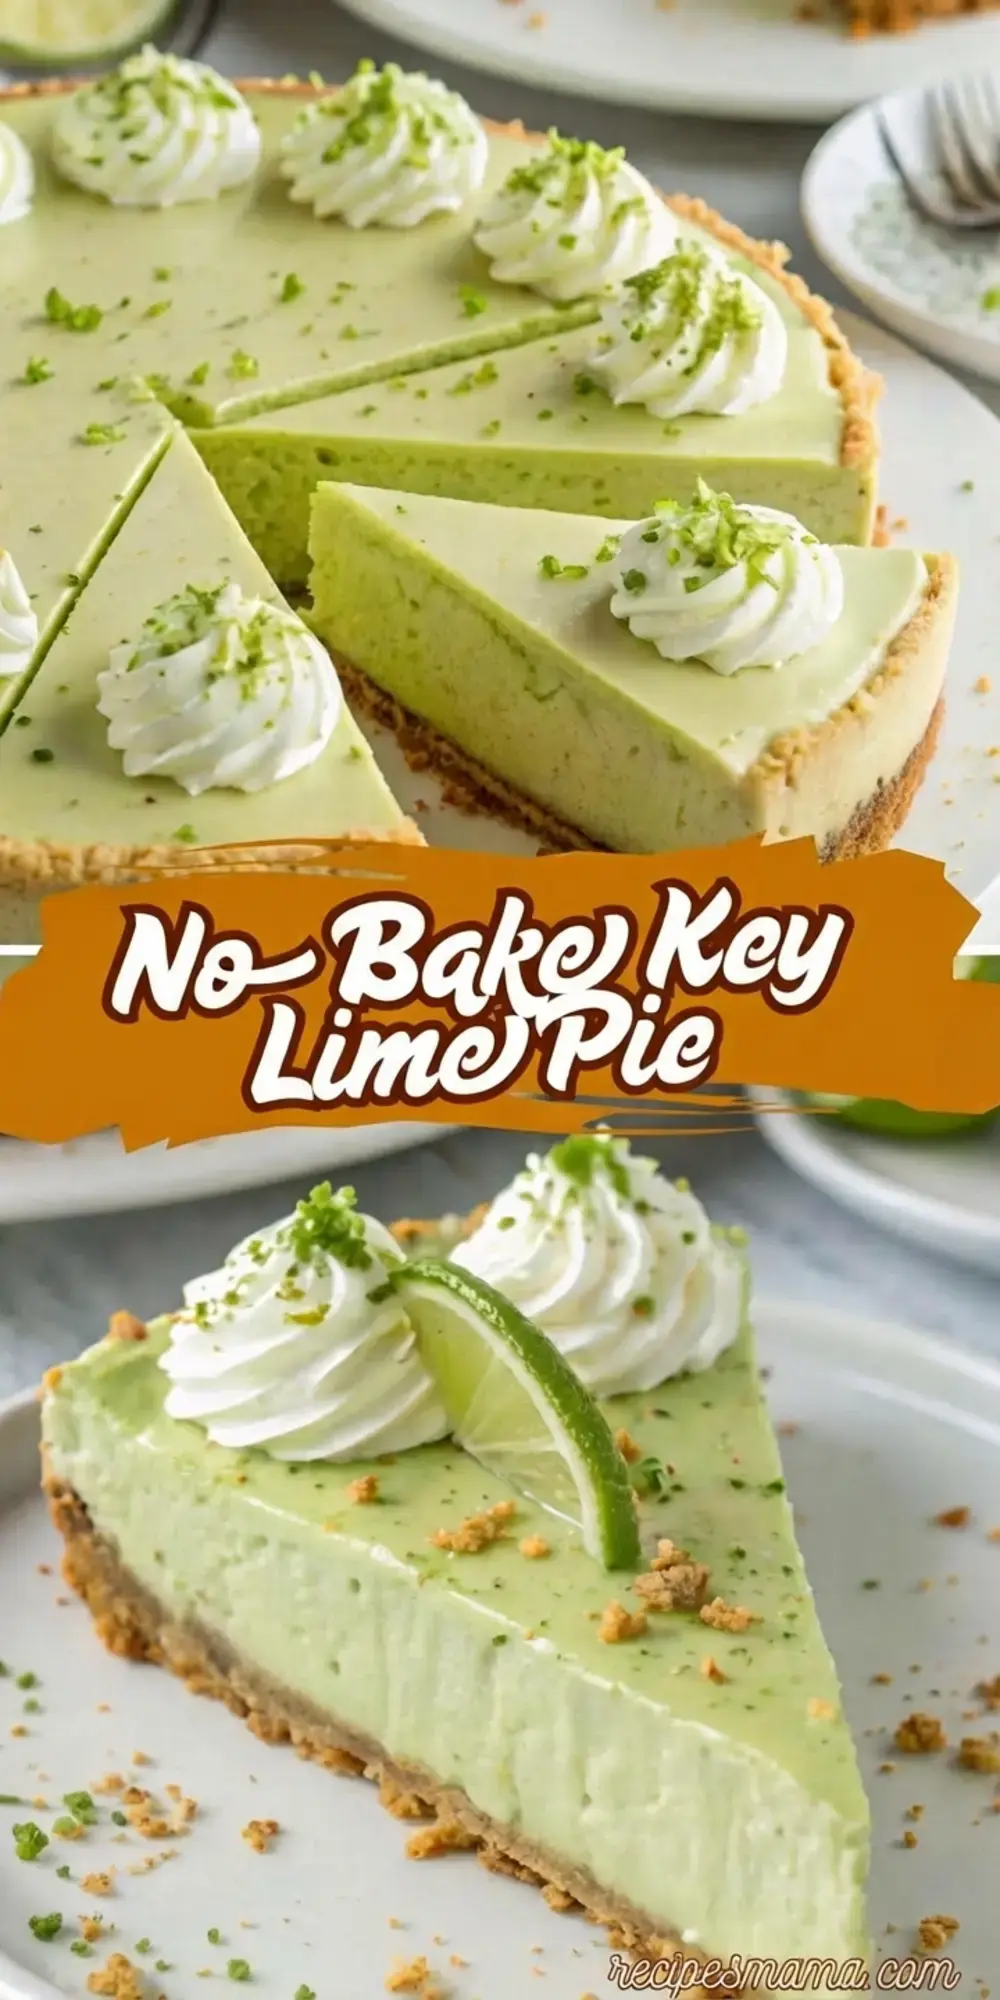
If you are feeding a crowd this weekend, this is a dessert that travels well and looks like you spent far more time on it than you actually did.
The recipe makes 8 slices and needs only about 20 minutes of hands on work. The rest of the time belongs to your refrigerator.
Why This No Bake Key Lime Pie Works
Three simple things make this recipe dependable, even for someone who does not bake often.
- The crust sets firm. Melted butter and sugar hold the graham cracker crumbs together, so the base slices cleanly instead of crumbling apart under the filling.
- The filling balances tart and sweet. Key lime juice brings the bright, tangy flavor, while cream cheese and sweetened condensed milk round it out with a rich, smooth texture.
- The whipped topping keeps it light. Folding it in at the end adds air, so each slice tastes creamy without feeling heavy on a hot day.
There is also no oven involved at any point, which matters more than you might think in July. You are not waiting for a pie to cool, and you are not heating the whole kitchen just to make dessert.
Prep takes about 20 minutes from start to finish. After that, the refrigerator does the real work. Plan on at least 4 hours of chilling, or leave the pie overnight if your schedule allows it.
Ingredients
Here is everything you need, grouped by the part of the pie it belongs to.
For the Crust
- 1 ½ cups graham cracker crumbs
- ¼ cup sugar
- 6 tbsp unsalted butter, melted
For the Filling
- 8 oz cream cheese, softened
- 1 (14 oz) can sweetened condensed milk
- ½ cup Key lime juice
- 1 tsp lime zest
- 1 tsp vanilla extract
- 1 cup whipped topping (Cool Whip or homemade whipped cream)
Optional Topping
- Whipped cream
- Lime zest
- Thin lime slices
A quick note on the whipped topping. Use whichever you keep on hand. Cool Whip is convenient, and homemade whipped cream works just as well if you prefer to whip your own. The important part is folding it in gently, because that is what keeps the finished filling light and airy.
Equipment You Will Need
- A 9 inch pie dish
- A mixing bowl for the crust and a second one for the filling
- A hand mixer or stand mixer for the cream cheese and condensed milk
- A spatula for folding in the whipped topping
- Plastic wrap or a lid that fits your pie dish
Step by Step Instructions
- Make the crust. Stir together the graham cracker crumbs, sugar, and melted butter until well mixed. Press the mixture into a 9 inch pie dish. Chill the crust while you prepare the filling.
- Prepare the filling. In a mixing bowl, beat the cream cheese until smooth and fluffy. Slowly mix in the sweetened condensed milk, then add the Key lime juice, lime zest, and vanilla extract. Mix until creamy.
- Fold in the whipped topping. Gently fold in the whipped topping to keep the mixture light and airy.
- Chill the pie. Pour the filling into the crust and smooth the top. Cover and refrigerate for at least 4 hours, or overnight.
- Finish and serve. Top with whipped cream and garnish with lime zest or thin lime slices for a pretty finish. Slice and enjoy.
Tips for the Best Results
- Let the cream cheese soften on the counter first. Cold cream cheese stays lumpy no matter how long you beat it, and those lumps show up in the finished filling.
- Press the crust firmly with the back of a measuring cup or with your fingers. A firmly packed crust holds together when you cut the first slice.
- Add the sweetened condensed milk slowly while the mixer runs. This keeps the filling smooth and stops it from splashing up the sides of the bowl.
- Fold, do not stir, the whipped topping. A spatula and a light hand preserve all the air you just created.
- Give the pie the full 4 hours. Rushing the chill time is the most common reason a slice slides off the plate instead of holding its shape.
- Keep the pie cold until the moment you serve it, especially if you are setting it out on a patio table in the sun.
If you are short on time, place the pressed crust in the freezer for a few minutes while you mix the filling. It firms up quickly and makes the pie easier to build.
Serving Suggestions
This pie is lovely on its own, but a few small touches make it feel even more special when you are serving guests.
- Drizzle a little raspberry or strawberry sauce over each slice for a tart, fruity contrast to the creamy filling.
- Serve slices on chilled plates on hot days. The pie stays firm a few minutes longer, which helps when you are eating outdoors.
- Swap in coconut whipped topping for a tropical flavor that pairs beautifully with lime.
- Keep the garnish simple with lime zest or thin lime slices. Both add color without any extra work.
Slices hold their shape best right out of the refrigerator. If you are bringing this pie to a cookout, keep it in a cooler until dessert is on the table, then slice and serve.
Variations to Try
Once you have made this pie a few times, it is easy to nudge it in a slightly different direction without changing the basic method.
For a tropical version, add a splash of coconut extract to the filling or scatter toasted coconut flakes over the top before serving. The coconut notes play nicely with the lime without hiding it.
For mini pies, line a muffin tin with cupcake wrappers and divide the crust and filling between the cups. They are easy to hand out at parties, and smaller portions chill through faster, so keep an eye on them in the refrigerator.
Storage and Make Ahead Notes
This is a great dessert to make the day before you plan to serve it, which is one of the reasons it shows up so often at my house during the summer.
- Store leftovers in the refrigerator, covered, for up to 4 days.
- For longer storage, freeze slices individually. Wrap each slice well so it does not pick up other flavors in the freezer, then thaw it in the refrigerator before serving.
- Add the whipped cream and lime garnish close to serving time so the topping stays neat and the zest stays bright.
Frequently Asked Questions
Why does key lime pie need sweetened condensed milk?
Sweetened condensed milk is essential because its high protein and sugar content reacts with the acidic lime juice to thicken and set the pie filling without baking. This reaction creates the signature firm yet creamy texture of a no-bake key lime pie. Using regular milk will not produce the same set or sweetness.
Can I use regular limes instead of Key limes for this no-bake pie?
Yes, you can use regular Persian limes if Key limes are unavailable, though the flavor will be slightly less aromatic and tart. Many American home cooks use bottled Key lime juice as a convenient substitute that still provides a true Key lime taste. For a closer approximation, mix equal parts regular lime juice and lemon juice.
How long does no-bake Key lime pie need to chill before serving?
The pie must chill for at least 4 hours in the refrigerator to set properly, but overnight chilling yields the cleanest, firmest slices. The pie can also be frozen for up to three months if wrapped tightly, making it an ideal make-ahead summer dessert. Always keep the pie refrigerated until just before serving.
How do I make a graham cracker crust for a no-bake Key lime pie?
To make the crust, stir together 1 1/2 cups graham cracker crumbs, 1/4 cup sugar, and 6 tablespoons of melted unsalted butter until well mixed. Press the mixture firmly and evenly into a 9-inch pie dish, then chill it while you prepare the filling. Pressing the crust firmly prevents it from crumbling when slicing.
A Pie Worth Making Again
No bake Key lime pie earns its place in a summer rotation because it asks so little of you and gives back so much.
Twenty minutes of mixing, a few hours of chilling, and a slice of something cool, creamy, and bright is ready when you are.
Keep the ingredients on hand for the next warm evening, and this will quickly become the dessert you bring without a second thought. Slice and enjoy.
Print
No Bake Key Lime Pie
No Bake Key Lime Pie There is something about a cold, creamy slice of Key lime pie on a warm afternoon that makes everyone at the table slow down and smile. This no bake Key lime pie is the version I reach for when the oven is already busy or when I simply do not want to heat up the kitchen.
- Total Time: 0 min
- Yield: 8 slices 1x
Ingredients
For the crust
1 ½ cups graham cracker crumbs
¼ cup sugar
6 tbsp unsalted butter, melted
For the filling
8 oz cream cheese, softened
1 (14 oz) can sweetened condensed milk
½ cup key lime juice
1 tsp lime zest
1 tsp vanilla extract
1 cup whipped topping
Topping (optional)
whipped cream
lime zest
thin lime slices
Instructions
Instructions
1-Make the crust: Make the crust: Stir together graham cracker crumbs, sugar, and melted butter until well mixed. Press into a 9-inch pie dish. Chill while preparing the filling.
2-Prepare the filling: Prepare the filling: In a mixing bowl, beat cream cheese until smooth and fluffy. Slowly mix in sweetened condensed milk, then add key lime juice, zest, and vanilla extract. Mix until creamy.
3-Gently fold in whipped topping to keep: Gently fold in whipped topping to keep the mixture light and airy.
4-Pour filling into the crust and smooth: Pour filling into the crust and smooth the top. Cover and refrigerate for at least 4 hours, or overnight.
5-Top with whipped cream and garnish with: Top with whipped cream and garnish with lime zest or slices for a pretty finish. Slice and enjoy!
Last Step:
Please leave a rating and comment letting us know how you liked this recipe! This helps our business to thrive and continue providing free, high-quality recipes for you.- Prep Time: 20 min
- Cook Time: 0 min
- Method: no_cook