
Why You’ll Love This Instant Pot Chickpeas
Imagine coming home after a long day and whipping up a batch of Instant Pot Chickpeas that are ready in no time at all. This recipe stands out because it simplifies your routine while packing in plenty of nutrients. You’ll appreciate how it fits into busy schedules without sacrificing taste or health benefits.
Over the years, Instant Pot Chickpeas have become a staple in many kitchens, especially for home cooks and busy parents looking for quick meals. The method uses the power of pressure cooking to deliver tender beans that work wonders in salads or dips. It’s not just convenient; it’s a smart way to add more plant-based protein to your diet.
One of the best parts is the adaptability to different needs, like vegan or gluten-free options. Whether you’re a food enthusiast experimenting in the kitchen or a student on a budget, this dish offers endless possibilities. Let’s dive into what makes this recipe a go-to choice for creating delicious, memorable meals.
Health Perks and Daily Use
Instant Pot Chickpeas are loaded with goodness that supports your body in fun ways. Each serving brings protein to help build strong muscles and fiber to keep your digestion smooth. Compared to other methods, pressure cooking locks in more vitamins, making it ideal for diet-conscious folks.
For instance, as shared on a reliable source on chickpea nutrition, these beans can boost your energy and aid in weight management. Think of them as tiny powerhouses that fit into any meal plan. They’re perfect for travelers who need portable snacks or seniors seeking simple foods.
Beyond that, the flavors develop richly under pressure, giving you a satisfying texture every time. This makes it easy to incorporate into family dinners or quick lunches. Overall, it’s a recipe that brings joy to cooking while supporting a balanced lifestyle.
Jump To
- 1. Why You’ll Love This Instant Pot Chickpeas
- 2. Essential Ingredients for Instant Pot Chickpeas
- 3. How to Prepare the Perfect Instant Pot Chickpeas: Step-by-Step Guide
- 4. Dietary Substitutions to Customize Your Instant Pot Chickpeas
- 5. Mastering Instant Pot Chickpeas: Advanced Tips and Variations
- 6. How to Store Instant Pot Chickpeas: Best Practices
- 7. FAQs: Frequently Asked Questions About Instant Pot Chickpeas
- 8. Instant Pot Chickpeas
Essential Ingredients for Instant Pot Chickpeas
Gathering the right ingredients is the first step to a successful dish of Instant Pot Chickpeas. This recipe keeps things straightforward so you can focus on the fun of cooking. Start with high-quality items to ensure the best results.
- 1 lb dried chickpeas (about 2 cups) – This forms the base and provides plenty of protein.
- 6 cups water (or enough to cover chickpeas by 1 inch) – Helps soften the beans during cooking.
- 1 tsp salt (optional) – Adds just enough flavor without overpowering the natural taste.
These ingredients come straight from a trusted pressure cooker recipe, making it simple to follow along. Each one plays a key role in achieving that perfect texture. Remember, fresh chickpeas lead to the tastiest outcomes, so pick them carefully.
Special Touches and Options
If you’re aiming for a twist, consider how water can be swapped for vegetable broth to boost flavor. This keeps the recipe flexible for different diets. For example, go vegan by sticking to plant-based liquids and skip the salt if you’re watching sodium intake.
According to popular cooking tips, using dried chickpeas gives you more control over the final product. It’s a simple list that covers everything needed, so you won’t miss a beat. This setup makes it easy for working professionals or baking enthusiasts to prepare ahead.
How to Prepare the Perfect Instant Pot Chickpeas: Step-by-Step Guide
Getting started with Instant Pot Chickpeas is as easy as following a few clear steps. Begin by rinsing your chickpeas to remove any unwanted bits. This sets the stage for a clean and tasty result every time.
- Rinse the chickpeas and remove any debris or shriveled chickpeas, then drain well.
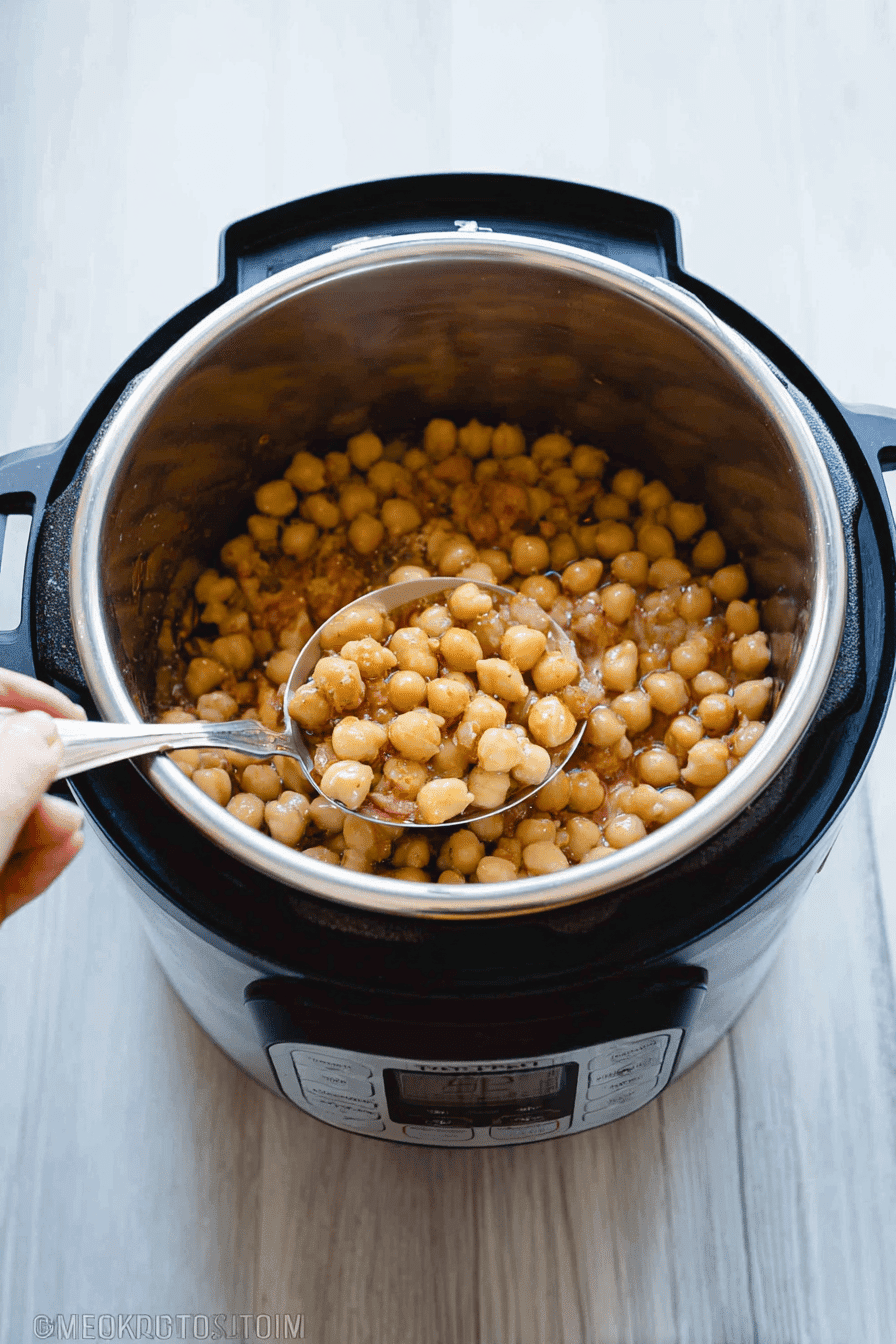
- Transfer chickpeas to the pressure cooker and add water to cover by 1 inch; add salt if using.
- For slightly chewy chickpeas (good for salads): Cook on high pressure for 45 minutes followed by a 10-minute natural pressure release.
- For soft, tender chickpeas (ideal for hummus): Cook on high pressure for 50 minutes followed by a 15-minute natural pressure release.
- If chickpeas aren’t soft enough, cook under pressure for an additional 5 minutes with manual pressure release.
- Optional: Peel chickpeas for smoother texture by rubbing chickpeas in water and removing skins.
This guide keeps things simple and effective, perfect for newlyweds learning the ropes or busy parents in a rush. Once done, your chickpeas will be ready for all sorts of uses. Always check for doneness to make sure they suit your recipe.
Timing and Adjustments
Preparation time is straightforward: Prep takes 5 minutes, cooking runs 45 to 50 minutes based on texture, and natural release adds 10 to 15 minutes. That means your total time is about 1 hour to 1 hour and 10 minutes. If you’re pre-soaking, it cuts down the cook time, which is great for firm or creamy results.
For more ideas on similar dishes, check out our guide on red beans and rice for another easy protein-packed meal. It adds variety to your routine while keeping things delicious.
Dietary Substitutions to Customize Your Instant Pot Chickpeas
Making Instant Pot Chickpeas fit your needs is simple with a few smart swaps. Whether you’re avoiding gluten or cutting calories, these changes keep the dish enjoyable. Start by thinking about what works for your lifestyle.
For higher protein, mix in cooked lentils or quinoa after cooking. If chickpeas aren’t on hand, try white beans or black beans for a fresh take. Beginners might also add tofu for a vegan boost, making it adaptable for everyone.
- Swap garlic for milder options like shallots.
- Use smoked paprika to add some heat.
- Incorporate veggies such as tomatoes for extra nutrition.
These tweaks let you explore new flavors without much effort. For instance, if you’re into Indian-inspired meals, coconut milk can change things up nicely.
Mastering Instant Pot Chickpeas: Advanced Tips and Variations
Once you’re comfortable with the basics, take your Instant Pot Chickpeas to the next level with these pro tips. Quick-soaking the beans beforehand can speed things up and improve digestibility. Don’t forget to use the sauté function after cooking to add a nice caramelized edge.
Experiment with flavors like oregano for a Mediterranean vibe or curry powder for something exotic. Presentation matters too, so top your dish with fresh parsley or sesame seeds for a visual pop. If you’re planning ahead, cook in bulk and freeze portions for easy meals later.
| Tips | Benefits |
|---|---|
| Pre-soaking overnight | Reduces cook time to 15-18 minutes |
| Save cooking liquid | Useful for recipes like hummus |
| Freezing options | Stores up to 2-3 months |
These tricks, drawn from expert advice, help you sort and store beans properly. For more storage ideas, our post on black-eyed peas offers similar tips that complement this recipe.
How to Store Instant Pot Chickpeas: Best Practices
Keeping your Instant Pot Chickpeas fresh is key to enjoying them later. Store them in an airtight container in the fridge for up to 5 days to lock in flavor. Always add a bit of the cooking liquid to keep them moist.
For longer storage, freeze in bags, squeezing out air for up to 3 months. When reheating, use a splash of water to bring back that tender texture. This approach makes meal prep a breeze for working professionals or families on the go.
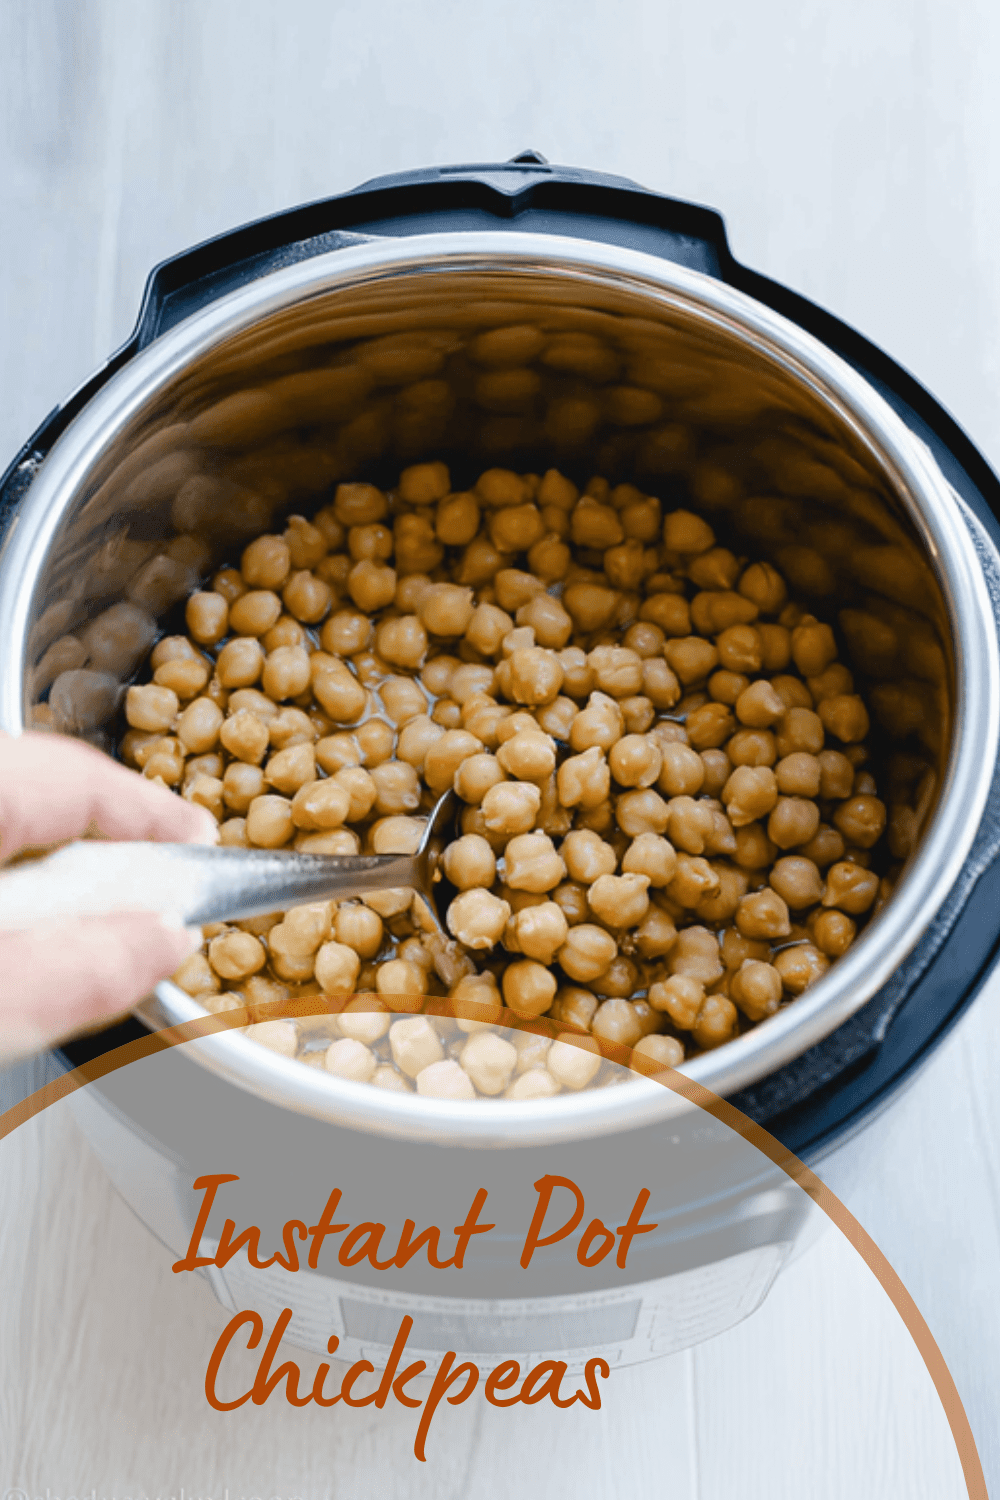
FAQs: Frequently Asked Questions About Instant Pot Chickpeas
Do I need to soak chickpeas before cooking them in an Instant Pot?
Soaking chickpeas before cooking is optional but can reduce cooking time. If you soak them overnight in water, cook soaked chickpeas on high pressure for about 15 minutes for a firm texture or 18 minutes for softer, creamier beans. Use a quick pressure release after cooking. If you skip soaking, increase the cooking time to 35-40 minutes and allow a natural pressure release to ensure fully cooked chickpeas.
How do I prepare chickpeas for cooking to avoid any grit or bad beans?
Before cooking, spread the chickpeas on a clean surface and remove any stones, debris, or damaged beans that look shriveled or discolored. Rinsing chickpeas under cold water also helps remove dust and dirt. Proper sorting and rinsing improve the final texture and prevent unpleasant surprises when eating.
Can I save the liquid from cooking chickpeas in the Instant Pot?
Yes, the cooking liquid, often called aquafaba, can be saved and used in recipes like hummus, soups, or stews. It contains nutrients and adds flavor. Store the liquid separately in a sealed container in the fridge for up to a week or freeze it for longer storage.
Is peeling chickpeas necessary when using them for recipes like hummus?
Peeling chickpeas is not required but can improve texture in smooth dishes like hummus. To peel, soak the cooked chickpeas in water and rub them gently between your hands to loosen the skins, which float to the surface for easy removal. This step creates a creamier consistency but requires extra time.
What’s the difference between chickpeas and garbanzo beans?
Chickpeas and garbanzo beans are two names for the same legume. The term “garbanzo” is derived from Spanish, while “chickpea” comes from Old French. Both refer to round, beige beans widely used in Mediterranean, Middle Eastern, and Indian cooking. Using either name in recipes will yield the same results.
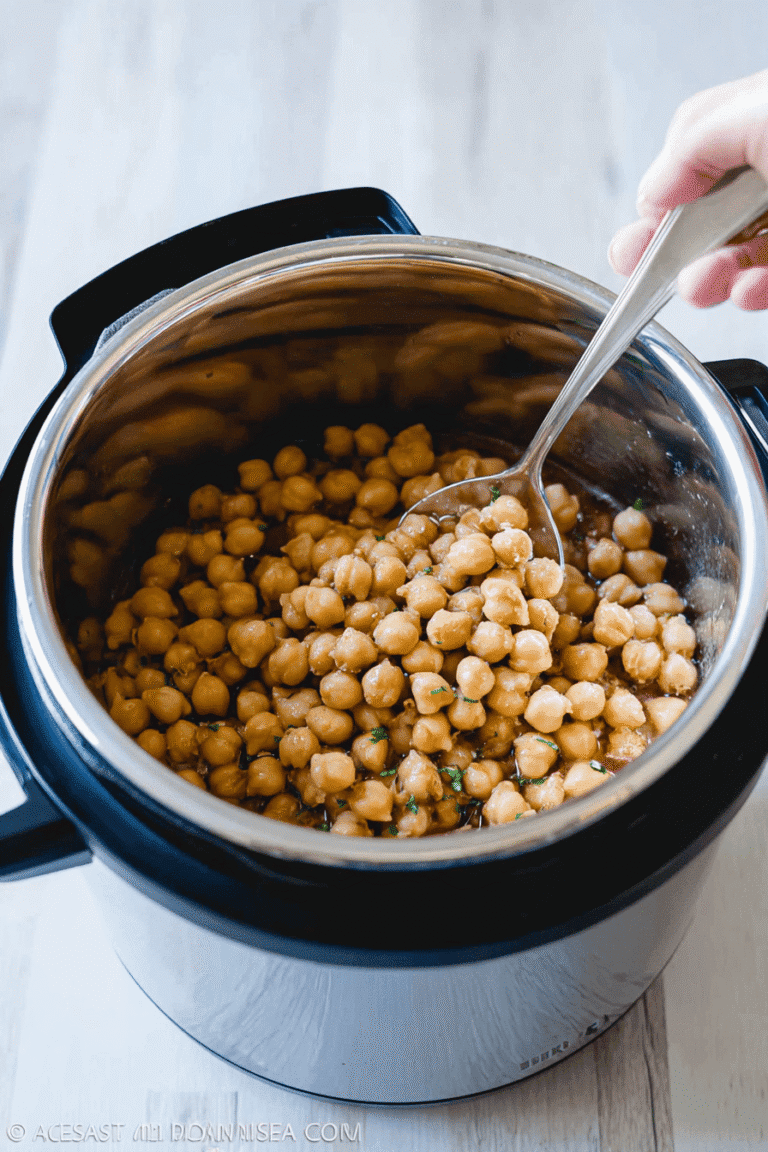
Instant Pot Chickpeas
🧆 Enjoy perfectly cooked chickpeas made easy in your Instant Pot with no soaking required, saving you time and effort.
⏱️ This recipe delivers versatile chickpeas that are ideal for salads, hummus, soups, and more, with customizable texture from slightly chewy to soft and tender.
- Total Time: 1 hour to 1 hour 10 minutes
- Yield: About 4 cups cooked chickpeas
Ingredients
– 1 lb dried chickpeas (about 2 cups) This forms the base and provides plenty of protein
– 6 cups water (or enough to cover chickpeas by 1 inch) Helps soften the beans during cooking
– 1 tsp salt (optional) Adds just enough flavor without overpowering the natural taste
Instructions
1-Rinse the chickpeas and remove any debris or shriveled chickpeas, then drain well.
2-Transfer chickpeas to the pressure cooker and add water to cover by 1 inch; add salt if using.
3-For slightly chewy chickpeas (good for salads): Cook on high pressure for 45 minutes followed by a 10-minute natural pressure release.
4-For soft, tender chickpeas (ideal for hummus): Cook on high pressure for 50 minutes followed by a 15-minute natural pressure release.
5-If chickpeas aren’t soft enough, cook under pressure for an additional 5 minutes with manual pressure release.
6-Optional: Peel chickpeas for smoother texture by rubbing chickpeas in water and removing skins.
Last Step:
Please leave a rating and comment letting us know how you liked this recipe! This helps our business to thrive and continue providing free, high-quality recipes for you.Notes
💧 Pre-soaking overnight reduces cooking times to 15-18 minutes with a quick pressure release.
🗑️ Always sort through chickpeas to remove stones or bad beans before cooking.
🥫 Save some cooking liquid to enhance flavor and store chickpeas or use in recipes.
- Prep Time: 5 minutes
- Natural Pressure Release: 10-15 minutes
- Cook Time: 45-50 minutes
- Category: Legumes
- Method: Pressure Cooking
- Cuisine: General
- Diet: Vegan, Gluten-Free, Vegetarian
Nutrition
- Serving Size: 1/2 cup cooked chickpeas
- Calories: 275
- Sugar: 8 grams
- Sodium: 418 milligrams
- Fat: 5 grams
- Saturated Fat: 1 gram
- Unsaturated Fat: 3 grams
- Trans Fat: 0 grams
- Carbohydrates: 46 grams
- Fiber: 13 grams
- Protein: 15 grams
- Cholesterol: 0 milligrams