

Why You’ll Love This Chocolate Cups
- Ease of preparation: This chocolate cups recipe is incredibly simple and quick to make, requiring minimal ingredients and no baking. Perfect for busy days or last-minute treats.
- Health benefits: These chocolate cups are rich in antioxidants from high-quality cocoa, and you can customize them with wholesome ingredients like nuts and fruits to boost fiber, vitamins, and minerals.
- Versatility: This recipe adapts easily to vegan, gluten-free, and low-calorie diets by substituting key ingredients without losing flavor or texture.
- Distinctive flavor: The rich, smooth chocolate base combined with natural sweeteners and optional flavor infusions like vanilla or sea salt makes these chocolate cups uniquely delicious and satisfying.
Jump To
- 1. Why You’ll Love This Chocolate Cups
- 2. Essential Ingredients for Chocolate Cups
- 3. How to Prepare the Perfect Chocolate Cups: Step-by-Step Guide
- 4. Dietary Substitutions to Customize Your Chocolate Cups
- 5. Mastering Chocolate Cups: Advanced Tips and Variations
- 6. How to Store Chocolate Cups: Best Practices
- 7. FAQs: Frequently Asked Questions About Chocolate Cups
- 8. chocolate cups
Essential Ingredients for Chocolate Cups
- 200g dark chocolate – Provides the rich, smooth chocolate base essential for flavor and texture.
- 2 tablespoons coconut oil – Helps melt the chocolate smoothly and adds a subtle tropical aroma.
- 100g chopped nuts – Adds crunch and nutritional value with healthy fats and proteins.
- 50g fresh berries (optional) – Adds freshness and natural sweetness.
Special Dietary Options
- Vegan: Use dairy-free dark chocolate and coconut cream instead of dairy-based ingredients.
- Gluten-free: All ingredients are naturally gluten-free; ensure chocolate is certified gluten-free.
- Low-calorie: Substitute nuts with seeds and use low-calorie sweeteners for lighter versions.
How to Prepare the Perfect Chocolate Cups: Step-by-Step Guide
- Prepare your workspace: Gather ingredients and equipment such as silicone molds or mini cupcake liners.
- Melt chocolate and coconut oil: Use a double boiler or microwave in short bursts, stirring until smooth.
- Create the base: Pour a thin layer of melted chocolate into molds, then refrigerate for 10 minutes until set.
- Add toppings: Sprinkle chopped nuts and berries on the set chocolate base as desired.
- Seal the cups: Pour remaining melted chocolate over toppings to cover them completely. Tap molds gently to remove air bubbles.
- Chill thoroughly: Refrigerate for at least 1 hour until chocolate cups are fully firm.
- Serve and store: Remove cups carefully from molds. Store leftovers in the refrigerator. Adapt ingredients for dietary needs before melting and follow the same process.
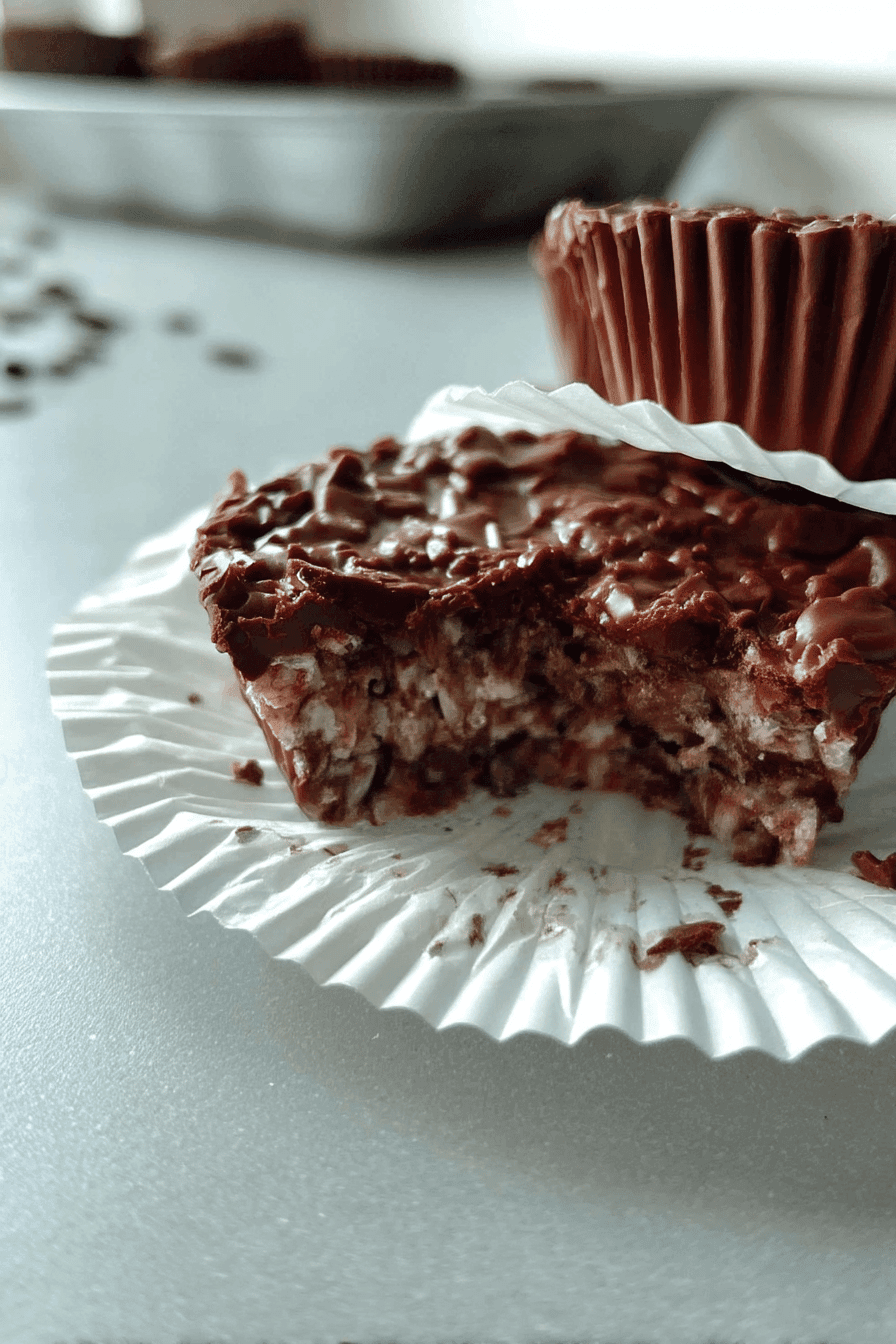
Dietary Substitutions to Customize Your Chocolate Cups
- Replace nuts with seeds like pumpkin or sunflower for nut-free versions.
- Use almond butter or peanut butter as protein-rich fillings instead of nuts.
- Add spices such as cinnamon or chili powder to enhance flavor.
- Swap fresh berries with dried fruit or candied zest for different tastes.
- Add coconut cream or avocado for a creamy texture variation.
These substitutions keep the dessert enjoyable for various allergies, preferences, and dietary restrictions without compromising taste or texture.
Mastering Chocolate Cups: Advanced Tips and Variations
- Temper your chocolate: Use a thermometer to maintain proper temperature for a glossy finish and crisp snap on your chocolate cups.
- Flavor ideas: Mix espresso powder, orange zest, or sea salt flakes into chocolate for enhanced taste.
- Presentation: Garnish cups with edible flowers, gold leaf, or chopped nuts to give an elegant, professional look.
- Make ahead: Prepare molds in large batches, freeze the finished cups, and thaw in the fridge before serving to retain freshness.
How to Store Chocolate Cups: Best Practices
| Storage Method | Guidelines | Duration |
|---|---|---|
| Refrigeration | In an airtight container, store chocolate cups in the fridge to prevent moisture buildup and preserve texture. | Up to 1 week |
| Freezing | Freeze chocolate cups in a single layer on a baking sheet, then transfer to a sealed container. Defrost in the fridge to avoid condensation. | Up to 3 months |
| Reheating | Not recommended as heat may alter texture. Serve chilled or at room temperature instead. | N/A |
| Meal prep | Store properly for convenient, ready-to-eat treats. Use good sealing to keep odors and moisture away. | Varies |
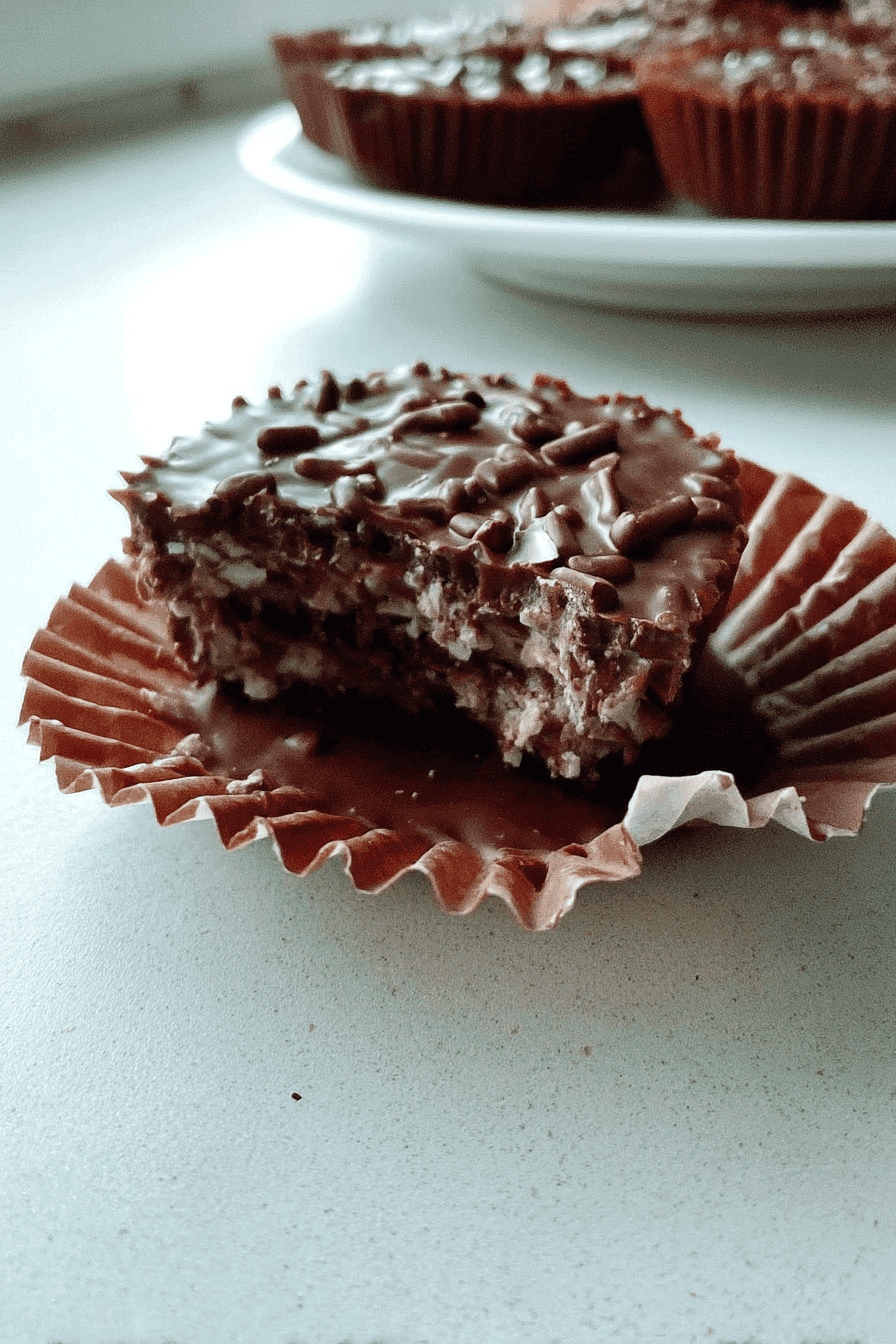
FAQs: Frequently Asked Questions About Chocolate Cups
What are chocolate cups and how are they made?
Chocolate cups are edible containers crafted from melted chocolate, shaped into small cups used to hold desserts, mousses, or drinks. They are made by melting chocolate, coating it inside molds or silicone cups, and then chilling until solid. Once hardened, the chocolate cups can be filled with various ingredients. This simple process makes them a popular choice for elegant, bite-sized treats or party desserts.
Can chocolate cups be used for hot beverages like coffee or hot chocolate?
Yes, chocolate cups can hold certain hot beverages, but it’s important to use sturdy, thicker cups made from high-quality chocolate. Warm drinks will slowly melt the cup, so it’s best to serve small portions or use the cup as a decorative holder with a protective liner. Avoid pouring boiling liquids directly into the chocolate cup to prevent immediate melting.
How do you store chocolate cups to keep them from melting or losing shape?
Store chocolate cups in a cool, dry place away from direct sunlight and heat sources. Ideal storage is in the refrigerator at around 55-65°F (13-18°C) to prevent melting while avoiding condensation that could affect texture. Place them in an airtight container to protect from moisture and odors that could transfer to the chocolate.
What fillings work best inside chocolate cups?
Chocolate cups pair well with creamy fillings like mousse, whipped cream, ganache, or fruit purees. Other popular options include ice cream, custards, and layered desserts. Avoid overly watery fillings, which can soften the chocolate. Adding nuts, berries, or edible flowers can enhance both flavor and presentation.
Are chocolate cups suitable for people with dietary restrictions?
Chocolate cups can be customized for various diets by choosing specific chocolate types. Dark chocolate is naturally vegan and gluten-free, while milk chocolate usually contains dairy. Sugar-free or reduced-sugar options are also available. Always check ingredient labels if allergies or sensitivities are a concern, and consider homemade versions to control ingredients.

chocolate cups
🍫 Discover the indulgence of Chocolate Cups, perfect for creating elegant, bite-sized desserts that impress with minimal effort.
🎉 Versatile and sophisticated, these cups serve as the ultimate vessel for creative fillings ranging from creamy mousse to fruit purees, adding a festive touch to any gathering.
- Total Time: 20-45 minutes
- Yield: Varies depending on cup size and volume of chocolate used
Ingredients
– 200g dark chocolate
– 2 tablespoons coconut oil
– 100g chopped nuts
– 50g fresh berries (optional)
Instructions
1-Prepare your workspace: Gather ingredients and equipment such as silicone molds or mini cupcake liners.
2-Melt chocolate and coconut oil: Use a double boiler or microwave in short bursts, stirring until smooth.
3-Create the base: Pour a thin layer of melted chocolate into molds, then refrigerate for 10 minutes until set.
4-Add toppings: Sprinkle chopped nuts and berries on the set chocolate base as desired.
5-Seal the cups: Pour remaining melted chocolate over toppings to cover them completely. Tap molds gently to remove air bubbles.
6-Chill thoroughly: Refrigerate for at least 1 hour until chocolate cups are fully firm.
7-Serve and store: Remove cups carefully from molds. Store leftovers in the refrigerator. Adapt ingredients for dietary needs before melting and follow the same process.
Last Step:
Please leave a rating and comment letting us know how you liked this recipe! This helps our business to thrive and continue providing free, high-quality recipes for you.Notes
🥄 Handle chocolate cups gently to prevent damage and maintain their shape.
🎨 Get creative with fillings to customize each dessert cup to your preferences.
❄️ Chill cups swiftly after filling to speed up the setting process and retain the chocolate’s glossy finish.
- Prep Time: 10-15 minutes
- Chill and Set Time: 10-30 minutes
- Cook Time: N/A
- Category: Dessert
- Method: No-Bake
- Cuisine: International
- Diet: Varies based on chocolate and filling
Nutrition
- Serving Size: 1 chocolate cup
- Calories: Varies
- Sugar: Varies
- Sodium: Varies
- Fat: Varies
- Saturated Fat: Varies
- Unsaturated Fat: Varies
- Trans Fat: Varies
- Carbohydrates: Varies
- Fiber: Varies
- Protein: Varies
- Cholesterol: Varies


Wow, these chocolate cups are absolutely divine! 🍫❤️ I made them yesterday for a small gathering, and they were a hit. My friends loved the rich chocolate flavor combined with the nutty filling. Next time, I might try adding a bit of orange zest for a citrusy twist. Thanks for the awesome recipe!