

Cherry Pie Bombs
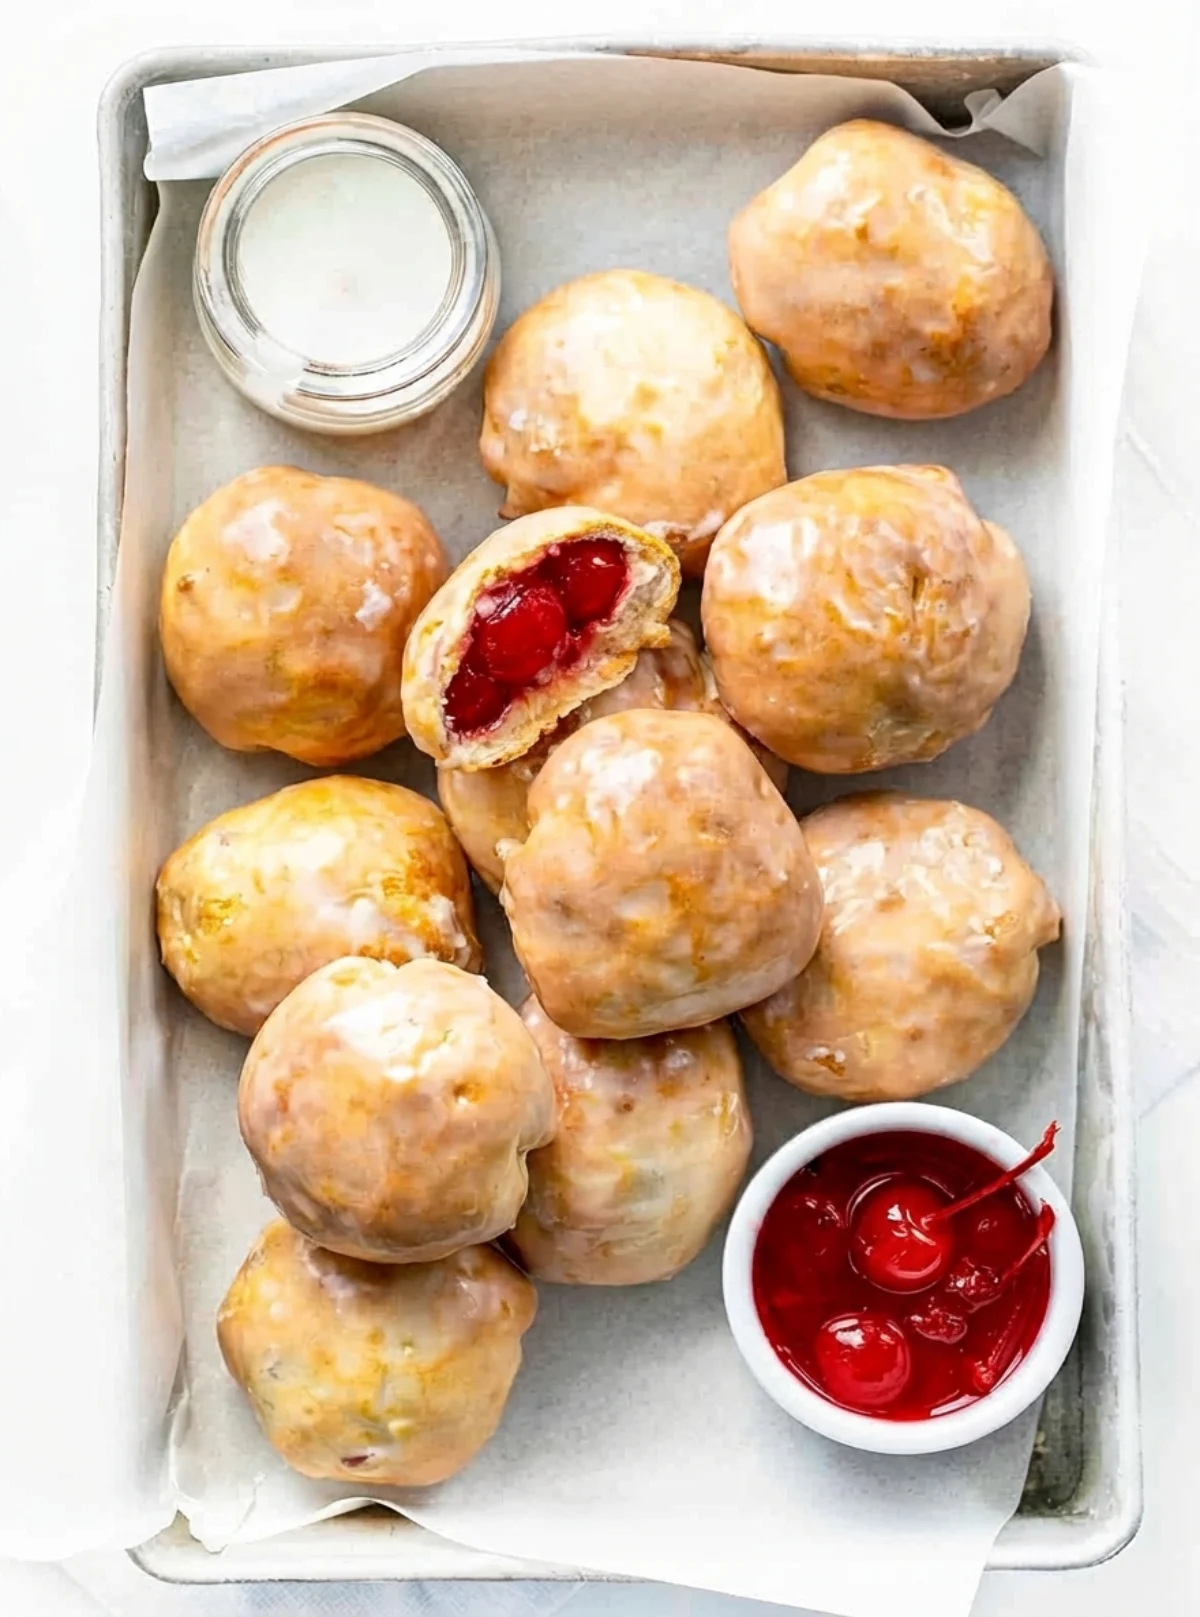
Cherry pie bombs are mini, bite sized cherry pies with a flaky crust and a sweet cherry pie filling tucked inside. They cook up golden in the air fryer, which makes them a smart dessert choice on a hot day when the last thing you want to do is turn on the oven or fuss with a full sized pie.
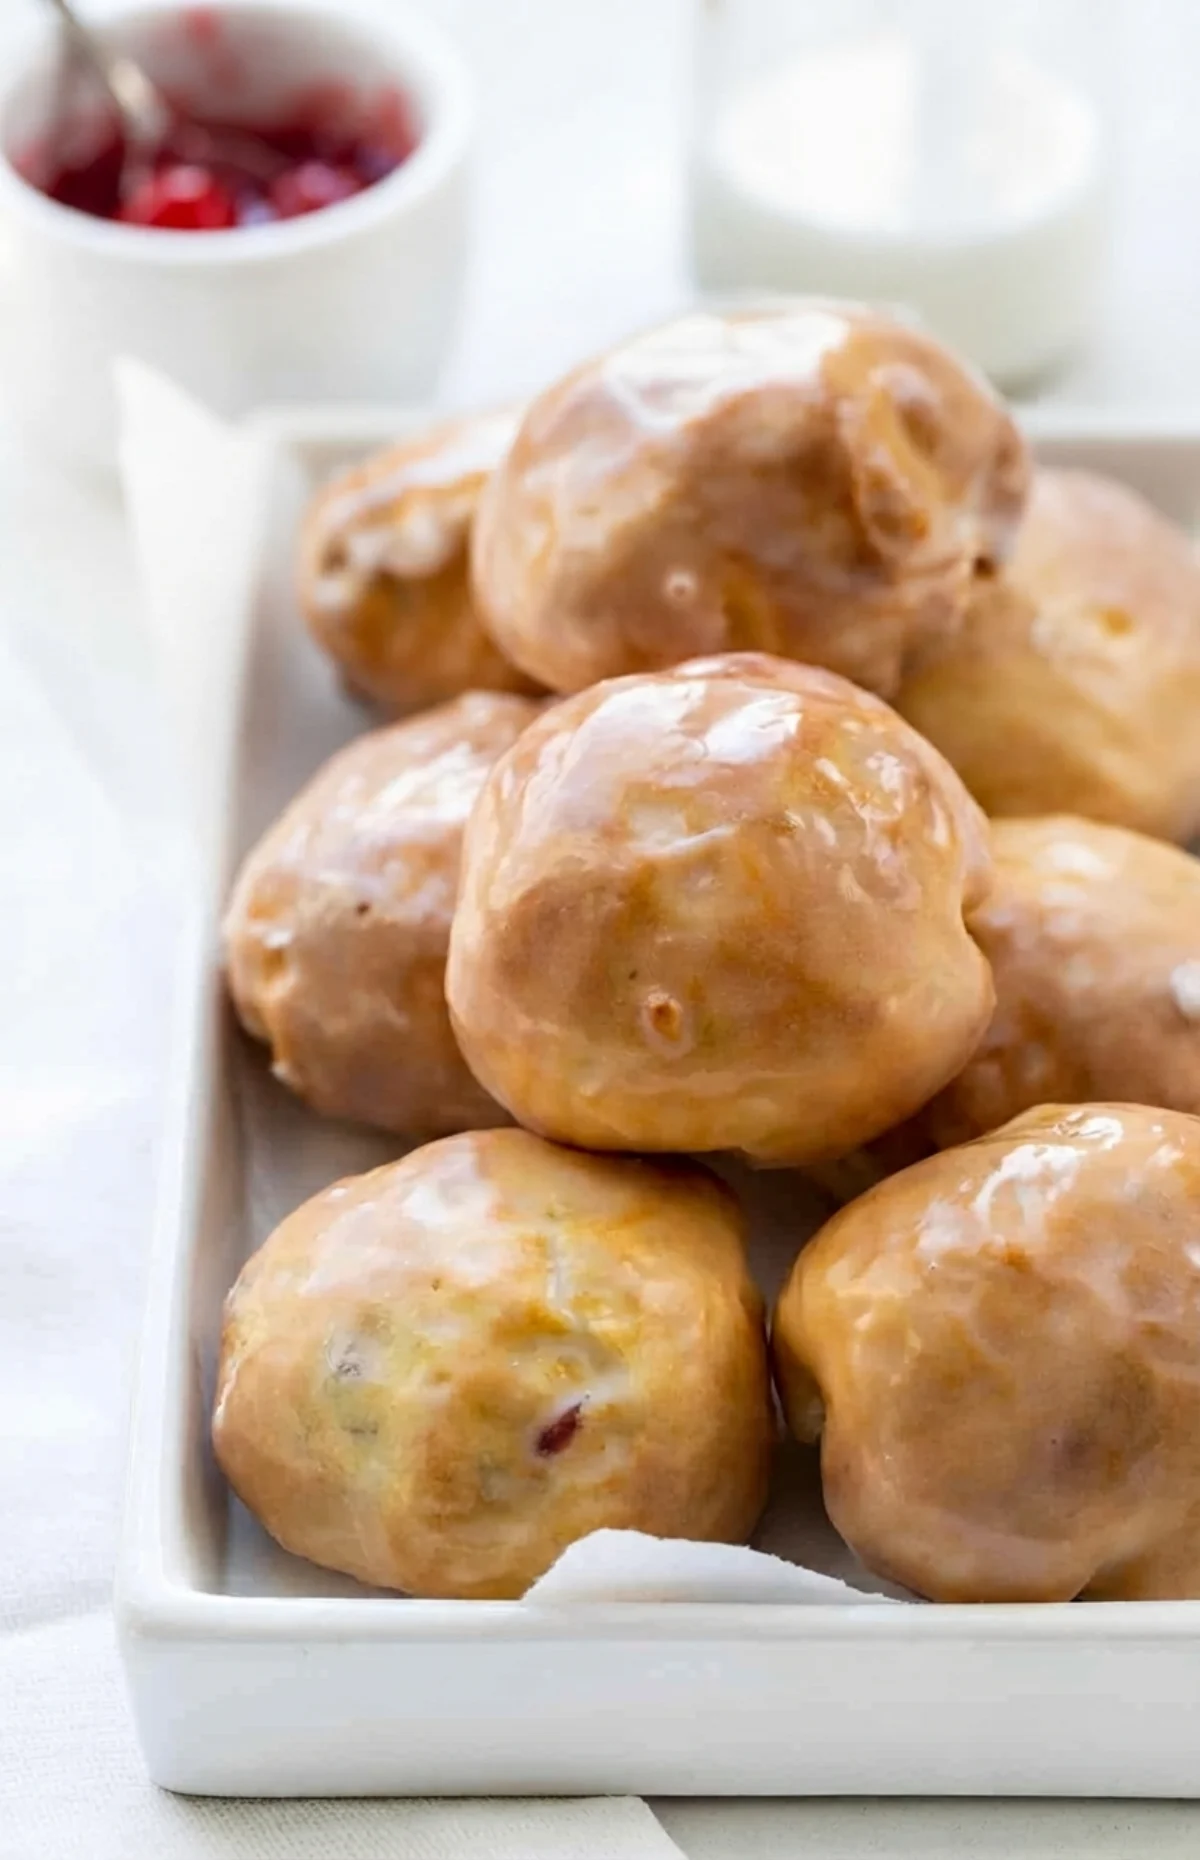
Each bomb gets a simple glaze after cooking, which adds just the right touch of sweetness on top. The whole recipe comes together quickly, and the air fryer does the heavy lifting so you can have a warm cherry dessert on the table in about 23 minutes.
If you enjoy this style of easy air fryer dessert, there is also a separate Apple Pie Bombs recipe that follows the same idea with a different filling. It is another fun option to keep in your back pocket for busy weeks.
These little treats work well for so many moments. Serve them at a party, pack them for a picnic, or enjoy a couple with a cup of coffee in the afternoon. Because they are bite sized, there is no slicing and no plates required. Just grab one and go.
Jump To
Ingredients
The ingredient list here is short, which is part of why this recipe is so approachable. Here is what you need and why each item matters.
- Pillsbury Grand biscuits: You need one can of the regular Grand biscuits, not the flaky layers variety. The regular style holds together well when you split and shape it, and it browns nicely in the air fryer. Biscuit dough is what makes this dessert so easy, since there is no dough to mix or roll from scratch.
- Cherry pie filling: One cup, or 255 grams, is all you need. The canned filling is already sweetened and thickened, so it stays put inside the dough while cooking.
- Melted butter: This gets brushed around the outsides of the pie bombs before they go into the air fryer. It helps the dough turn golden and adds flavor.
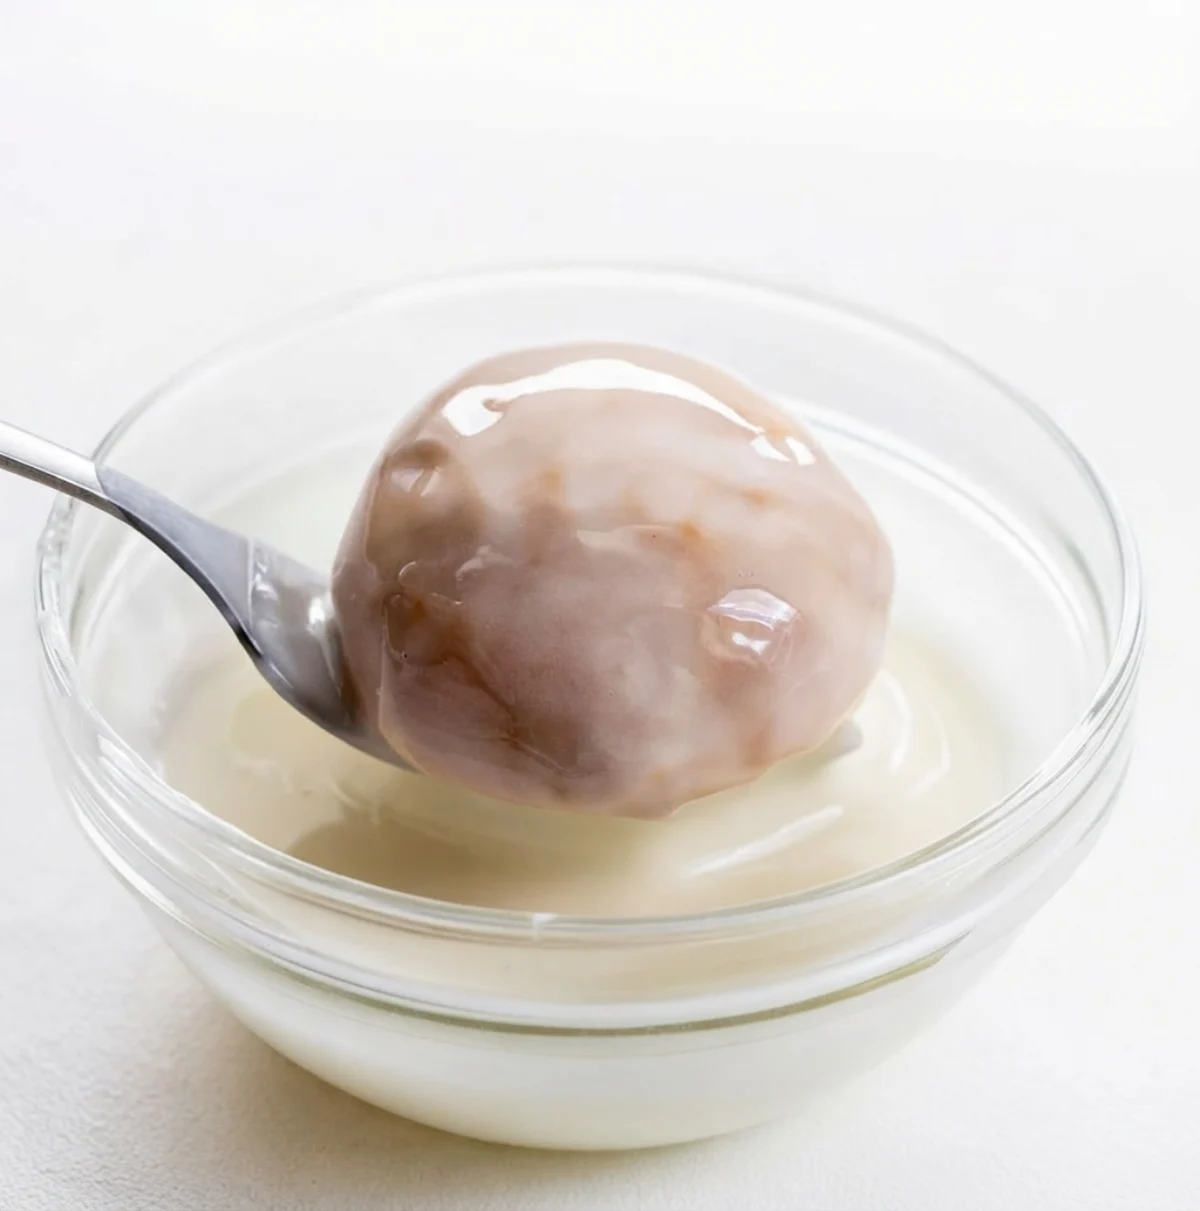
- Confectioners’ sugar and milk: These two simple items make the glaze that gets added at the end.
A few helpful swaps if you need them:
- Dough options: Pie crust dough, puff pastry dough without cinnamon, or crescent roll dough can all be used instead of biscuits. Keep in mind that cooking times may differ with these substitutes, so watch the first batch closely.
- Butter substitute: Cooking spray can replace the melted butter, though butter tastes better and gives a nicer finish.
- Glaze options: The glaze can be omitted if you prefer, but it adds a lovely sweetness. You can dip the bombs in it, drizzle it over the top, or roll each one right through it.
That is the whole list. Nothing complicated, nothing hard to find, and most of it may already be in your kitchen right now.
Can I Bake Cherry Pie Bombs in the Oven?
Yes, you can absolutely bake these in the oven if you do not have an air fryer or simply prefer to use the oven. The process is straightforward and follows the same instructions up to the air frying step.
Here is how to do it:
- Prepare the pie bombs exactly as written, all the way through shaping and brushing them with melted butter.
- Preheat your oven to 375°F.
- Spray a muffin tin with nonstick cooking spray.
- Place the pie bombs into the muffin tin cups.
- Bake for 12 to 14 minutes, or until golden brown.
One thing to expect: oven baked pie bombs may not get quite as golden brown as the air fried version. That is normal and does not affect the taste. The glaze is still part of the finished dessert, so whisk it up while the bombs cool slightly and finish them the same way.
The muffin tin method is handy because it keeps each bomb contained and evenly shaped while it bakes. If you are making a double batch for a gathering, the oven can actually be more convenient since you can bake more at once.
Can I Make Cherry Pie Bombs Ahead of Time?
Yes, these work well as a make ahead treat, and they are a good snack to have around. After cooking, let the pie bombs come to room temperature, then store them in an airtight container for up to 3 days.
When you are ready to serve, reheat them in the microwave before serving. They are best enjoyed warm, so a quick spin in the microwave brings back that fresh from the air fryer feel. This makes them a nice option for prepping a dessert earlier in the day and serving it later without any extra work.
How to Freeze Cherry Pie Bombs
Freezing these is easy, and it means you can always have a quick dessert ready to go. The key is to freeze them before adding any glaze.
Follow these steps:

- Cook the cherry pie bombs as directed and let them cool to room temperature. Do not glaze them yet.
- Place the unglazed bombs on a baking sheet and freeze until solid.
- Transfer the frozen bombs to a freezer safe bag or container.
- Label and date the container so you know what is inside and when it went in.
- Store for up to 3 months.
When you are ready to enjoy them, add the glaze at that point. Freezing them unglazed keeps the glaze fresh and smooth instead of letting it sit and soften in the freezer. This approach also makes it easy to pull out just a few bombs at a time whenever a cherry craving hits.
Can I Use a Different Kind of Pie Filling?
Yes, and this is where the recipe gets fun to play with. Apple pie filling, blueberry pie filling, or any other favorite pie filling can be used in place of the cherry.
The method stays exactly the same, so you can switch up the flavor based on what you have on hand or what your family likes best. One can of filling, one batch of dough, and you have a whole new dessert.
Ingredients
Here is the full ingredient list for the recipe card, with exact amounts.
Pie Bombs
- 1 can (8 count) Pillsbury Grand biscuits, not flaky layers
- 1 cup (255 g) cherry pie filling
- ½ cup (1 stick / 113 g) unsalted butter, melted
Glaze
- 2 cups (250 g) confectioners’ sugar
- 3 to 4 tablespoons whole milk, room temperature
Instructions
Follow these steps to make cherry pie bombs in the air fryer. The process is simple, and once you shape the first few, the rest go quickly.
- Split the biscuits. Remove the biscuits from the can and peel to separate each one into two layers. Press each layer into a 4 inch circle. You will have 16 circles total.
- Add the filling. Spoon about 1 tablespoon of cherry pie filling into the center of each circle. Try not to overfill, since too much filling makes sealing harder.
- Seal and shape. Use your fingers to fold the sides together, pinching firmly to seal. Shape each one into a ball. Make sure the dough is the same thickness all around so the bombs cook evenly.
- Brush with butter. Brush the tops and bottoms of the bombs with the melted butter. This helps them brown beautifully.
- Prep the air fryer. Spray the basket of your air fryer with nonstick cooking spray so nothing sticks.
- Arrange in batches. Working in batches, place the bombs into the air fryer basket about 2 inches apart. Giving them space helps the air circulate and brown every side.
- Air fry. Cook at 330°F for 7 to 8 minutes, or until golden brown. Remove the pie bombs from the air fryer and let them cool slightly. As they cool, make the glaze.
- Make the glaze. In a medium mixing bowl, combine the confectioners’ sugar and milk. Whisk together until smooth. Add more milk a little at a time to reach your desired consistency.
- Glaze the bombs. Dip or roll each cherry pie bomb in the glaze. Place them on a wire rack over a baking sheet so any drips land on the sheet instead of your counter.
- Finish and serve. Let the glaze firm up, then serve warm or at room temperature.
Helpful tip: Pinching the seams well is the most important step. A good seal keeps the cherry filling inside where it belongs during cooking.
Each batch comes out of the air fryer with a golden exterior and a warm, jammy cherry center. The glaze sets up quickly on the wire rack, so you will not wait long before digging in.
Recipe details
Prep time: 15 minutes. Cook time: 8 minutes. Total time: 23 minutes. Servings: 16 pie bombs. Each pie bomb has 133 kcal per the source recipe.
FAQs
<!– wp:rank-math/faq-block {"questions":[{"id":"faq-question-1791055243744-0","title":"How do you make cherry pie bombs in an air fryer?","content":"Separate each Pillsbury Grand biscuit into two layers and press each into a 4-inch circle. Spoon about 1 tablespoon of cherry pie filling into the center, fold the dough over, and pinch to seal into a ball. Brush with melted butter, place in the air fryer basket about 2 inches apart, and air fry at 330°F for 7 to 8 minutes until golden brown.","visible":true},{"id":"faq-question-1791055243744-1","title":"Can you bake cherry pie bombs in the oven instead of an air fryer?","content":"Yes, you can bake cherry pie bombs in the oven. Preheat the oven to 375°F, spray a muffin tin with nonstick spray, place the bombs in the cups, and bake for 12 to 14 minutes until golden brown. Note that they may not brown as deeply as they do in the air fryer.","visible":true},{"id":"faq-question-1791055243744-2","title":"How do you seal cherry pie bombs so they don't leak?","content":"To prevent leaking, fold the dough over the filling and pinch the edges firmly to seal. Make sure the dough is an even thickness all around. For a tighter seal, moisten your fingers with a little water before pinching the seams together.","visible":true},{"id":"faq-question-1791055243744-3","title":"Can you freeze cherry pie bombs for later?","content":"Yes, you can freeze cherry pie bombs. Cook them without the glaze, let them cool to room temperature, then freeze on a baking sheet until solid. Transfer to a freezer-safe bag or container and store for up to 3 months. Add the glaze after thawing and reheating.","visible":true},{"id":"faq-question-1791055243744-4","title":"How do you seal cherry pie bombs so they don't leak?","content":"To prevent leaking, fold the dough over the filling and pinch the edges firmly to seal. Make sure the dough is an even thickness all around. For a tighter seal, moisten your fingers with a little water before pinching the seams together.
“,”visible”:true}]} –>How do you make cherry pie bombs in an air fryer?
Can you bake cherry pie bombs in the oven instead of an air fryer?
How do you seal cherry pie bombs so they don't leak?
Can you freeze cherry pie bombs for later?
How do you seal cherry pie bombs so they don't leak?
To prevent leaking, fold the dough over the filling and pinch the edges firmly to seal. Make sure the dough is an even thickness all around. For a tighter seal, moisten your fingers with a little water before pinching the seams together.


