Ingredients
– 1 package, 6 ounce Strawberry-flavored gelatin for setting the mold and adding flavor
– 2 cups boiling water for dissolving the gelatin
– 1 cup ice cold water for cooling the mixture
– 1 can, 15 ounce Jellied cranberry sauce for adding tang and color
– 1 cup sour cream for making the dessert creamy
– Optional whipped cream for serving
Instructions
1-First Step: Dissolve the Gelatin Start with a large bowl. Pour in the 6 ounce package of strawberry-flavored gelatin, then add 2 cups boiling water. Whisk for about 2 minutes until the gelatin fully dissolves. You do not want any grainy bits left in the bowl.
2-Second Step: Cool the Gelatin Mixture Whisk in 1 cup ice cold water. This brings the temperature down fast and helps the gelatin cool without setting too soon. After that, refrigerate the bowl for about 15 minutes so the mixture cools more before you add the creamy filling.
3-Third Step: Mix the Cranberry Sauce and Sour Cream In another bowl, whisk together the 15 ounce can of jellied cranberry sauce and 1 cup sour cream until smooth. The mixture should look creamy and evenly blended. If you are using whole-berry cranberry sauce, stir a little longer so the texture stays as even as possible.
4-Fourth Step: Combine the Mixtures Once the gelatin has cooled, mix the cranberry sauce and sour cream mixture into it. Stir until everything looks evenly blended. The color should become a soft pink, and the texture should look smooth and consistent.
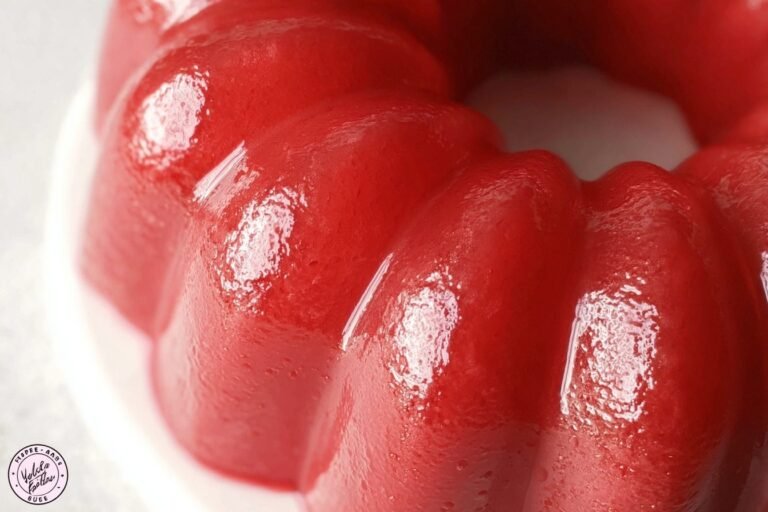
5-Fifth Step: Prepare the Mold Transfer the mixture to a nonstick gelatin mold lightly coated with cooking spray. If you do not have a gelatin mold, you can use a bundt pan with nonstick spray or even a 9×13 pan and serve directly from it. A mold gives the classic look, but the recipe still works well in other pans.
6-Sixth Step: Chill Until Firm Refrigerate the mold for at least 6 hours, but overnight is best. According to the recipe timing, the total time is about 8 hours and 10 minutes, with 10 minutes of prep and 8 hours of chill time. The longer chill gives the best structure, especially if you plan to serve neat slices.
7-Final Step: Unmold and Serve When the gelatin is firm, loosen the edges if needed and invert it onto a plate. If the mold resists, let the bottom sit in warm water for just a few seconds, then try again. Slice the mold into portions and top with whipped cream if desired.
Last Step:
Please leave a rating and comment letting us know how you liked this recipe! This helps our business to thrive and continue providing free, high-quality recipes for you.Notes
🔥 Use boiling water to fully dissolve gelatin for smooth texture.
⏳ Cool gelatin 15 minutes before adding creamy mix to avoid separation.
🍮 Spray mold lightly with oil for effortless unmolding every time.
- Prep Time: 10 minutes
- Chill Time: 8 hours
- Category: Desserts
- Method: No Bake
- Cuisine: American
- Diet: Vegetarian
Nutrition
- Serving Size: 1 slice
- Calories: 173 kcal
- Sugar: 31g
- Sodium: 109mg
- Fat: 4g
- Saturated Fat: 2g
- Unsaturated Fat: 2g
- Trans Fat: 0g
- Carbohydrates: 32g
- Fiber: 0g
- Protein: 1g
- Cholesterol: 11mg