Ingredients
– 2 cups all-purpose flour
– 1 cup unsalted butter
– 3/4 cup brown sugar
– 1 large egg
– 1 tsp vanilla extract
– 1/2 tsp baking soda
Instructions
1-First Step: Preheat and Prepare Baking Surface Preheat your oven to 350°F (175°C). Line a baking sheet with parchment paper or a silicone baking mat to ensure even baking and easy cookie removal.
2-Second Step: Cream Butter and Sugar In a large mixing bowl, cream softened unsalted butter with brown sugar until light and fluffy. This helps build the perfect base for chewy, flavorful cookies.
3-Third Step: Add Egg and Flavorings Beat in the egg and vanilla extract thoroughly to mix and add aroma. For vegan alternatives, ensure flaxseed mixture or egg replacer is fully integrated.
4-Fourth Step: Combine Dry Ingredients In a separate bowl, whisk together all-purpose flour, baking soda, and any additional spices or flavorings customized for the graduation theme.
5-Fifth Step: Mix Dry and Wet Ingredients Gradually incorporate the dry ingredients into the wet mixture, stirring gently to form a soft cookie dough. Avoid overmixing to maintain tenderness and prevent toughness.
6-Sixth Step: Adjust for Dietary Needs If catering to gluten-free or low-calorie requirements, substitute flours and sweeteners as noted in the ingredient list, mixing until uniform.
7-Seventh Step: Portion and Bake Scoop tablespoon-sized portions of dough onto the prepared baking sheet, spacing them about 2 inches apart to allow for spreading. Bake for 10-12 minutes, or until the edges turn golden. Adjust baking time slightly for dietary modifications like gluten-free blends.
8-Eighth Step: Cooling Remove cookies and let cool on the baking sheet for 5 minutes, then transfer to a wire rack to cool completely before decorating.
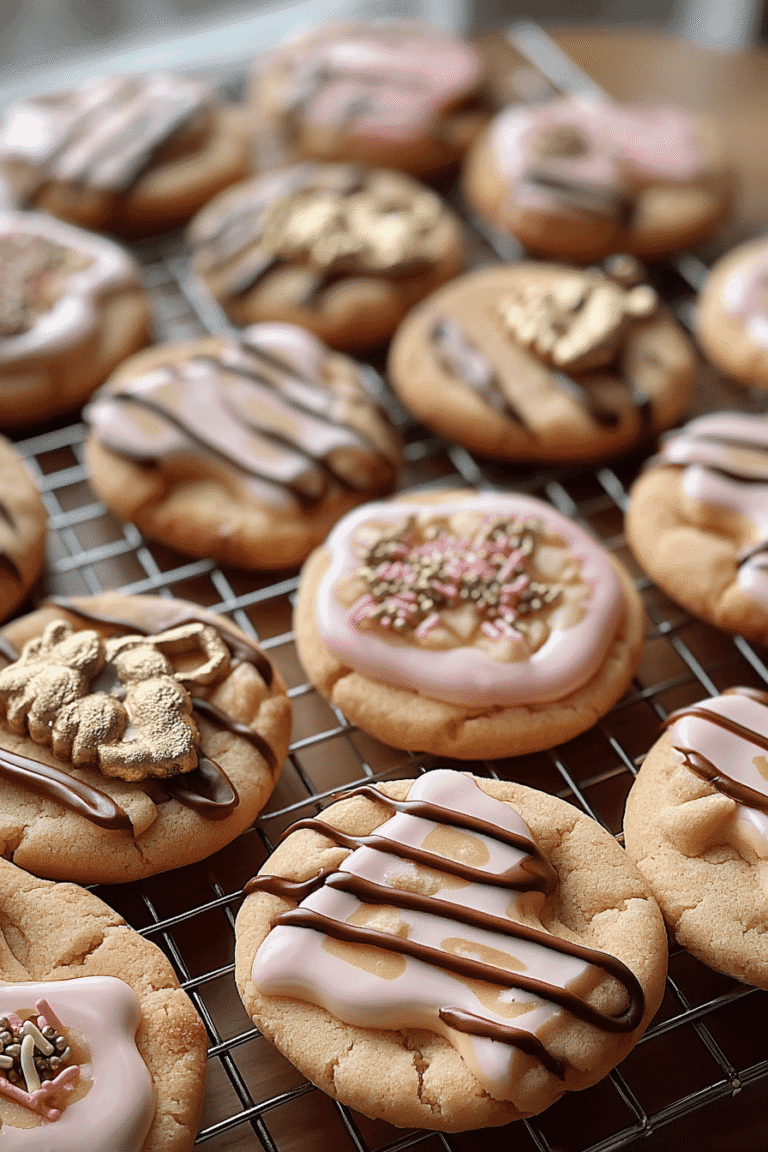
9-Final Step: Personalize and Serve Decorate cookies with correlated designs such as graduation caps, diplomas, or personalized messages using royal icing, edible markers, or sprinkles. Serve fresh or store properly for later enjoyment.
Last Step:
Please leave a rating and comment letting us know how you liked this recipe! This helps our business to thrive and continue providing free, high-quality recipes for you.Notes
🎨 Use a variety of food colorings to make your cookie designs stand out and match the school’s colors.
🕒 Monitor the cookies closely to avoid overbaking; they should be just golden on the edges.
🛑 Ensure the cookies are completely cool before decorating; this keeps the icing from melting.
- Prep Time: 20 minutes
- Decorating: 30 minutes
- Cook Time: 10 to 12 minutes
- Category: Dessert
- Method: Baking
- Cuisine: American
- Diet: Vegetarian
Nutrition
- Serving Size: 1 cookie
- Calories: 150
- Sugar: 10 grams
- Sodium: 70 milligrams
- Fat: 7 grams
- Saturated Fat: 4.5 grams
- Unsaturated Fat: 2 grams
- Trans Fat: 0 grams
- Carbohydrates: 20 grams
- Fiber: 0.5 grams
- Protein: 1 gram
- Cholesterol: 20 milligrams