Ingredients
– 1 lb skinless boneless chicken thighs, diced into 1.5-inch pieces for main protein base
– ½ teaspoon salt for seasoning
– ¼ cup cornstarch for crispy coating
– ⅓ cup neutral oil for frying
– ½ green onion, finely chopped for garnish
– ½ cup plain liquid honey for sweet base
– 2.5 tablespoons regular soy sauce for umami
– 2 tablespoons sesame oil for nutty depth
– ½ tablespoon white granulated sugar for sweetness
– 1 tablespoon cornstarch for thickening sauce
– 3 cloves garlic, minced for aromatic flavor
– 2 teaspoons Shaoxing wine for tenderizing
– 2 teaspoons rice vinegar for acidity balance
– ¾ cup room temperature water for diluting sauce
Instructions
1-First Step: Prepare the Sauce Begin by combining all the sauce ingredients in a small bowl to let the flavors meld. Mix ½ cup plain liquid honey, 2.5 tablespoons regular soy sauce, 2 tablespoons sesame oil, ½ tablespoon white granulated sugar, 1 tablespoon cornstarch, 3 cloves minced garlic, 2 teaspoons Shaoxing wine, 2 teaspoons rice vinegar, and ¾ cup room temperature water until smooth. Set this aside so it’s ready when you need it, which helps the garlic infuse its aroma and ensures the sauce thickens perfectly later.
2-Second Step: Season and Coat the Chicken Take 1 lb of diced skinless boneless chicken thighs and season them with ½ teaspoon salt for even flavor. Then, coat the pieces evenly in ¼ cup cornstarch to create that crispy exterior, making sure each piece is fully covered. This step is key for busy parents who want quick results, as it helps the chicken fry up golden and textured without extra effort.
3-Third Step: Heat and Fry the Chicken Heat ⅓ cup neutral oil in a heavy pan over medium-high heat, aiming for about 350°F to get the oil hot enough for crisping. Fry the chicken in small batches for 6-8 minutes total, flipping halfway through, until it’s golden and crispy drain on a wire rack or paper towels afterward to remove excess oil. Cooking in batches prevents overcrowding, which keeps the chicken from steaming instead of frying, and this method works well for students looking for fast meals.
4-Fourth Step: Simmer the Sauce After frying, discard the excess oil from the pan and pour in the prepared sauce. Let it simmer over medium heat until it thickens, which should take about 2-3 minutes, stirring occasionally to avoid lumps. This step brings out the sweet and savory notes, and you can adjust the heat if you’re diet-conscious to control the intensity for a milder version.
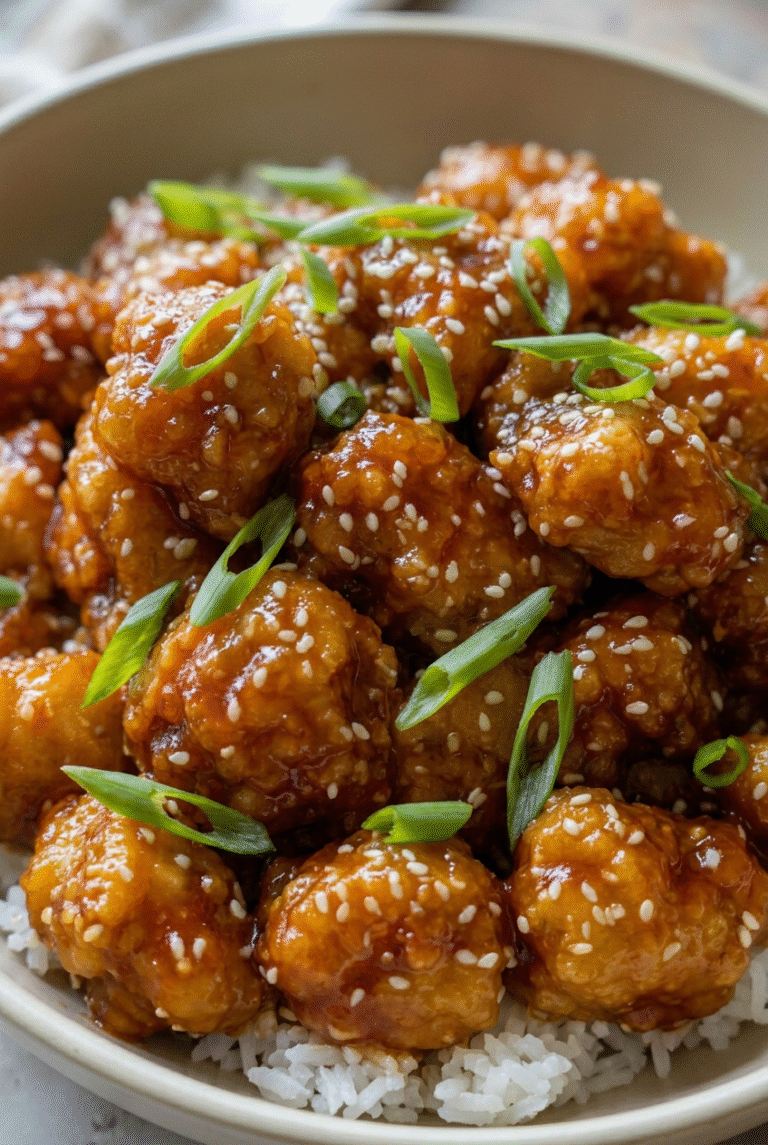
5-Fifth Step: Combine and Serve Toss the fried chicken in the thickened sauce until fully coated, then garnish with ½ finely chopped green onion for a fresh finish. Serve immediately for the best texture, pairing it with rice or veggies to make it a complete meal. This final step ensures the dish stays crispy, and for variations, you can add it to wraps if you’re tailoring for travelers or newlyweds.
Last Step:
Please leave a rating and comment letting us know how you liked this recipe! This helps our business to thrive and continue providing free, high-quality recipes for you.Notes
💧 Pat the chicken dry but leave it slightly moist before dredging in cornstarch to ensure the coating adheres well and creates that perfect crispy exterior.
🔪 Dice the chicken into uniform 1.5-inch pieces for even cooking and presentation, making it easier to achieve consistent browning and texture.
🌡️ Use a heavy-bottomed pan and heat the oil properly to 350°F before frying to promote caramelization and prevent the chicken from becoming soggy.
- Prep Time: 20 minutes
- Cook Time: 10 minutes
- Category: Main Course
- Method: Pan-fry
- Cuisine: Asian
- Diet: Non-Vegetarian
Nutrition
- Serving Size: 1/4 of recipe
- Calories: 530 kcal
- Sugar: 49 g
- Sodium: 1368 mg
- Fat: 17 g
- Saturated Fat: 3 g
- Unsaturated Fat: 14 g
- Trans Fat: 0 g
- Carbohydrates: 64 g
- Fiber: 1 g
- Protein: 32 g
- Cholesterol: 100 mg