Introduction to Homemade Pie Crust
Whipping up a homemade pie crust from scratch might seem daunting, but once you try it, you’ll never go back to store-bought again. This recipe, using simple ingredients such as flour, cold butter, and ice water, ensures flakiness and flavor that are hard to match. For those seeking a gluten-free or vegan option, substituting the essential ingredients makes this delightful endeavor accessible to everyone. Join me on Valentina Recipes in crafting a crust that will not only add a personal touch to your pies but will also fill your kitchen with the comforting aroma of something truly special. Learn more about crafting perfect crusts, and feel inspired every step of the way.
Benefits and Advantages of Homemade Pie Crust
Creating your own pie crust at home means having complete control over what goes into it, making it far superior to its store-bought counterparts. Firstly, it’s surprisingly easy and requires only a handful of ingredients. Home cooks can tweak the recipe to fit dietary needs, offering gluten-free or vegan choices for family and friends. In addition to customization, homemade pie crusts are typically fresher and flakier than pre-packaged versions, allowing for a superior baking experience. Consider checking out my Garlic Broccoli Stir Fry or Decadent Creamy Garlic Butter Lobster Tails for more home-cooked goodness ideas that pair well with a freshly baked pie.
Ingredients Overview
Essential Ingredients for Homemade Pie Crust
Creating a perfect homemade pie crust requires just a handful of basic ingredients, yet each plays a crucial role in both flavor and texture. Here’s a detailed list:
| Ingredient | Measurement | Purpose |
|---|---|---|
| All-Purpose Flour | 2 ½ cups | The foundation of the crust provides structure. Opt for gluten-free flour if necessary. |
| Salt | 1 teaspoon | Enhances the flavor and balances sweetness. |
| Sugar | 1 tablespoon | Adds a slight sweetness and aids in browning. |
| Unsalted Butter (cold) | 1 cup (2 sticks) | Introduces flavor and aids in creating a flaky texture. Use plant-based butter for a vegan option. |
| Ice Water | 6-8 tablespoons | Helps bind the dough together without warming it. |
| Optional: Shortening (cold) | ½ cup | Improves flakiness and stability, especially useful in warm kitchens. |
All-butter crusts are celebrated for their flavor, while shortening provides a crust that’s easier to manage and handle. The choice depends on your preference and desired pastry characteristics.
Dietary Substitutions to Customize Your Homemade Pie Crust
Cooking with dietary needs in mind doesn’t have to be challenging. Here’s how you can adjust your homemade pie crust for various health considerations:
- Vegan Option: Replace butter with coconut oil or vegan butter. Ensure all other ingredients like shortening are also plant-based.
- Gluten-Free: Use a gluten-free all-purpose flour blend. For best results, select one that includes xanthan gum or add it separately to mimic the binding properties of gluten.
- Low-Calorie: Opt for a reduced-fat margarine or a lower-calorie butter spread. If using vegetable spreads, ensure they are kept cold and firm during the preparation.
Each substitution might alter the texture or flavor slightly, so feel free to experiment to find what suits your palate best. For more detailed insights on creating a versatile crust, explore my recipe adaptations that show how small tweaks can cater to different dietary preferences.
How to Prepare the Perfect Homemade Pie Crust: Step-by-Step Guide
Creating a homemade pie crust is a delightful process, from measuring and mixing to rolling and forming. Follow these step-by-step instructions to perfect your pastry every time.
First Step: Mixing the Dry Ingredients
Begin by combining 2 ½ cups of all-purpose flour, 1 teaspoon of salt, and 1 tablespoon of sugar in a large mixing bowl. Stir these together until well-blended.
Second Step: Incorporating the Cold Fat
Add 1 cup of cold unsalted butter, cut into small cubes. If desired, include ½ cup of cold shortening for a different texture. Use a food processor or pastry cutter to cut the fat into the flour mixture until it resembles coarse crumbs.
A simple butter-flour ratio results in a pie crust that’s tender and flaky. Experimenting with different methods can lead to new favorite textures!
Third Step: Bringing the Dough Together
Gradually sprinkle 6-8 tablespoons of ice water over the flour mixture, stirring with a fork after each addition. Continue adding water until the dough begins to come together but is not sticky.
Fourth Step: Forming and Chilling the Dough
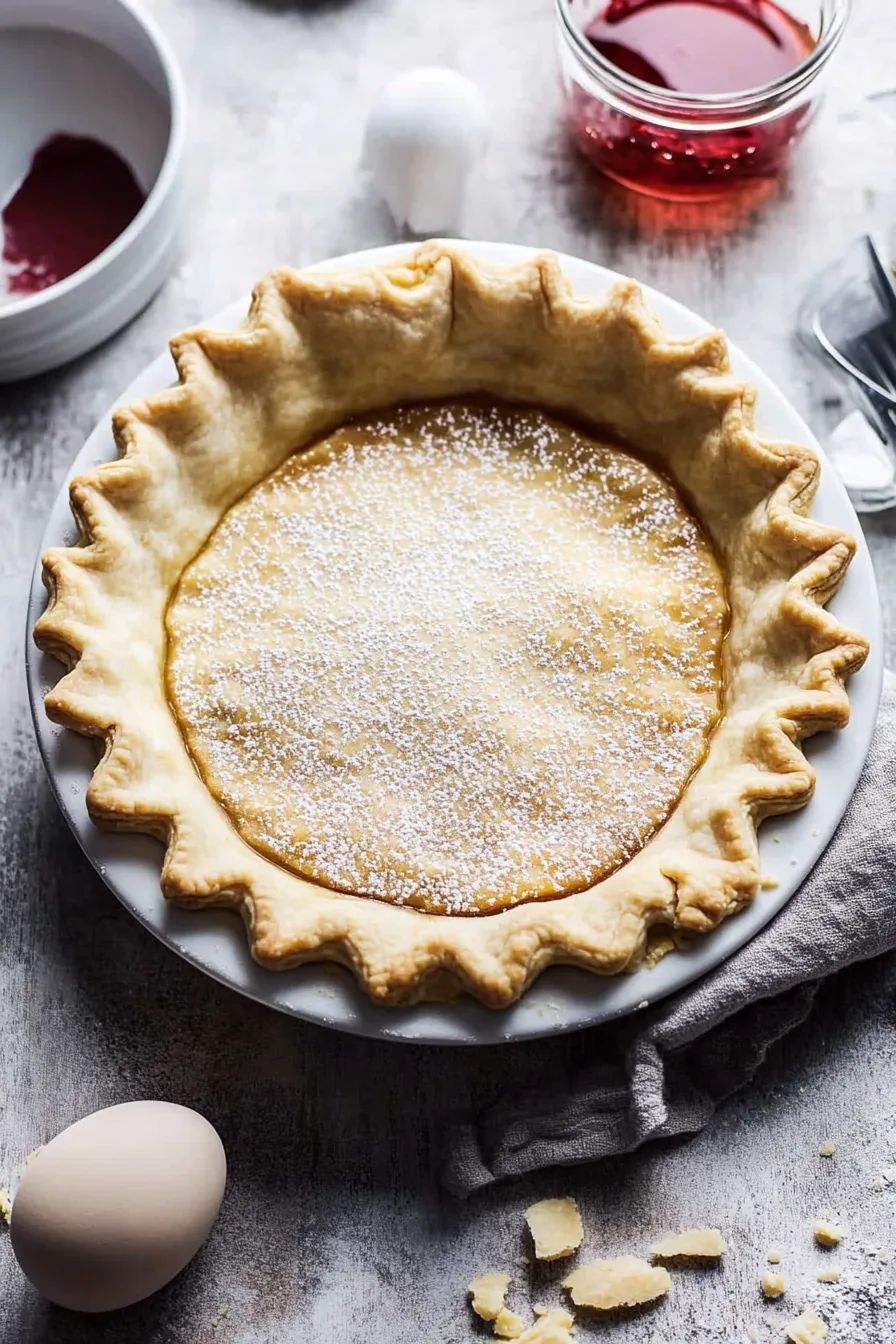
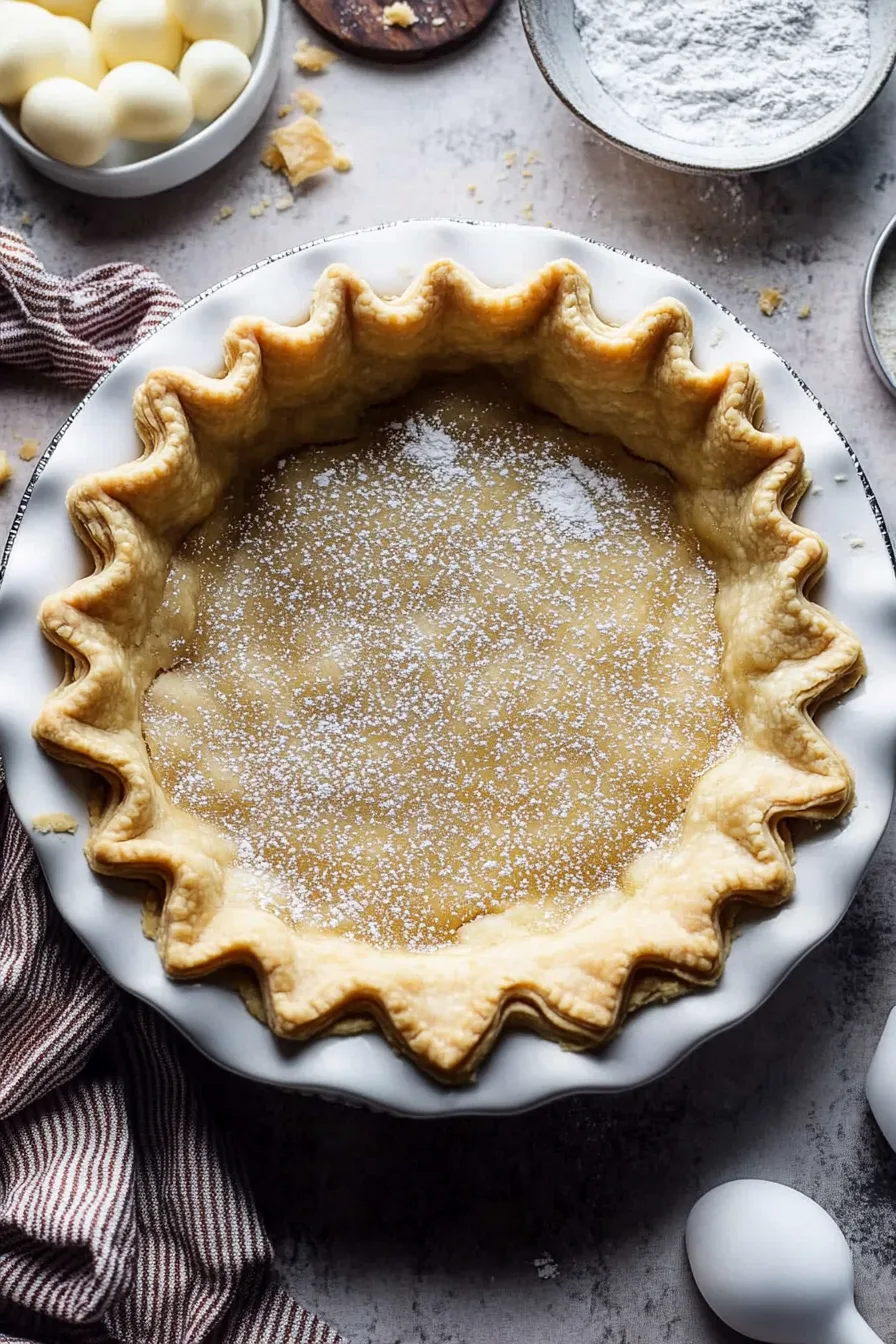
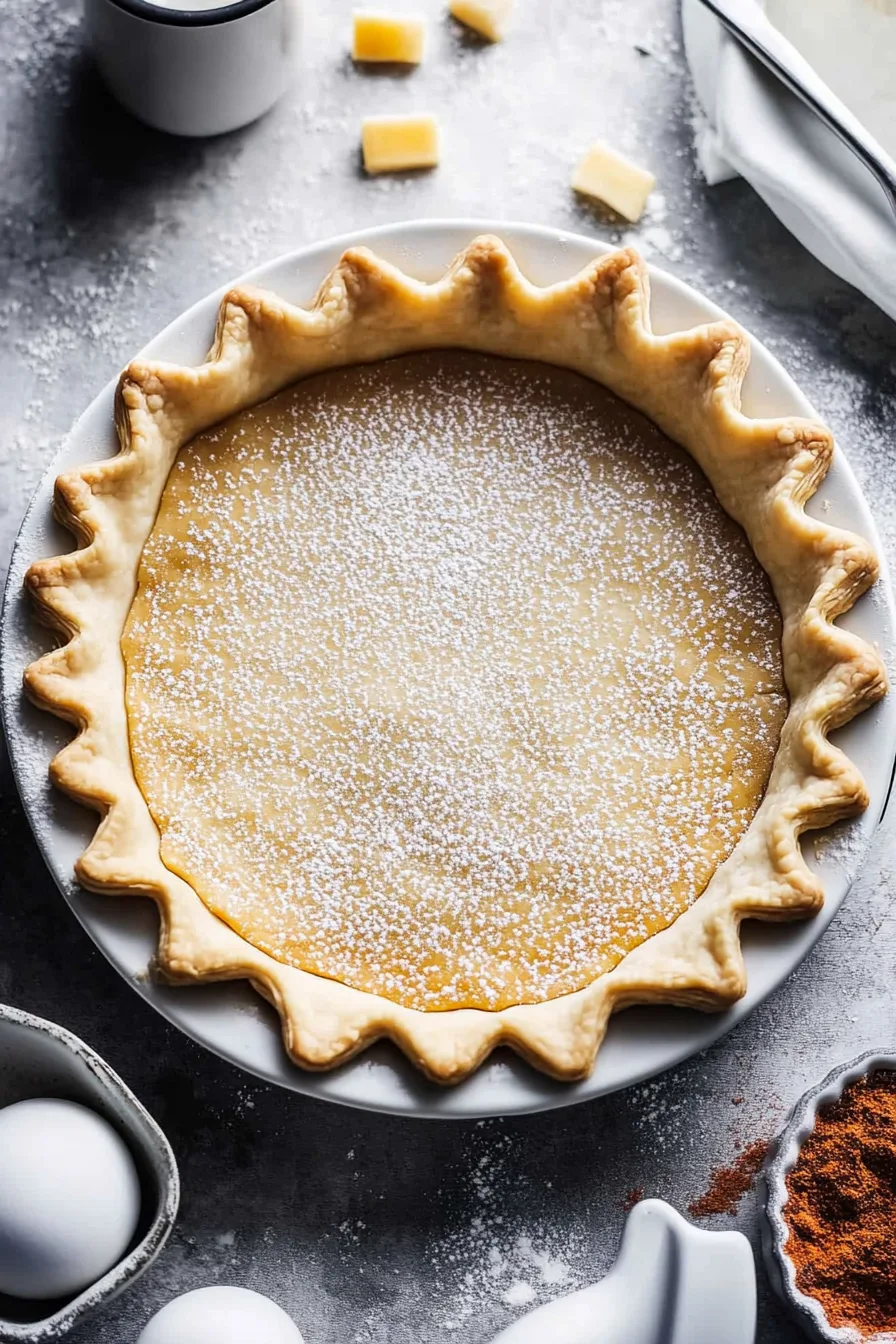
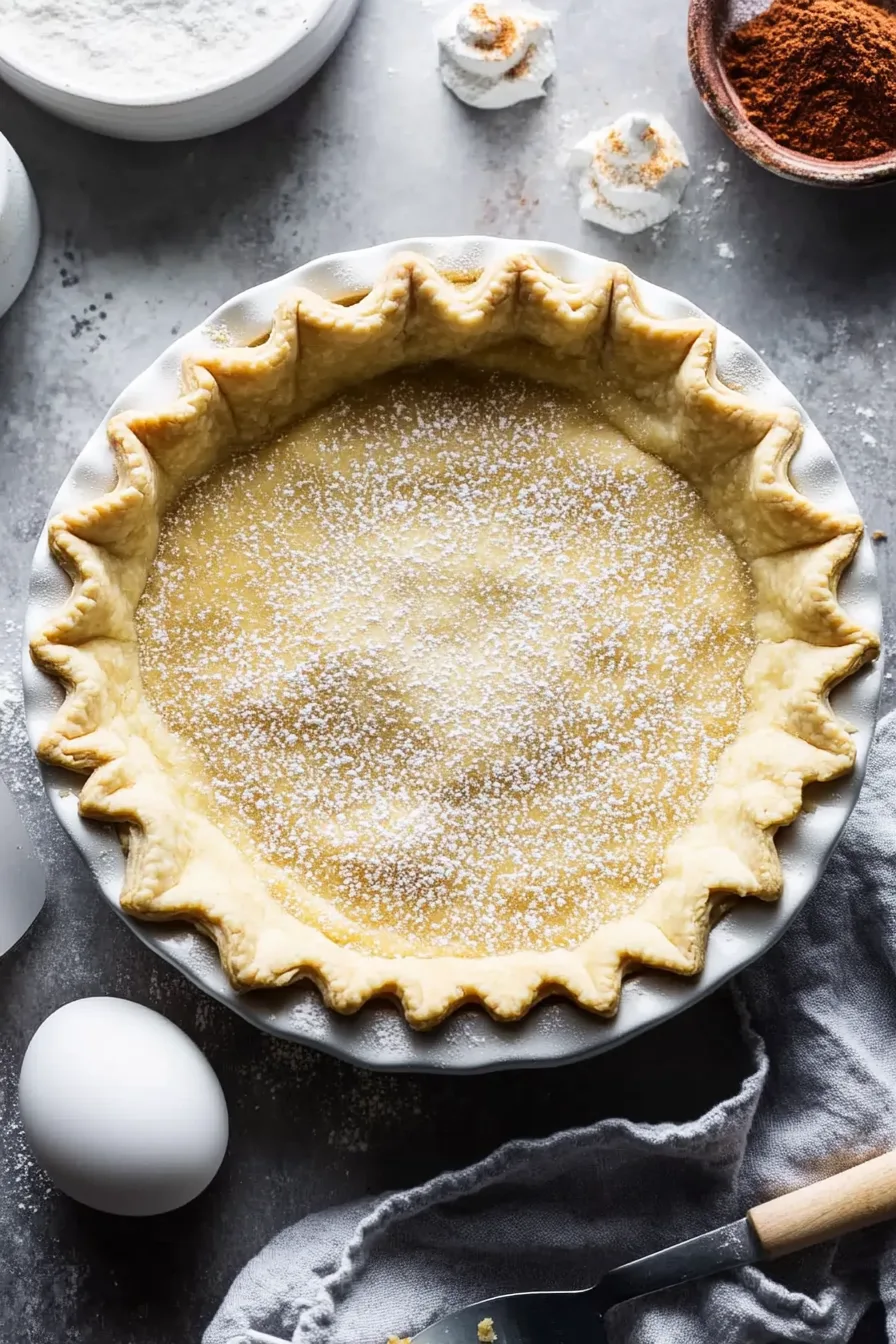
Gather the dough into a ball, then cut it in half. Shape each half into a disc, wrap in plastic wrap, and refrigerate for at least 1 hour. This chilling period is crucial for ensuring the fat remains solid, contributing to the flakiness of the crust.
Fifth Step: Rolling Out the Dough
On a lightly floured surface, roll the chilled dough to a 1/8-inch thickness, maintaining even pressure to ensure uniformity. Use a rolling pin to help transfer the dough to a pie plate, rolling it gently over the pin and unrolling it over the plate.
Sixth Step: Pre-Baking (Optional)
For a pre-baked crust, use a fork to prick the bottom, line with parchment paper, and add pie weights. Bake at 375°F for 15-20 minutes until lightly browned.
With practice, these steps will become second nature, and the resulting homemade pie crust will serve as a delectable base for countless fillings, from sweet fruits to savory meats, similar to this cornbread recipe on my blog that’s just waiting for a perfect crust to complete it.
Mastering Homemade Pie Crust: Advanced Tips and Variations
Creating a flawless homemade pie crust requires practice and attention to detail. However, with some advanced tips and variations, you can enhance your crust-making skills significantly. Let’s delve into some expert advice.
Consistency is Key
Firstly, the consistency of your dough is crucial. To achieve the ideal texture, ensure that your ingredients, especially the butter, remain cold. Cold ingredients make the pastry flakier, preventing the butter from melting prematurely and integrating into the flour. Additionally, once your dough mixture reaches a sandy consistency, stop mixing. Overmixing can lead to a tough crust.
Chill and Rest the Dough
After mixing, refrigerate your dough for at least an hour. This rest period is pivotal as it allows the gluten to relax and the flour to hydrate fully. Moreover, cold dough is easier to roll out, reducing the chances of it tearing. Some bakers even suggest cooling the rolled-out dough before transferring it to the pie plate to reduce shrinking during baking.
Experiment with Liquids
While ice water is a common choice, consider incorporating different liquids to add unique flavors and enhance pliability. A popular alternative is vodka, which can offer moisture without activating the gluten, leading to a flakier crust. Another option could be buttermilk for a subtle tanginess. Adjust quantities accordingly to maintain the dough’s consistency.
Unique Flavor Additions
For those looking to add a twist, consider infusing your dough with various flavors:
- Herbs: Fresh rosemary or thyme can add earthy notes perfect for savory pies.
- Spices: A teaspoon of cinnamon or nutmeg can elevate a sweet pie’s flavor profile.
- Cheese: Grated Parmesan works wonders in adding depth to quiches and savory tarts.
Alternate Fat Choices
Though butter is the classic choice, incorporating other fats like lard or shortening can change the texture and handling of your dough. Lard can create an extremely flaky pastry, while shortening often provides a tender crust.
Texture Techniques
To ensure a perfect texture, once you’ve rolled out the dough, try layering. Roll it out, fold it into thirds, and roll again. This creates layers similar to puff pastry, adding flakiness during baking.
Decorative Edges
Diversity isn’t just for flavors. Pie crusts can be tailored visually as well. Use crimping, lattice weaving, or leaf cutouts to not only seal the edges but to also add a decorative touch. These techniques not only elevate the pie’s presentation but typically act as a sealing method to keep the filling intact during baking.
By incorporating these tips and variations, crafting a show-stopping homemade pie crust becomes an enjoyable endeavor. Practice and adapt these techniques to suit your kitchen style, and soon they’ll become an intuitive part of your pie-making routine. For more exciting recipes, check out our delicious banana pudding cheesecake for a sweet treat.
How to Store Homemade Pie Crust: Best Practices
Storing your homemade pie crust properly ensures that it maintains its texture and flavor until you are ready to use it. Here’s how to store it effectively:
Refrigeration Tips
If you plan to use the dough within a day or two, wrap it in plastic wrap or place it in a sealed container to prevent it from drying out. Ensure that it remains cold, but not frozen, when you bring it out to roll. Cold dough is easier to handle and less likely to stick.
Freezing for Longer Storage
For longer-term storage, freezing is an excellent option. Shape the dough into a disc, wrap it tightly in plastic wrap, and then place it inside a resealable freezer bag. Label each package with the date and type of dough to keep track. Homemade pie crusts can be frozen for up to three months without losing quality. When you are ready to use it, thaw it slowly in the refrigerator for several hours or overnight before rolling it out.
Pre-baked Crust Storage
For pre-baked pie shells, let them cool completely after baking. Then, wrap them tightly in foil and place them in a freezer-safe bag. You can store these baked shells in the freezer for up to a month. Reheat them in an oven set to 375°F for about 5-10 minutes before filling.
Thawing and Rolling
Proper thawing is crucial for maintaining the crust’s quality. Transfer the frozen dough to the refrigerator at least 12 hours before use. Once thawed, let it sit at room temperature for a few minutes to make rolling easier.
By following these storage tips, your homemade pie crust will be ready whenever the craving strikes. Ensuring that you adhere to these best practices will maintain your crust’s quality, making your next pie as delightful as the last. Dive into more techniques and explore the benefits of pistachio wedding cookies for creative ideas.
Nutritional Value of Homemade Pie Crust
Understanding the nutritional value of a homemade pie crust can guide you in making informed decisions about its role in your diet. While pie crusts are not typically associated with health foods, knowing their composition helps balance indulgence with nutritional awareness.
Calories, Fats, and Carbohydrates
A basic homemade pie crust is primarily made of flour, butter, and a pinch of salt. Here’s a generalized breakdown:
- Calories: Approximately 120-150 calories per slice, depending on the thickness.
- Fats: A typical pie crust contains around 8-10 grams of fat, mostly from butter or shortening.
- Carbohydrates: Each slice of pie crust usually contains about 12 grams of carbohydrates, primarily from flour.
When making desserts such as banana pudding cheesecake, pie crusts offer a rich base, but moderation remains key due to their dense caloric content.
Protein and Nutrients
While not a significant source of protein, homemade pie crusts provide about 1-2 grams of protein per serving. Regarding micronutrients:
- Vitamins: Pie crust offers traces of vitamins like B-vitamins found in flour but not enough to be considered a substantial source.
- Minerals: Contains small amounts of minerals like iron and calcium, yet again, not in significant quantities.
Incorporating whole-grain or almond flours can elevate the fiber and nutritional value of your crust without drastically altering taste. Cutting down on sugar and opting for unsweetened versions in recipes like a spare rib-green bean pie provides savory alternatives.
Overall, homemade pie crusts embody a blend of carbs, fats, and minimal proteins, making them a delightful yet moderate indulgence.
FAQs: Frequently Asked Questions About Homemade Pie Crust
1. What ingredients are needed to make a homemade pie crust?
To create a basic homemade pie crust, you’ll need flour, cold butter or shortening, salt, sugar, and ice water. For those seeking dietary variations, vegan butter can be substituted for traditional butter, and gluten-free flour blends work as non-wheat alternatives.
2. How long should homemade pie crust dough rest in the refrigerator?
It’s essential to let the pie crust dough rest in the refrigerator for at least one hour, allowing the gluten to relax and the fats to solidify. This resting period ensures a tender, flaky texture once baked.
3. Why is it important to keep ingredients cold when making homemade pie crust?
Keeping ingredients cold, particularly butter or shortening, is crucial in achieving a flaky pie crust. Cold fats create pockets within the dough that expand during baking, leading to the characteristic layers and flakiness of a well-made crust.
4. How do I prevent my homemade pie crust from becoming too tough or overworked?
To avoid a tough pie crust, handle your dough minimally. Overmixing can activate gluten excessively, resulting in a chewy texture. Use a gentle hand while incorporating water, and mix just until the dough comes together.
For more insights into pie crust preparation and baking, explore reliable resources such as this detailed guide on pie recipes.
Print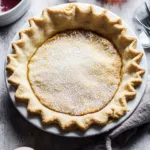
Homemade Pie Crust from Scratch
- Total Time: 1 hour 20 minutes
Description
🍰 Craft the perfect homemade pie crust with simple ingredients and easy steps for a flaky, buttery base that melts in your mouth! 🥧
🥄 With make-ahead and freezer-friendly options, this foolproof recipe ensures delicious pies anytime without the hassle! ❄️
Ingredients
Flour
Salt
Sugar
Cold butter or shortening
Ice water
(Optional) Vodka
Instructions
1. Gather ingredients: flour, salt, sugar, cold butter and/or shortening, and ice water.
2. Combine flour, salt, and sugar in a bowl.
3. Cut cold butter or shortening into the flour mixture using a pastry cutter or pulse in a food processor until coarse crumbs form.
4. Gradually add ice water, mixing with a fork or pulsing just until dough comes together.
5. Shape dough into a disc, wrap in plastic wrap, and refrigerate for at least 1 hour.
6. Lightly flour a surface and rolling pin, then roll dough to 1/8 inch thickness.
7. Carefully transfer dough to pie plate by rolling it onto the rolling pin and unrolling over the plate.
8. Trim excess dough and crimp edges as desired.
9. For a pre-baked crust, prick the bottom with a fork, line with parchment, add pie weights, and bake at 375°F for 15-20 minutes.
10. Use immediately or store in the freezer for up to 3 months.
Notes
Keep all ingredients cold to achieve a flaky texture.
Chill the dough for at least an hour before rolling to prevent shrinking.
Use a mix of butter for flavor and shortening for an easier-to-handle dough.
- Prep Time: 60
- Cook Time: 20
- Category: Dessert
- Method: Baking
- Cuisine: American