Introduction to Danish butter cookies
Danish butter cookies, a delightful treat cherished worldwide, capture the essence of buttery goodness with every bite. Originating from Denmark in the late 1800s, these cookies are known for their simplicity, crafted with minimal ingredients like butter, flour, and sugar. Offering a classic harmony of flavors, they’re an ideal choice for anyone looking to indulge in a refined yet simple recipe. Danish butter cookies feature a crisp texture and are often enjoyed as a snack, especially during festive seasons. Explore the joy of baking these traditional cookies, which can be easily stored in their iconic blue tins or enjoyed fresh out of the oven.
Benefits and Advantages of Danish butter cookies
Among the many attributes of Danish butter cookies, their ease of preparation stands out. With just a few high-quality ingredients, these cookies are simple to make, even for novice bakers. The health benefits derived from using natural ingredients like butter without artificial additives make them a conscious choice. Plus, their versatility in flavors — from vanilla to chocolate — and iconic shapes like pretzels provide delightful variety. Whether you’re enjoying as a treat at tea time or gifting during the holidays, Danish butter cookies offer a delicious experience that resonates with all ages, providing a comforting taste of tradition.

Ingredients Overview
Essential Ingredients for Danish butter cookies
- Butter: 1 cup (2 sticks) of unsalted, high-quality European butter for a rich and creamy flavor. Using quality butter such as Kerrygold is key to achieving the authentic Danish taste.
- Sugar: 3/4 cup of granulated sugar, providing just the right amount of sweetness and a slight crunch when baked.
- Flour: 2 cups of all-purpose flour, which forms the base structure of the cookies.
- Vanilla Extract: 1 teaspoon for adding a delightful aromatic flavor. Using vanilla bean paste can add those delicious speckles of vanilla flavor.
- Salt: 1/4 teaspoon to enhance the flavors of all the other ingredients.
For those seeking vegan, gluten-free, or low-calorie options, alternative ingredients can be used. Replace butter with vegan butter like Earth Balance for a vegan version, or swap all-purpose flour with a gluten-free baking blend to accommodate dietary needs.
Dietary Substitutions to Customize Your Danish butter cookies
You can modify the traditional Danish butter cookies recipe to cater to various dietary preferences without compromising on taste or texture. Here are some suggestions:
- Vegan Version: Substitute the butter with a vegan option, like coconut oil or a high-quality vegan margarine.
- Gluten-Free Adaptation: Use a cup-for-cup gluten-free flour blend that includes xanthan gum for structure.
- Low-Calorie Option: Consider using a sugar alternative such as erythritol or monk fruit sweetener to cut down on calories while still enjoying the sweetness.
These substitutions allow individuals with specific dietary needs to enjoy the classic taste of Danish butter cookies without missing out on the experience. Always make sure to test these adjustments in small batches to ensure you achieve the desired outcome.
How to Prepare the Perfect Danish butter cookies: Step-by-Step Guide
Creating the perfect Danish butter cookies involves simple steps that anyone can follow to achieve beautifully crafted, deliciously crispy cookies. Below is a step-by-step guide to help you through the process:
First Step: Begin by preheating your oven to 350°F (175°C). Line a baking sheet with parchment paper or a silicone baking mat for easy removal and even baking.
Second Step: In a large mixing bowl, cream the butter and sugar together until light and fluffy. This step is crucial for giving your cookies a soft and creamy texture, so take your time. Add vanilla extract and mix until fully incorporated.
Third Step: Gradually add the flour and salt into the butter mixture, stirring just until combined. Be careful not to overmix to keep the cookies light and tender.
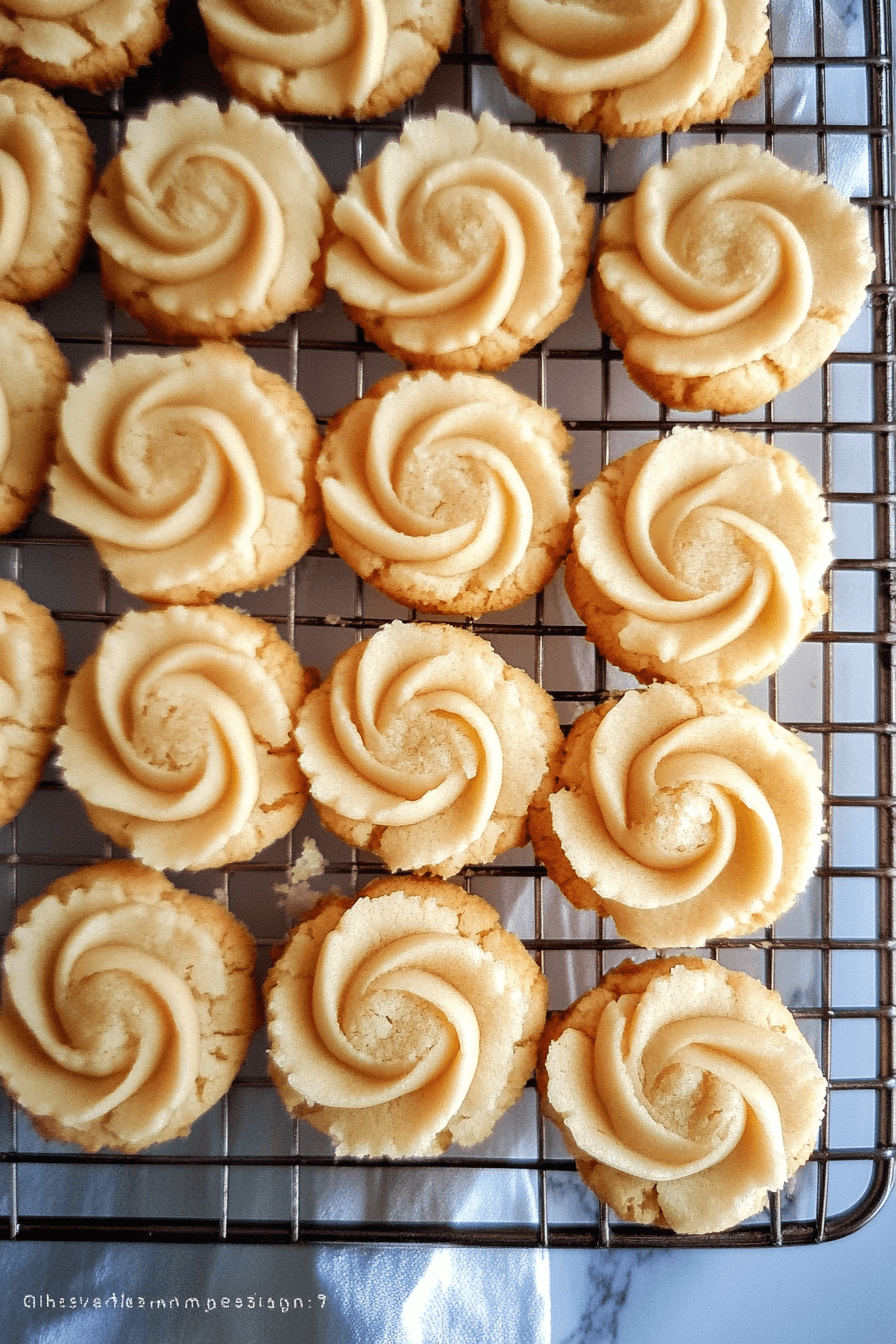
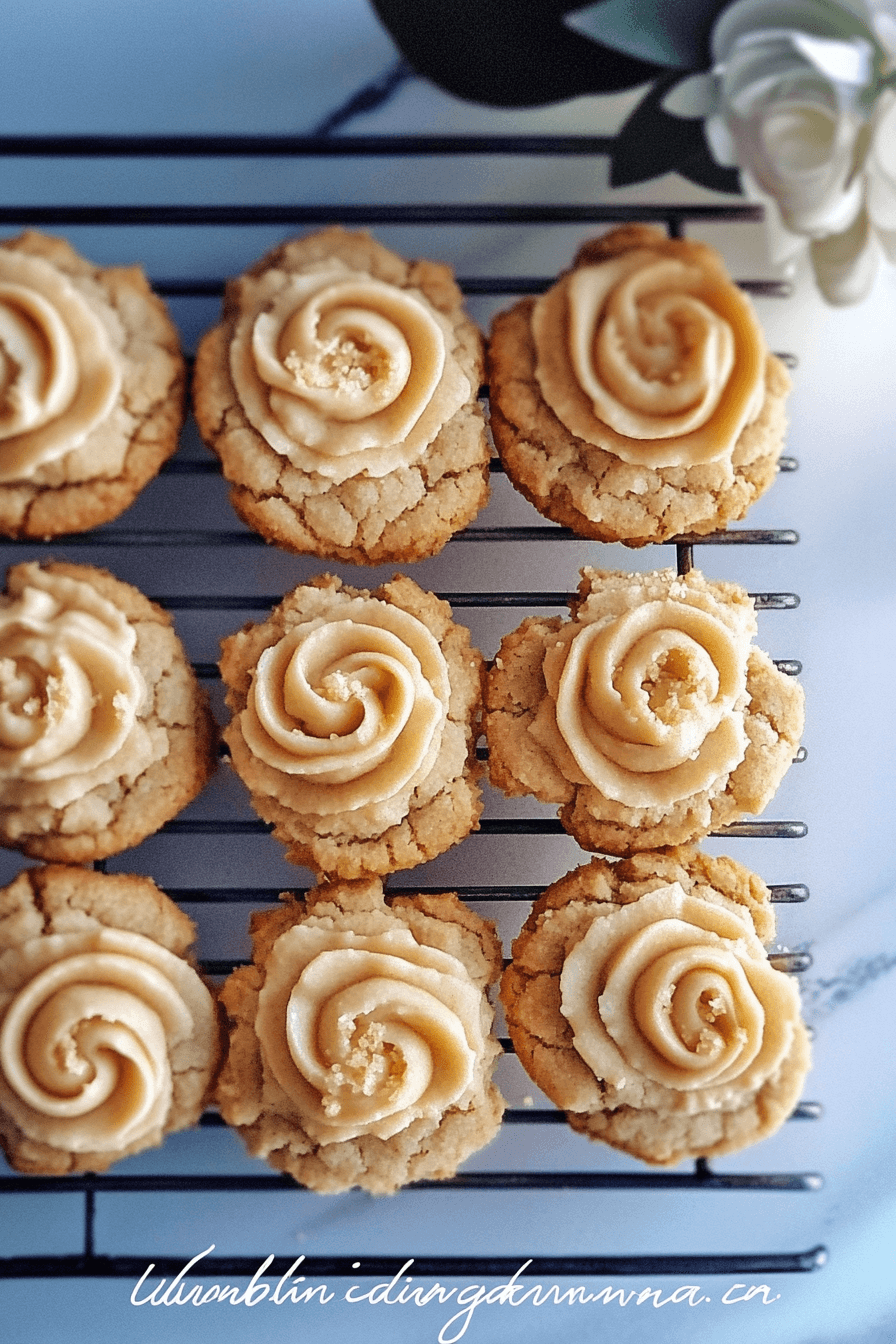
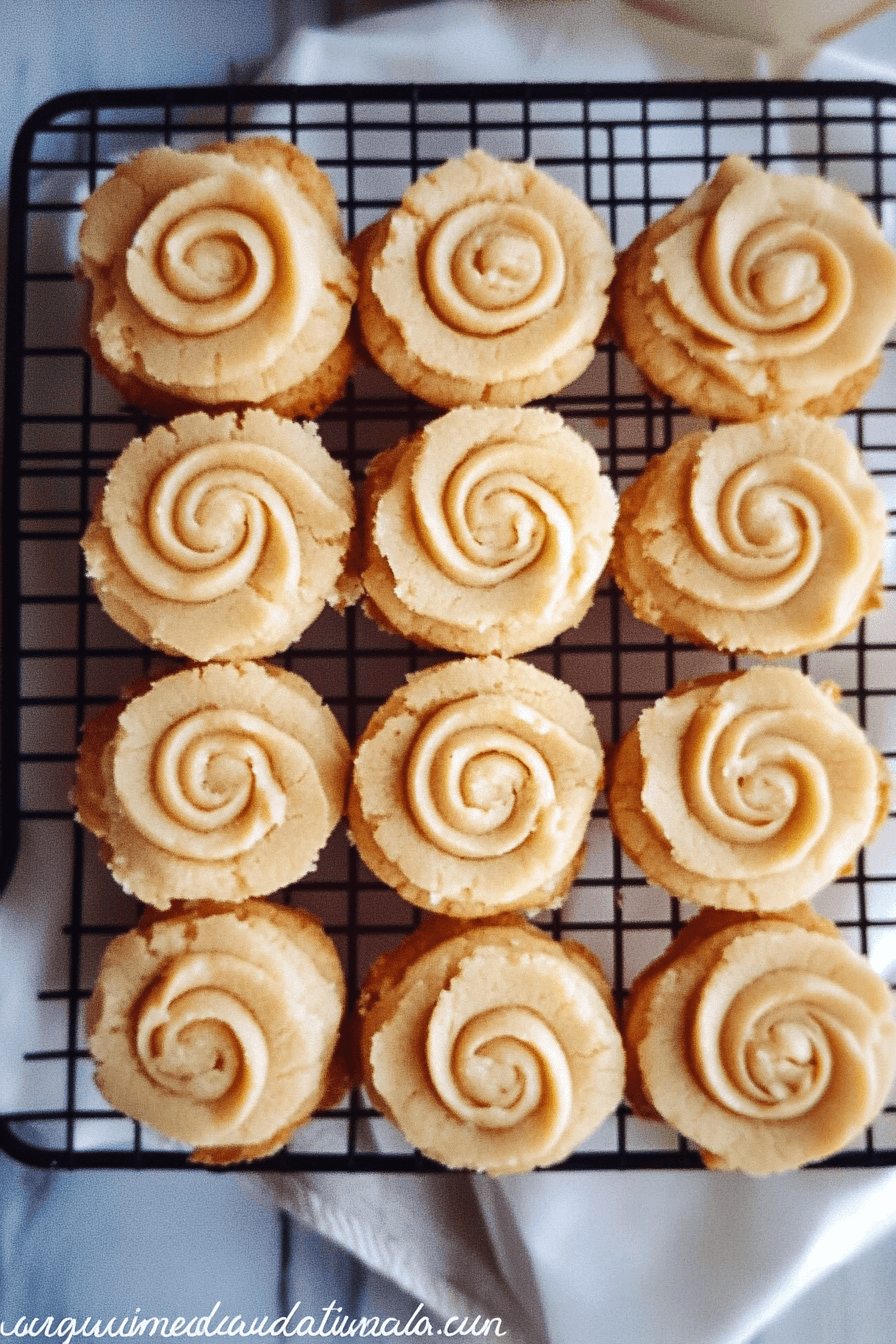
Fourth Step: Transfer the dough into a piping bag fitted with a large star tip, such as the Ateco 826, to create those iconic shapes. Pipe the dough onto the prepared baking sheets in pretzels, circles, or S-shapes, leaving enough space between cookies as they will spread slightly during baking.
Fifth Step: Chill the piped cookies in the refrigerator for about 10-15 minutes to help them retain their shape while baking, an essential step for preventing excessive spreading.
Sixth Step: Bake the cookies for 10-12 minutes or until the edges start to turn a light golden brown. Keep a close eye on them to prevent overbaking.
Seventh Step: Once baked, remove the cookies from the oven and allow them to cool on the baking sheet for a few minutes before transferring them to a wire rack to cool completely.
Your homemade Danish butter cookies can be enjoyed as is, or you can get creative by dipping them in melted chocolate or sprinkling them with crushed nuts for an added twist. Whether you enjoy them with a warm cup of tea or as a delightful solo snack, these cookies are bound to bring a touch of Danish charm into your kitchen.

Mastering Danish butter cookies: Advanced Tips and Variations
Diving deeper into the art of crafting Danish butter cookies, it’s crucial to consider a few advanced techniques that can elevate your baking experience. First, always use butter at the right temperature. Softened butter blends effortlessly with sugar, ensuring a smooth dough. This small detail greatly influences the texture and flavor of the final cookie.
Perfecting the Texture
One way to refine your cookies is by chilling the dough. After mixing, let the dough rest in the refrigerator for at least 30 minutes before baking. This step helps prevent excessive spreading and maintains those delightful, intricate shapes such as pretzels and rings. Additionally, using icing sugar instead of granulated sugar gives a melt-in-your-mouth result, which is quintessential for Danish butter cookies.
Flavorful Variations
While the classic flavor is undeniably delectable, feel free to infuse your cookies with a variety of flavors. Add a tablespoon of vanilla bean paste or a teaspoon of almond extract for a delightful twist. For those who enjoy a richer taste, incorporating cocoa powder or finely shredded coconut can transform the traditional butter cookie into an exotic treat. If you’re feeling adventurous, try incorporating spices like cardamom or cinnamon, which add warmth and depth to the cookie.
Moreover, using a cookie press or icing bag allows you to experiment with shapes and sizes, making each batch uniquely yours. Remember, every alteration could slightly affect the baking time, so keep a watchful eye toward the end of the baking process.
Lastly, for a touch of elegance, consider decorating your cookies with a drizzle of dark chocolate or a sprinkle of chopped nuts. This not only enhances the appearance but complements the buttery essence of the cookies beautifully.
How to Store Danish butter cookies: Best Practices
Proper storage of your Danish butter cookies ensures they remain fresh and delicious for as long as possible. Once your cookies are baked and cooled completely, it’s important to store them in an airtight container. This prevents air exposure which could lead to staleness. A cookie tin lined with parchment paper is an excellent choice, reminiscent of the classic Royal Dansk presentation.
Refrigeration and Freezing
If you’d like to keep your cookies for an extended period, consider refrigerating or freezing them. In the fridge, cookies can maintain their freshness for up to two weeks. For longer storage, place them in a plastic freezer bag with parchment paper between layers to avoid sticking. This method will keep your cookies fresh for up to three months.
Reheating Tips
When you’re ready to enjoy your cookies again, bringing them back to room temperature naturally is best. If you prefer a warm cookie, a quick blast in the microwave for about 10 seconds can revive that freshly-baked taste without compromising texture.
By taking these steps, you ensure your batches of butter cookies stay as delightful as the moment they came out of the oven. With these guidelines in mind, your Danish butter cookies will be a cherished treat you can indulge in over time or share with loved ones.

Nutritional Value of Danish butter cookies
Understanding the nutritional value of Danish butter cookies can help both the diet-conscious and indulgent treat-seekers make informed choices. Known for their rich and buttery essence, these cookies offer a delightful blend of flavors while providing you with a classic sweet experience.
Basic Nutrition Information
- Calories: Each Danish butter cookie typically contains around 50-70 calories. This may vary depending on size and additional flavorings or ingredients used.
- Total Fat: Approximately 3-5 grams per cookie, primarily from high-quality European butter, which gives the cookie its rich texture and taste.
- Protein: 1 gram or less, as these cookies do not contain significant protein sources.
- Carbohydrates: Roughly 6-9 grams per cookie, mainly from the refined flour and sugar.
Additional Nutritional Considerations
When elevating your cookie game with ingredients like vanilla or chocolate, it is essential to consider the potential variations in nutritional content:
- Sugar Content: With Danish butter cookies, sweetness is a key aspect. Each cookie can have about 2-4 grams of sugars, dependent on the recipe specifics and any additional toppings like chocolate or coconut shavings. Learn more about Royal Dansk’s cookie offerings.
- Dietary Fiber: Due to the refined nature of the ingredients, fiber content is generally low, making these cookies more of a treat than a dietary staple.
- Sodium: With minimal salt used primarily to enhance flavor, sodium content per cookie remains low, often under 30 mg.
For those aiming to balance indulgence with dietary goals, consider pairing these cookies with healthier snacks such as almonds or fresh fruits. Please note these values can change based on different recipes, particularly those modified for vegan or gluten-free preferences.
FAQs: Frequently Asked Questions About Danish butter cookies
For those venturing into the world of baking Danish butter cookies, it’s natural to have questions. Here, I’ve tackled some of the most common inquiries to assist in your kitchen endeavors:
What is the difference between Danish butter cookies and shortbread?
Danish butter cookies and shortbread may appear similar, but these two delightful treats possess distinct characteristics. Danish butter cookies typically include more sugar and are known for their crisp, crumbly texture and flavorful designs, made possible by piping into classic patterns. In contrast, shortbread often features fewer ingredients, usually just butter, sugar, and flour, leading to a richer and denser consistency. Explore more about Royal Dansk’s influence and traditional cookie recipes.
Can I use self-raising flour instead of all-purpose or cake flour for Danish butter cookies?
Substituting self-raising flour for all-purpose or cake flour is possible but will affect the final cookie texture. Self-raising flour includes added leavening, which might cause more puffing and alter the classic crispness expected from Danish butter cookies. For authenticity, many bakers recommend sticking to the original flour types and adjusting any rising agents if necessary.
Why do my Danish butter cookies spread too much during baking?
Excessive spreading can often come down to a few factors. Ensuring the butter used isn’t overly softened—ideally, just room temperature—helps maintain the dough’s structure. Chilling the dough before baking can also prevent significant spread, helping maintain those intricate shapes. Additionally, using powdered sugar rather than granulated may offer a finer crumb with less unwanted expansion.
Can I store Danish butter cookies in the freezer for later use?
Absolutely! Danish butter cookies are very freezer-friendly. Place them in an airtight container or heavy-duty freezer bag, ensuring they are fully cooled beforehand to maintain their crisp freshness. When ready to serve, allow the cookies to thaw at room temperature for the best flavor and texture.
Print
Danish Butter Cookies Recipe Classic
- Total Time: 32 minutes
Description
🍪 Indulge in the rich, buttery goodness of homemade Danish butter cookies—crisp, melt-in-your-mouth treats made with simple, high-quality ingredients! ✨
🎁 Perfect for gifting or enjoying with a warm cup of tea, these classic cookies bring a taste of tradition and holiday cheer to every bite! ☕
Ingredients
Butter
All-purpose flour
Granulated sugar
Powdered sugar
Vanilla extract
Egg (optional)
Salt
Instructions
1. Preheat your oven to 350°F (175°C).
2. Cream the butter and sugar together until light and fluffy.
3. Add vanilla extract for extra flavor and mix well.
4. Gradually add flour, mixing until a smooth dough forms.
5. Transfer the dough into a piping bag or cookie press for shaping.
6. Pipe or press the dough onto a baking sheet in circles, pretzels, or rings.
7. If needed, chill the shaped dough for 15-20 minutes to prevent spreading.
8. Bake for 10-12 minutes or until the edges turn golden brown.
9. Remove from the oven and let the cookies cool on the baking sheet for a few minutes.
10. Transfer the cookies to a wire rack to cool completely.
11. Store in an airtight container at room temperature for up to a week.
12. For longer storage, freeze the cookies in a sealed container.
13. Enjoy your Danish butter cookies with tea or coffee!
Notes
Use high-quality European butter for an authentic rich flavor.
Chill the dough before baking to help maintain the classic cookie shapes.
Store the cookies in an airtight container to keep them crisp and fresh.
- Prep Time: 20
- Cook Time: 12
- Category: Dessert
- Method: Baking
- Cuisine: Denmark

