Ingredients
– 10 ounces (283 g) bittersweet, semi-sweet, or milk chocolate
– 2 pounds (907 g) fresh strawberries, stems attached
Instructions
1-First Step: Start by washing and drying the strawberries thoroughly to ensure the chocolate adheres properly; use cool water and pat them dry with a paper towel, as any moisture can cause the coating to slide off later.
2-Second Step: Prepare any desired toppings in advance, such as chopping nuts or toasting coconut; this helps you work efficiently and adds a personal touch to your chocolate covered strawberries for events like weddings or Valentine’s Day.
3-Third Step: Line a baking tray with parchment paper to create a clean surface for setting the dipped strawberries; this step prevents sticking and makes cleanup easier, especially if you’re making a large batch for family gatherings.
4-Fourth Step: Melt the chocolate using a double boiler or microwave; for the double boiler, heat water in a saucepan and place a heatproof bowl on top without touching the water, stirring frequently to avoid burning, which typically takes about 5-10 minutes.
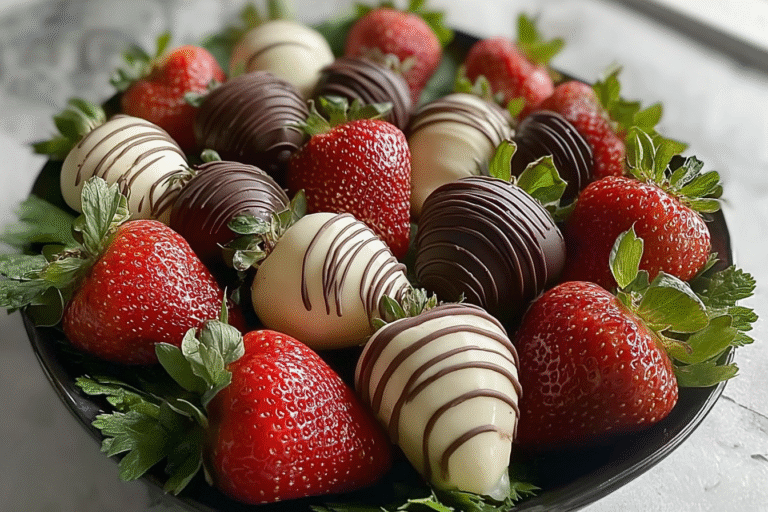
5-Fifth Step: Once the chocolate is melted and smooth, hold each strawberry by the stem and dip it into the chocolate; twist gently to let excess drip off, ensuring an even coating that sets well for that classic look in your homemade chocolate covered strawberries.
6-Sixth Step: Immediately after dipping, press or sprinkle on your chosen toppings while the chocolate is still wet; this adds texture and flavor, and for dietary adaptations, use vegan chocolate or sugar-free options to cater to specific needs.
7-Seventh Step: Place the dipped strawberries on the prepared tray; arrange them in a single layer to avoid touching, which helps them set properly and maintains their shape for a beautiful presentation.
8-Eighth Step: If desired, drizzle with melted white chocolate for an extra decorative element; this is optional but enhances the visual appeal, especially for recipes like white chocolate strawberries variations.
9-Ninth Step: Chill the tray in the refrigerator for about 15 minutes until the chocolate sets; this final step ensures a firm coating, and for low-calorie versions, monitor the chilling time to keep the treat fresh without adding excess cold exposure.
Last Step:
Please leave a rating and comment letting us know how you liked this recipe! This helps our business to thrive and continue providing free, high-quality recipes for you.Notes
🍓 Choose firm, ripe strawberries that are red up to the stem and free of bruises for the best appearance and flavor
🍫 For a professional glossy finish, temper the chocolate by melting most of it and stirring in reserved chocolate off heat until smooth
🌡️ Keep berries at room temperature and completely dry to ensure chocolate adheres properly and sets evenly
- Prep Time: 10 minutes
- Cook Time: 0 minutes
- Category: Dessert
- Method: No-bake
- Cuisine: International
- Diet: Vegetarian
Nutrition
- Serving Size: 1 strawberry
- Calories: 40
- Sugar: 2
- Sodium: 2
- Fat: 2
- Saturated Fat: 1
- Unsaturated Fat: 1
- Trans Fat: 0
- Carbohydrates: 4
- Fiber: 0
- Protein: 0
- Cholesterol: 0