Ingredients
– 4 cups pitted cherries
– 1 cup granulated sugar
– 3 tablespoons cornstarch
– 1 tablespoon lemon juice
– 1 pinch salt
– 1/2 teaspoon almond extract (optional)
– 1/4 teaspoon cinnamon (optional)
Instructions
1-First Step: Begin by properly preparing your cherries. If using fresh cherries, wash them thoroughly and remove the pits. A cherry pitter makes this task much easier, but you can also use a small paring knife or a sturdy straw. For frozen cherries, measure them while still frozen but allow them to thaw slightly before cooking. Having all ingredients measured and ready before turning on the heat will make the process smooth and enjoyable.
2-Second Step: In a medium saucepan, combine the sugar, cornstarch, and salt. Whisk these dry ingredients together until they are well blended. This step is crucial because it prevents cornstarch from forming lumps when liquid is added. The dry mixture should appear uniform with no visible pockets of white cornstarch. This simple preparation technique ensures your cherry pie filling will have a smooth, consistent texture.
3-Third Step: Add the prepared cherries and lemon juice to the saucepan with the sugar and cornstarch mixture. Stir gently to coat the cherries evenly. Place the saucepan over medium heat and bring the mixture to a simmer, stirring constantly. The cherries will begin to release their juices, creating a liquid that will combine with the sugar and cornstarch to form a thick sauce. Continue stirring gently to prevent the mixture from sticking to the bottom of the pan.
4-Fourth Step: Once the mixture begins to bubble, reduce the heat slightly and continue cooking for 5-7 minutes. The filling will thicken noticeably as it cooks, and the cherries will become tender but should retain their shape. Watch closely during this stage, as cornstarch needs to reach a full boil to activate its thickening properties. For those using cherry pie filling with fresh cherries, this is the perfect time to adjust the sweetness. Taste a small amount (carefully, as it will be hot) and add more sugar if needed.
5-Fifth Step: If you’re using optional flavorings like almond extract or cinnamon, add them during the last minute of cooking. These heat-sensitive ingredients can lose their potency if cooked too long. Stir them in gently to distribute the flavors evenly throughout the cherry pie filling. This is also when you might add a drop of red food coloring if you prefer a deeper red hue, though natural coloring from the cherries is usually sufficient.
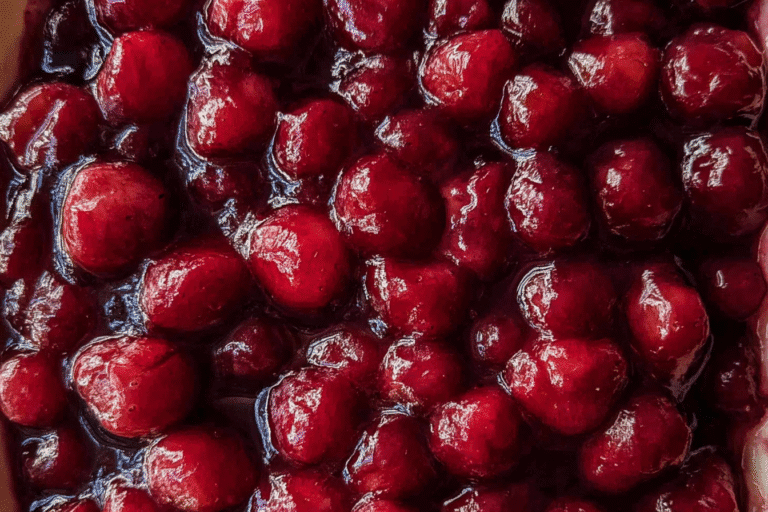
6-Final Step: Remove the saucepan from heat and let the filling cool completely before using. The filling will continue to thicken as it cools, so don’t worry if it seems slightly thin when you first remove it from the stove. Pour the cooled filling into a clean jar or container if you’re not using it immediately. This cherry pie recipe filling is now ready to use in pies, tarts, cheesecakes, or as a delicious topping for ice cream and pancakes.
Last Step:
Please leave a rating and comment letting us know how you liked this recipe! This helps our business to thrive and continue providing free, high-quality recipes for you.Notes
🍒 Fresh cherries pit easily: halve and twist or use cherry pitter/straw.
🔥 Stir constantly after adding slurry prevents lumps and boiling over.
❄️ Filling thickens more as cools; thin with water if needed before baking.
- Prep Time: 15 minutes
- Cool: 30 minutes
- Cook Time: 10 minutes
- Category: Dessert
- Method: Stovetop
- Cuisine: American
- Diet: Vegan, Gluten Free
Nutrition
- Serving Size: ½ cup
- Calories: 160 kcal
- Sugar: 36g
- Sodium: 5mg
- Fat: 0g
- Saturated Fat: 0g
- Unsaturated Fat: 0g
- Trans Fat: 0g
- Carbohydrates: 41g
- Fiber: 2g
- Protein: 1g
- Cholesterol: 0mg