Ingredients
– 2 ¼ cups biscuit mix (homemade or store-bought)
– ⅔ cup milk (any type, including dairy-free alternatives)
Instructions
1-Preparation and Mise en Place: Before you turn on the oven, gather your tools and ingredients. Having everything ready makes the process smooth and stress-free. You will need a large mixing bowl, a sturdy spoon for stirring, a baking sheet, and a measuring cup. Preheat your oven to 450℉. This high temperature is key to getting that tall rise and golden exterior. If your oven runs hot or cold, you might want to use an oven thermometer to be precise.
2-Mixing the Dough: In your large bowl, measure out 2 ¼ cups of biscuit mix. Add the ⅔ cup of milk directly to the mix. Using a spoon or a fork, stir the ingredients together. You want to stir until just combined. The dough should look soft and a little sticky. It is important not to overmix at this stage. Overmixing develops the gluten in the flour, which can lead to tough, chewy biscuits instead of tender ones. Stop stirring as soon as you no longer see dry streaks of flour.
3-Shaping the Biscuits: For this recipe, we are making drop biscuits, which are the easiest type to shape. Take a spoon and scoop up a portion of the dough. You can use a regular dinner spoon or a cookie scoop for more uniform sizes. Drop the dough onto an ungreased baking sheet. There is no need to grease the pan because the shortening in the mix prevents sticking. Space the mounds of dough about two inches apart to allow room for spreading and rising. You should get about twelve biscuits from this batch.
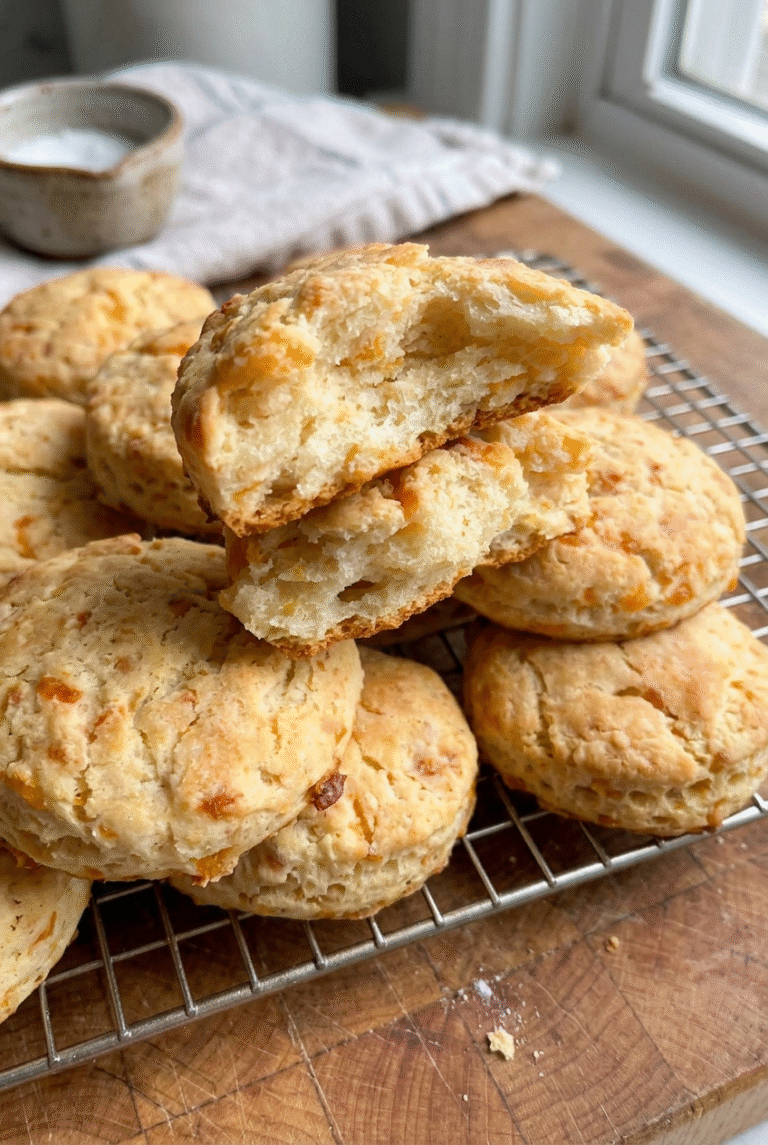
4-Baking to Golden Perfection: Place the baking sheet in the center of your preheated oven. Bake for 8 to 10 minutes. Keep an eye on them during the last couple of minutes. You are looking for a beautiful golden brown color on the tops. The edges should be slightly crisp. If your oven has hot spots, you might want to rotate the pan halfway through the baking time. The smell of baking biscuits will fill your kitchen, which is usually a good sign they are almost done.
5-Finishing Touches and Serving: Once the biscuits are golden brown, remove them from the oven. Let them sit on the baking sheet for just a minute or two to firm up slightly. This makes them easier to move without breaking. While they are still warm, you can brush the tops with melted butter for an extra layer of flavor and a shiny finish. Serve them warm for the best experience. They pair excellently with savory dishes like soups and stews, or sweet spreads like fresh cherry jam or honey.
Last Step:
Please leave a rating and comment letting us know how you liked this recipe! This helps our business to thrive and continue providing free, high-quality recipes for you.Notes
🧈 Brush freshly baked biscuits with melted butter or garlic butter for irresistible shine and taste.
🥛 Use cold milk straight from the fridge for maximum rise and fluffier texture.
🧂 Add mix-ins like shredded cheddar, chives, or black pepper sparingly to keep dough light.
- Prep Time: 5 minutes
- Cook Time: 10 minutes
- Category: Side Dish
- Method: Baked
- Cuisine: American
- Diet: Vegetarian
Nutrition
- Serving Size: 1 biscuit
- Calories: 157 kcal
- Sugar: 5g
- Sodium: 438mg
- Fat: 6g
- Saturated Fat: 2g
- Unsaturated Fat: 4g
- Trans Fat: 0g
- Carbohydrates: 22g
- Fiber: 1g
- Protein: 3g
- Cholesterol: 3mg