
Introduction to Self Rising Flour
Self-rising flour is a kitchen staple that streamlines the process of baking by combining all-purpose flour with baking powder and salt. Popular in Southern U.S. cooking, it’s often used for creating tender and light treats like biscuits, pancakes, and cakes. By eliminating the need to measure and mix these additional ingredients, self-rising flour makes baking easier and more accessible for everyone, from busy parents to budding home cooks. This ingredient not only simplifies recipes but also enriches your culinary repertoire, empowering you to craft delightful dishes with ease. Learn more about self-rising flour and discover the multitude of recipes it can enhance.
Benefits and Advantages of Self Rising Flour
When it comes to baking, self-rising flour offers unparalleled convenience and versatility, making it a valuable addition to any kitchen. First, it simplifies recipes by eliminating the need to add baking powder and salt separately, saving time and reducing potential errors. This is particularly beneficial for individuals with hectic schedules, including working professionals and busy parents. Furthermore, self-rising flour is crafted from soft, low-protein wheat, which results in softer, more tender baked goods—a quality ideal for those aiming to impress with their culinary creations.
In addition to ease of preparation, self-rising flour is well-suited for a variety of dietary needs. With the right substitutions, it can be adapted into gluten-free or vegan recipes, ensuring no one misses out on delicious baked goods. Moreover, it is a perfect match for recipes like pancakes and scones, known for their fluffy texture. King Arthur Baking Co. elaborates on its role in traditional Southern cooking, highlighting the cultural and culinary significance of this versatile ingredient.
Overall, the benefits of self-rising flour extend beyond convenience; it also promises consistently delectable results, making it an indispensable tool for bakers of all levels.
Ingredients Overview
Essential Ingredients for Self Rising Flour
Self rising flour is a versatile and convenient ingredient, cherished for its ease of use in various recipes. Below is a detailed list of the essential ingredients that make up self rising flour, along with precise measurements and their purposes:
- All-Purpose Flour: 1 cup. This forms the base of your self rising flour, and for a gluten-free option, you may choose any gluten-free all-purpose flour blend.
- Baking Powder: 1 1/2 teaspoons. This leavening agent ensures that your baked goods rise appropriately, giving them a delightful fluffiness.
- Salt: 1/4 teaspoon. The salt enhances flavor, balancing sweetness, and providing a touch of contrast to baked items.
For those on a vegan diet or seeking lower calorie options, the above components remain relevant as they do not typically involve animal products or excessive calories. Customizations are discussed further in the next subsection.
Dietary Substitutions to Customize Your Self Rising Flour
Self rising flour can be easily customized to meet various dietary needs, making it adaptable for everyone’s kitchen. Here are some suggested substitutions:
- Gluten-Free Substitution: Use gluten-free all-purpose flour. Ensure that the baking powder and salt are also certified gluten-free if needed.
- Low-Sodium Option: Substitute regular salt with a low-sodium salt to reduce your daily intake while still achieving flavorful results.
- Low-Calorie Flour Blend: Replace half of the all-purpose flour with almond flour to lower the calorie content, though note that this may affect texture slightly.
Such substitutions enable home cooks to tailor their self rising flour to align with specific health objectives. Additionally, refer to our detailed Apple Arugula Salad for a healthier meal pairing with your delicious creations made from self rising flour. These customized options ensure that everyone, regardless of dietary preferences or restrictions, can enjoy the benefits of self rising flour.
How to Prepare the Perfect Self Rising Flour: Step-by-Step Guide
Preparing your homemade self rising flour is a straightforward process. Follow these easy steps to ensure you create the perfect blend for all your cooking and baking needs:
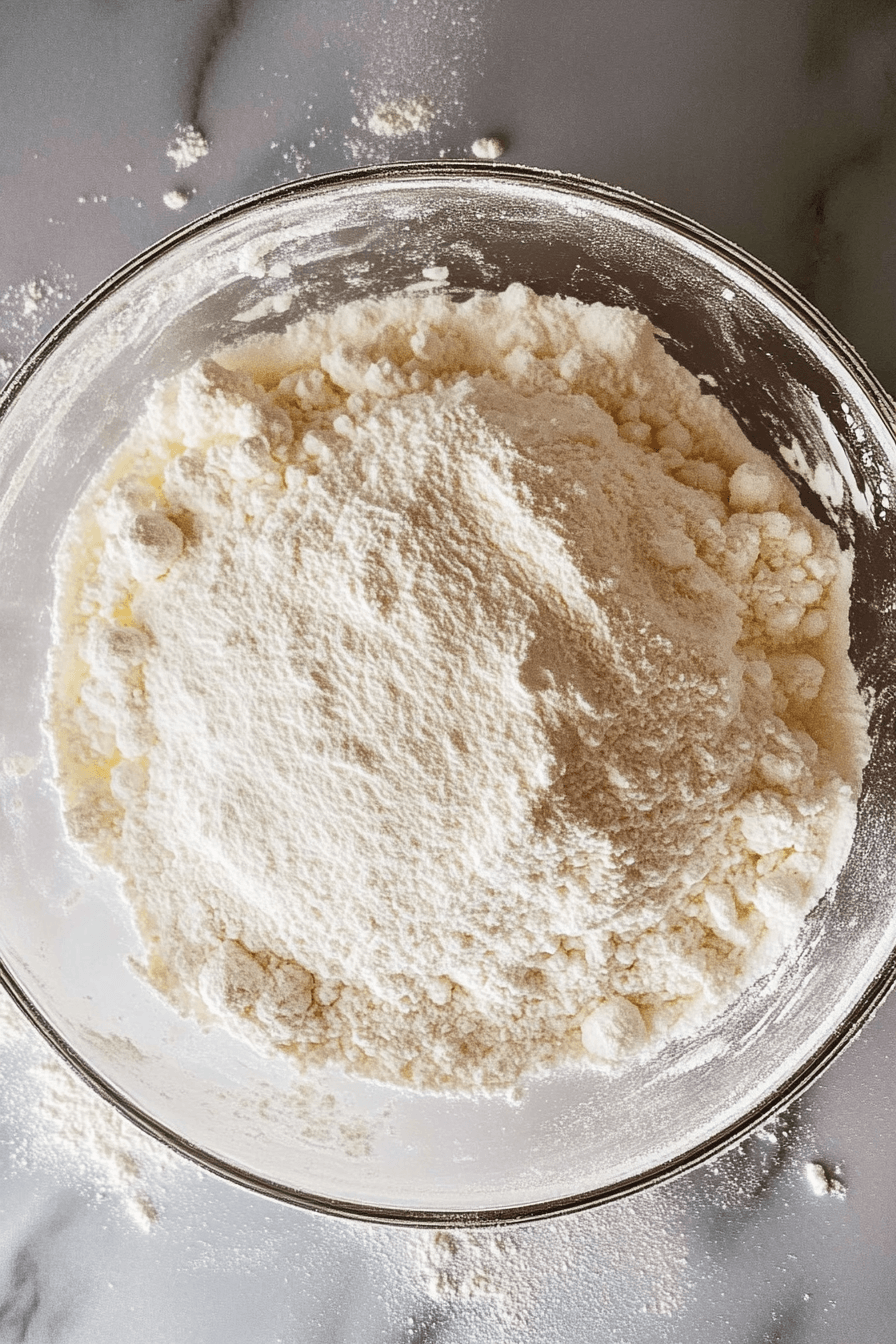
- First Step: Gather Your Ingredients – Assemble all the essential ingredients, including 1 cup of all-purpose flour, 1 1/2 teaspoons of baking powder, and 1/4 teaspoon of salt. Ensure you have accurate measuring tools to help maintain consistency.
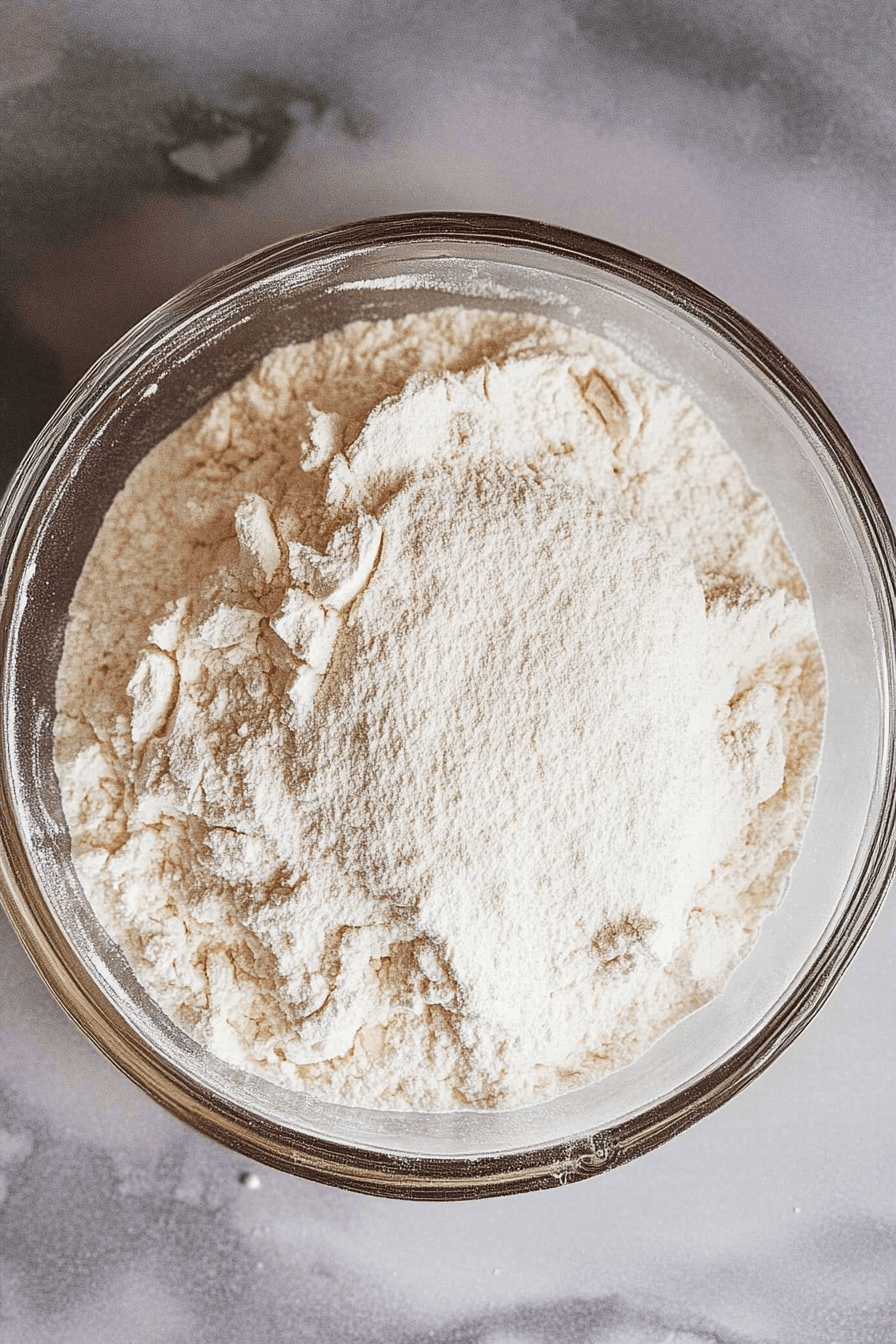
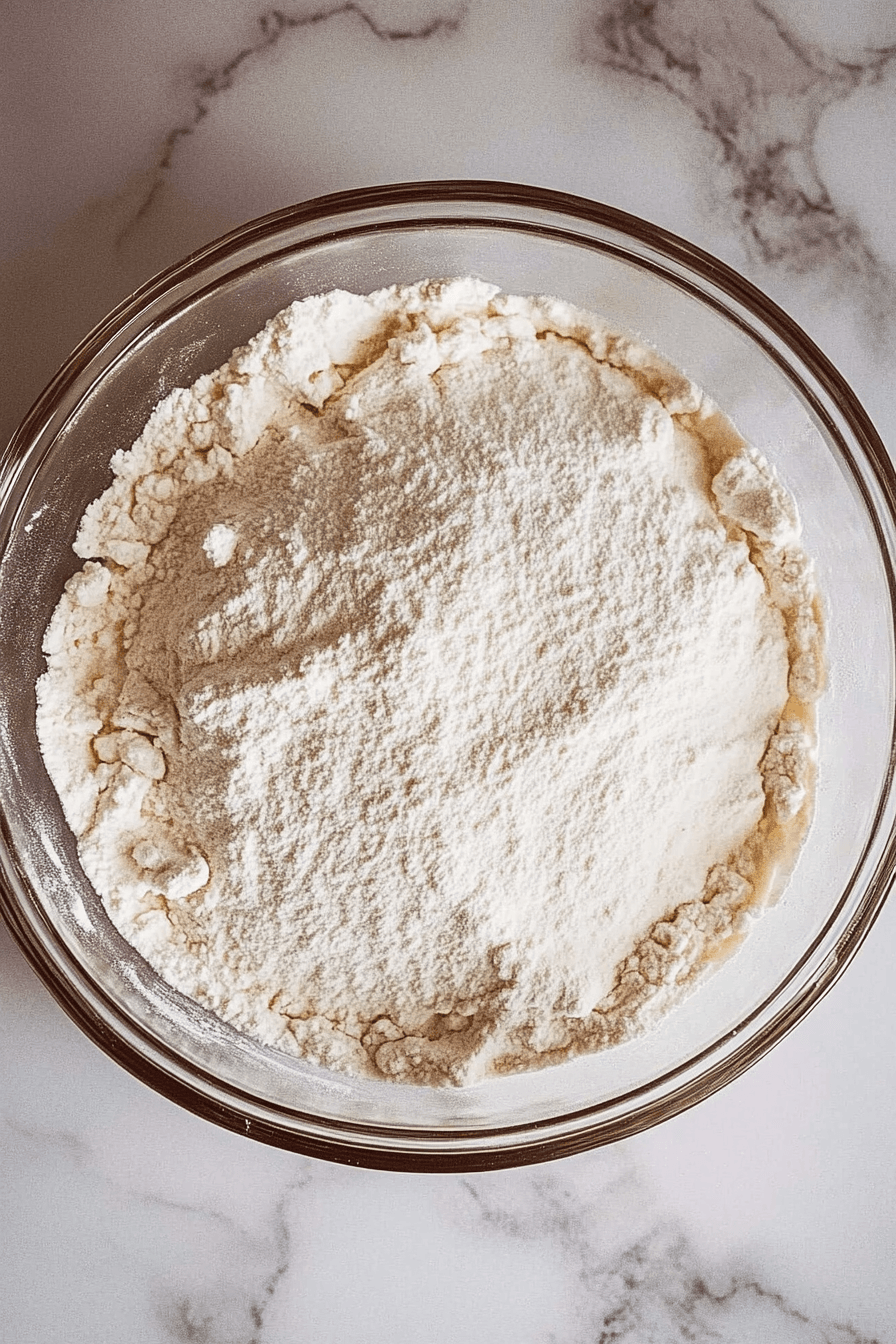
- Second Step: Mix the Ingredients – In a large mixing bowl, combine the flour, baking powder, and salt. Use a whisk to evenly disperse the baking powder and salt throughout the flour.
- Third Step: Store or Use Immediately – If you plan to use the self rising flour immediately in a recipe such as Cream Cheese Chicken, measure the desired amount and follow your recipe. For storing, transfer the flour to an airtight container for future use.
- Fourth Step: Adjust for Dietary Preferences – If making dietary substitutions mentioned earlier, incorporate them in this step. For instance, swap for a gluten-free all-purpose blend or low-calorie options if needed.
- Fifth Step: Experiment with Recipes – Use your homemade self rising flour in various recipes like biscuits, pancakes, or muffins to witness the convenience it offers in baking.
- Sixth Step: Monitor for Consistency – Consistency is key to great results. If substituting for all-purpose flour in recipes, you might need to slightly adjust the liquid components for optimal texture.
With these steps, you can comfortably create self rising flour tailored to your culinary needs. This foundation will support a wide array of recipes, aligning perfectly with your meal planning and dietary preferences.
Mastering Self Rising Flour: Advanced Tips and Variations
Embarking on a culinary journey with self-rising flour can be as exciting as it is rewarding. While this versatile ingredient simplifies many recipes, mastering its use can elevate your baking game to a professional level. Here, we’ll share advanced tips and creative variations that can turn your standard fare into standout dishes.
Advanced Tips for Success
- Understand the Composition: Since self-rising flour already contains baking powder and salt, it’s essential to avoid adding these separately to your recipes. This balance helps achieve the optimal texture in your baked goods.
- Adjust Liquids Accordingly: When substituting all-purpose flour with self-rising flour, you might need to reduce the liquid content slightly. This adjustment prevents the batter from becoming too loose.
- Sifting for Texture: Always sift your self-rising flour before using it. Sifting aerates the flour, removing any lumps and ensuring a lighter, fluffier finish in your cakes and biscuits.
- Perfect Your Technique: For Southern biscuits, use cold butter and minimal handling. The cold butter creates steam pockets as it bakes, resulting in a delightfully flaky texture.
Creative Variations to Try
Diversity is the spice of life, and baking is no exception. Here are some variations you might consider:
- Herbed Biscuits: Enhance your biscuits by adding dried herbs or grated cheese to the flour before mixing. This savory twist brings additional flavor to your table.
- Lemon Scones: Infuse your scones with citrusy brightness by adding lemon zest and substituting some of the liquid with lemon juice.
- Chocolate Chip Pancakes: For a sweet breakfast treat, fold in chocolate chips after mixing the batter. This transformation turns a simple pancake into a delightful indulgence.
- Whole Wheat Alternative: You can make a healthier version of self-rising flour by using whole wheat flour, but remember to adjust the liquid content due to its denser texture.
These advanced tips and variations allow you to customize your recipes and explore new flavors with self-rising flour. Whether you stick to the classics or venture into new territory, self-rising flour promises a rewarding baking experience.
How to Store Self Rising Flour: Best Practices
Proper storage of self-rising flour is crucial to maintaining its quality and efficacy. The way you store flour affects its freshness and performance in recipes. Here are the best practices to ensure your self-rising flour stays in top condition.
Proper Ambient Storage
- Keep It Cool and Dry: The primary rule is to store flour in an airtight container in a cool, dry place. This environment prevents moisture absorption and protects it from pests.
- Avoid Direct Sunlight: Exposure to heat or sunlight can degrade the flour and leavening agents. A pantry or kitchen cabinet away from direct light is ideal.
- Label Your Containers: If you transfer flour to a container, label it with the purchase date to help track its freshness. Self-rising flour, like all flour, can lose its potency over time.
Refrigeration and Freezing Tips
- Using the Refrigerator: If you live in a humid climate, store flour in the fridge to prevent clumping and spoilage. Ensure it’s in a tightly sealed bag or container to protect it from absorbing odours.
- Freezing for Longevity: For long-term storage, freezing is an excellent option. Flour can last up to a year in the freezer. Again, use an airtight bag to minimize air exposure and thaw it fully before use to return to room temperature.
By following these best practices, your self-rising flour will remain fresh and ready for your next baking adventure. Proper storage guarantees that your flour will consistently deliver the desired results in every recipe.
Nutritional Value of Self Rising Flour
Understanding the nutritional value of self-rising flour can help you make informed decisions, especially if you’re diet-conscious. Self-rising flour is a versatile ingredient that provides various nutrients, though always in moderate quantities as part of a balanced diet.
Macronutrient Profile
- Calories: Approximately 100 calories per 1/4 cup (30g) serving
- Protein: 2 grams (from the low-protein wheat used)
- Carbohydrates: 22 grams of carbs per serving with low fiber content
- Fat: Less than 1 gram, making it virtually fat-free
These macronutrients mean self-rising flour can fit into a wide range of dietary needs, from those watching their calories to those looking to maintain carbohydrate levels.
Micronutrients
While self-rising flour is not a significant source of vitamins and minerals, it does contain some:
- Iron: Essential for healthy blood cells, approximately 6% of the daily recommended intake
- Folic Acid: Beneficial for cellular function and tissue growth
- Calcium: Provided by the added baking powder, albeit in small amounts
Health Considerations
For those with dietary restrictions, remember that self-rising flour typically contains gluten. If you’re following a gluten-free diet, ensure you use suitable alternatives or make a gluten-free version of self-rising flour. Moreover, it contains sodium due to the added salt, which is important to consider if you’re monitoring your salt intake.
FAQs: Frequently Asked Questions About Self Rising Flour
1. What is self-rising flour and how is it different from all-purpose flour?
Self-rising flour is all-purpose flour with added baking powder and salt. This makes it convenient for recipes that need leavening and flavor balance, saving you from measuring those out separately. In contrast, all-purpose flour requires these ingredients to be added separately when baking.
2. How do I make self-rising flour at home?
If you need to make self-rising flour from scratch, simply mix 1 cup of all-purpose flour with 1 1/2 teaspoons of baking powder and 1/4 teaspoon of salt. This homemade blend will substitute perfectly in recipes calling for self-rising flour.
3. Can I substitute self-rising flour for all-purpose flour in recipes?
While you can often substitute self-rising flour for all-purpose flour, you’ll need to adjust the recipe accordingly. For instance, omit the baking powder and reduce the salt when using self-rising flour. Be mindful that it can’t replace flour in yeast-based recipes as it’s not designed to rise adequately with yeast.
4. How long does self-rising flour last when stored properly?
When stored in an airtight container in a cool, dry place, self-rising flour can last up to six months. For optimal freshness, consider refrigerating or freezing it, especially if you live in a humid environment.
Print
Self Rising Flour Recipes
- Total Time: 30 minutes
Description
🍞✨ Experience the magic of self-rising flour for irresistibly soft, tender, and fluffy baked goods without the hassle of measuring extra ingredients! ✨🍞
🥞❤️ Perfect for quick and easy pancakes, biscuits, and cakes—saving you time while delivering delicious homemade goodness in every bite! ❤️🥞
Ingredients
Self-rising flour
Baking powder
Salt
Instructions
1. Measure 1 cup of all-purpose flour.
2. Add 1 1/2 teaspoons of baking powder to the flour.
3. Add 1/4 teaspoon of salt.
4. Mix the ingredients thoroughly to distribute the baking powder and salt evenly.
5. Use the self-rising flour immediately in your recipe or store it in an airtight container.
6. When using in recipes, remember that self-rising flour already contains baking powder and salt.
7. Adjust liquid ingredients slightly if needed due to the presence of leavening agents.
8. Do not use for recipes that require yeast, as it will not work for yeast-based breads.
9. Ensure the flour is thoroughly cooked in baked goods before consuming.
Notes
Use self-rising flour for recipes like biscuits, pancakes, and muffins to achieve a light and tender texture.
If substituting self-rising flour for all-purpose flour, reduce added salt and baking powder to avoid overpowering the recipe.
Store self-rising flour in an airtight container in a cool, dry place to maintain its freshness and effectiveness.
- Prep Time: 10
- Cook Time: 20
- Category: Baking
- Method: Oven Bake
- Cuisine: Southern U.S.