Introduction to Dutch Oven No Knead Bread
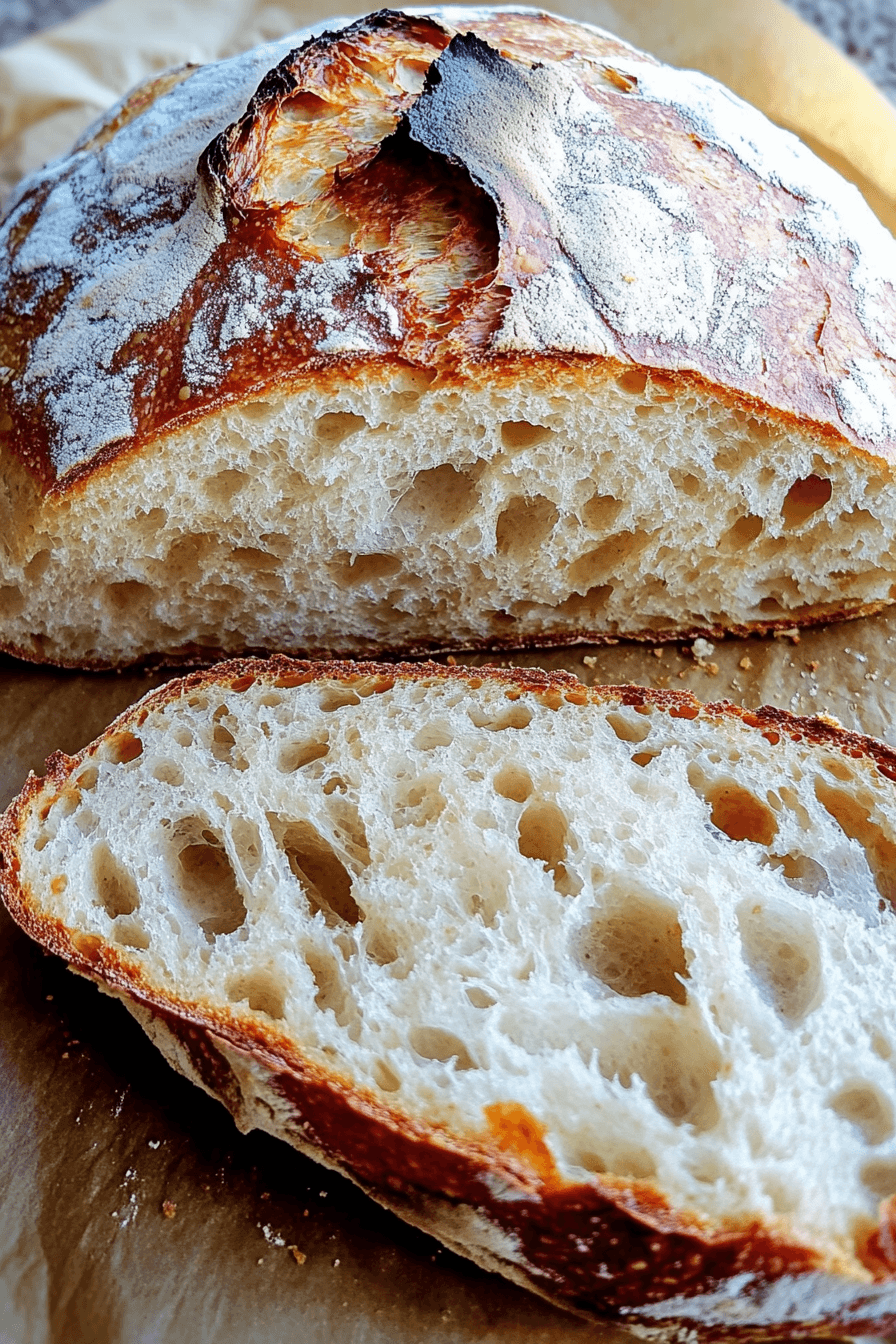
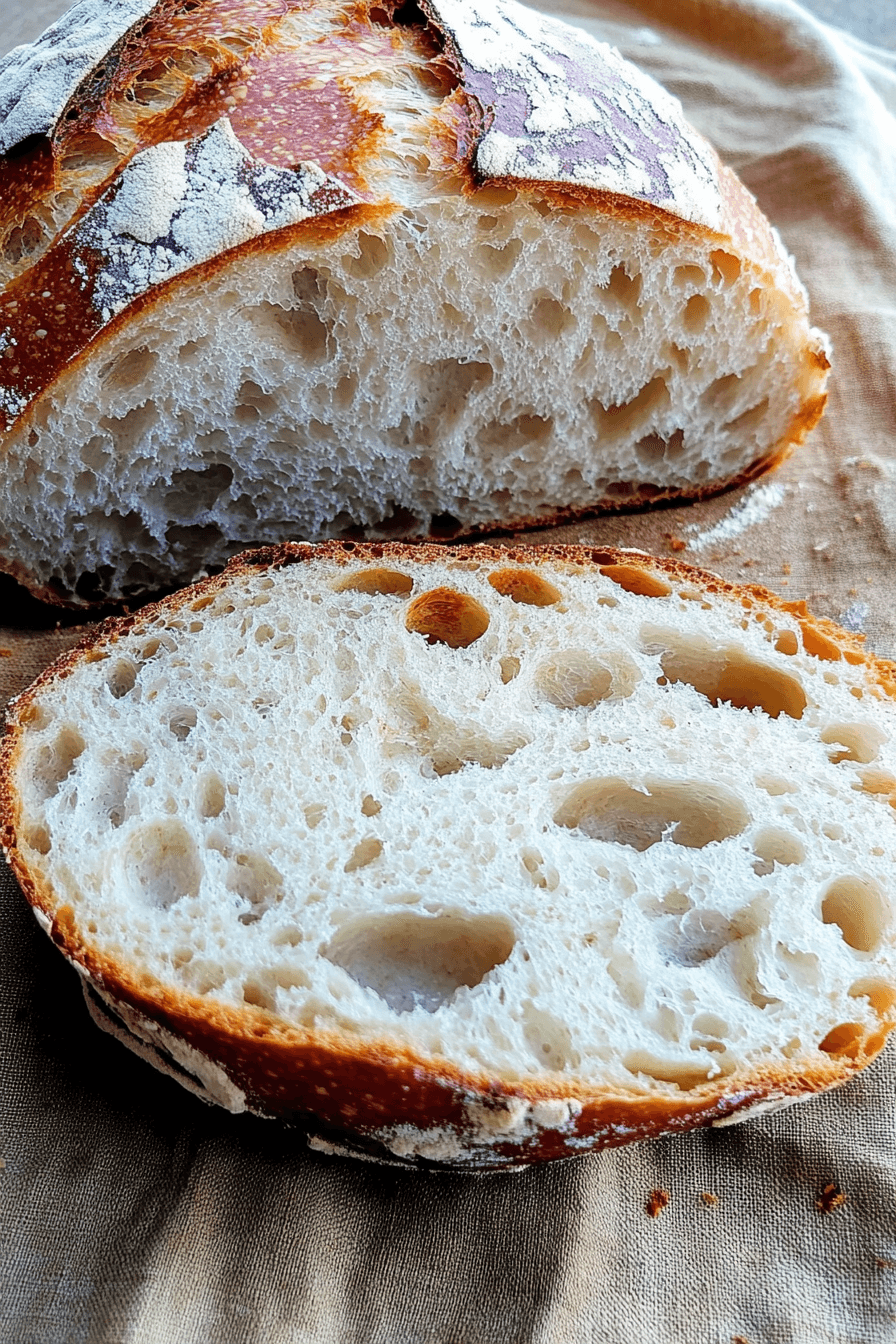
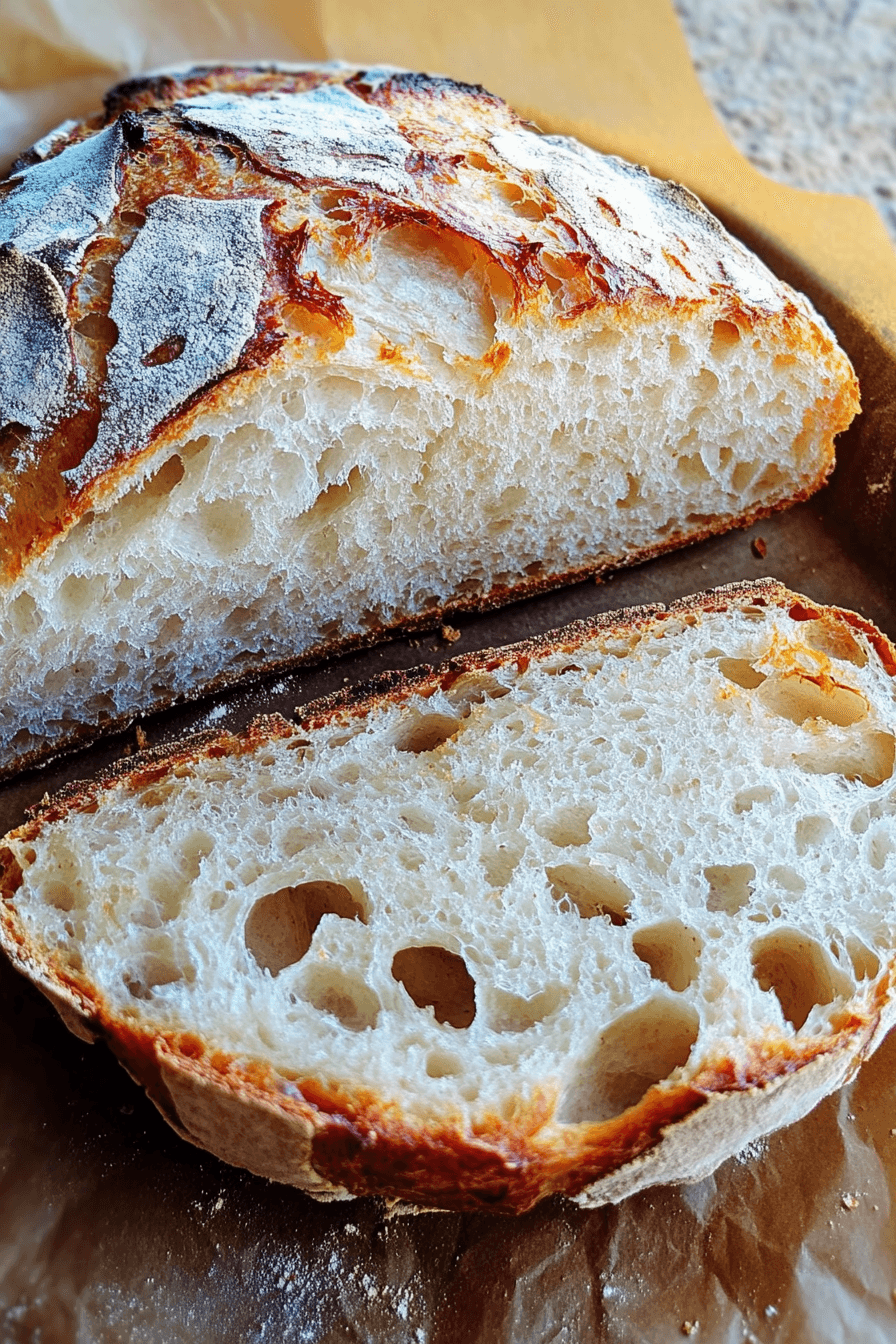
Imagine sinking your teeth into a warm, crusty loaf of Dutch oven no-knead bread, its soft interior and golden crust a perfect blend of textures that will leave you craving more of this effortless yet impressive homemade treat. This simple recipe requires minimal ingredients and zero kneading, making it ideal for busy parents, students, and home cooks alike. Perfectly crisp on the outside while maintaining a fluffy interior, this bread is an everyday delight that anyone can master with ease. Accessible for everyone, this recipe guides you to create a homemade favorite that’s both delicious and convenient. Dive into the world of baking with this beginner-friendly Dutch oven no-knead bread!Benefits and Advantages of Dutch Oven No Knead Bread
Dutch oven no-knead bread offers a straightforward approach to bread-making, which is one of its biggest attractions. With just four basic ingredients—flour, yeast, salt, and water—you can create a scrumptious loaf that’s hard to resist. The no-knead method significantly reduces hands-on time, appealing to those with packed schedules. Moreover, the long fermentation process not only enhances flavor but also improves the bread’s texture, offering a crispy crust and airy crumb. This preparation suits diet-conscious individuals by allowing customization, such as making it vegan or gluten-free. Additionally, no-knead bread presents an opportunity for culinary enthusiasts to experience homemade baking without the complexities of traditional bread recipes. With a preheated Dutch oven, you’ll achieve bakery-worthy results right at home.
Ingredients Overview
Essential Ingredients for Dutch Oven No Knead Bread
- 3 cups all-purpose flour or bread flour
- 1/2 teaspoon instant yeast
- 1 1/4 teaspoons salt
- 1 1/2 cups warm water (100-115°F)
This recipe requires just four simple ingredients that you likely have in your kitchen. Flour, yeast, salt, and warm water are all you need to create this delicious Dutch oven no-knead bread. All-purpose flour and bread flour both work well. For those who want a gluten-free version, you can find various gluten-free flours that also work with this recipe. The salt enhances the flavor, while the yeast acts as a leavening agent. Warm water helps activate the yeast, providing the dough with the right consistency.
Dietary Substitutions to Customize Your Dutch Oven No Knead Bread
- For a vegan option, ensure all ingredients are non-GMO and plant-based.
- Use whole wheat flour instead of all-purpose flour for additional nutrients.
- Add a tablespoon of olive oil to the dough for a richer crust.
- Incorporate seeds, like chia or flax, to enhance nutritional value.
Customizing your Dutch oven no-knead bread to fit specific dietary needs is straightforward. For instance, substituting all-purpose flour with whole wheat flour can increase fiber content. Adding olive oil not only improves the bread’s crust but also offers a healthier fat source. If you’re looking to boost the nutritional profile, seeds such as chia or flax can be folded into the dough. By making these substitutions, you can tailor the bread to your lifestyle without compromising its delightful taste.
How to Prepare the Perfect Dutch Oven No Knead Bread: Step-by-Step Guide
Preparing Dutch oven no-knead bread at home is not only simple, but it’s also incredibly rewarding. Follow this step-by-step guide for a perfect outcome every time.
- First Step: Mix Ingredients
In a large mixing bowl, combine the flour, yeast, and salt. Gently stir in the warm water until a shaggy dough begins to form. The dough will be very sticky, which is a good indicator that it’s properly hydrated. - Second Step: Let Dough Rise
Cover the bowl with plastic wrap or a damp kitchen towel and let the dough rise at room temperature. This step should take anywhere from 12 to 18 hours, allowing the dough to ferment and develop its unique flavor and texture. - Third Step: Preheat the Dutch Oven
About 30 minutes before you’re ready to bake, place your empty Dutch oven in the oven and preheat to 450°F. This ensures that the Dutch oven is hot enough to create a crispy crust. - Fourth Step: Shape the Dough
Turn the dough out onto a lightly floured surface, using a spatula to help with the sticky dough. Fold the dough over onto itself a few times to give it shape. Don’t worry about making it perfect; the dough’s tension will naturally form a loaf. - Fifth Step: Transfer to Parchment Paper
Place the shaped dough onto a piece of parchment paper. This makes it easier to transfer the dough to the Dutch oven later on. - Sixth Step: Bake the Bread
Carefully remove the hot Dutch oven from the oven. Using the parchment paper as handles, lift the dough into the preheated Dutch oven. Place the lid on and return it to the oven. Bake for 30 minutes with the lid, then remove the lid and bake for an additional 10-20 minutes until the crust is golden brown. - Seventh Step: Cool the Bread
Let the bread cool completely on a wire rack before slicing. This allows the interior to set and the flavors to fully develop.
Preparing Dutch oven no-knead bread does not require any special baking skills, just a bit of patience and some love for the craft. The simplicity of this bread makes it a staple recipe, easily adjusted with variations that cater to specific tastes and dietary needs. Consider experimenting with different flour types or adding seeds and spices for unique flavors.

Mastering Dutch Oven No Knead Bread: Advanced Tips and Variations
Taking your Dutch oven no-knead bread to the next level is both fun and rewarding. These advanced tips and variations will help you fine-tune your baking skills and experiment with flavors and textures, all while maintaining the simplicity that makes this bread so beloved.
Advanced Tips for Perfect Dutch Oven No Knead Bread
- Experiment with Flour Types: Using a combination of flours, such as a mix of bread flour and whole wheat flour, can enhance the flavor profile and nutritional value of your bread.
- Use of Olive Oil: Incorporating a small amount of olive oil into your dough can create a luscious crust and add subtle richness to the bread.
- Shaping and Stretching: The stretch-and-fold technique assists in developing gluten structure, providing a taller loaf with an open crumb. This method involves gently stretching and folding the dough a few times during the initial stage of rising.
- Customizing Rise Time: Adjusting the rise time for your specific environment, such as a greater yeast quantity for shorter rising periods, can be beneficial. A warm spot in your kitchen can also speed up the fermentation process.
Flavor Variations to Try
| Variation | Ingredients |
|---|---|
| Herbed Bread | Add 1 tablespoon of dried herbs like rosemary or thyme to your dough. |
| Cheese Infusion | Mix 1/2 cup of shredded cheddar or parmesan cheese into the dough before rising. |
| Seeded Loaf | Incorporate a mix of flax seeds, chia seeds, or sunflower seeds for added texture and nutrition. |
Venturing into these advanced techniques and variations can be enjoyable and satisfying. By exploring new flavors and enhancing your bread’s texture, your homemade Dutch oven no-knead bread experience reaches new heights. For further insights into mastering no-knead bread techniques, you can visit this informative source from King Arthur Flour.
How to Store Dutch Oven No Knead Bread: Best Practices
Properly storing your Dutch oven no-knead bread is key to retaining its delectable texture and flavor. Here are effective ways to ensure your bread stays fresh and delicious.
Storage Techniques
- Room Temperature: For short-term storage, wrap your cooled bread in a clean kitchen towel or place it in a bread box. This helps maintain the crust’s crispness.
- Refrigeration: If you plan to finish the bread within a few days, wrap it in plastic wrap or place it in a resealable bag before refrigerating. However, note that refrigeration can make the bread slightly stale.
- Freezing: For longer preservation, freeze your bread. Slice it beforehand, so you can take out only what you need. Wrap tightly in plastic wrap or aluminum foil, then store it in a freezer-safe bag. This method can keep your bread fresh for up to three months.
Reheating Tips
To restore your bread’s crusty exterior and soft interior, reheat in an oven preheated to 350°F for about 10 minutes. Alternatively, a toaster can also provide a quick fix for a crispy texture.
By carefully storing and reheating your Dutch oven no-knead bread, you ensure each slice is as delightful as the first. For in-depth no-knead bread storage tips, consider exploring this detailed guide by Serious Eats.

Nutritional Value of Dutch Oven No Knead Bread
Baking your own bread at home allows you to control the nutritional profile, making Dutch oven no-knead bread not only delicious but also a wise dietary choice. With a few simple ingredients, you can enjoy a bread that’s wholesome and satisfying. Let’s dive into the nutritional components that make this bread a great addition to any meal.
This homemade bread provides approximately 100 calories per slice, making it a moderate-energy option perfect for pairing with soups, salads, or standalone with a spread. It’s relatively low in fat, containing about 1 gram per slice, primarily from the olive oil used to enhance the crust’s beauty.
Carbohydrates and Protein Content
The primary component, flour, contributes roughly 20 grams of carbohydrates per slice, supplying the energy your body needs throughout the day. This bread is also a fair source of protein, containing about 3 grams per slice, which aids in muscle maintenance and growth — a vital aspect for seniors and active individuals alike.
Essential Nutrients
In addition to macronutrients, Dutch oven no-knead bread offers essential minerals like iron from the flour, supporting red blood cell production, and a small amount of calcium for bone health. Because of the slow rise time, the enzymatic activity enhances both the aroma and nutritional absorption of the bread, offering a more complex flavor profile.
A benefit for the diet-conscious is that this bread easily fits into a vegan or plant-based dietary plan by default, as it contains no dairy or animal products. For those preferring a gluten-free option, using gluten-free flour blends will adjust this bread to cater to specific needs while maintaining a similar nutritional profile.
FAQs: Frequently Asked Questions About Dutch Oven No Knead Bread
1. Do I really need a Dutch oven to make no-knead bread?
While a Dutch oven is highly recommended for achieving that perfect crusty exterior, you can substitute it with a heavy pot with a tight-fitting lid. However, the unique heat distribution of a Dutch oven contributes significantly to the desired texture of no-knead bread.
2. How do I prevent the bread from sticking to the Dutch oven?
To prevent sticking, place your dough on parchment paper before transferring it into the preheated Dutch oven. The parchment not only minimizes stickiness but also makes handling the dough easier and safer.
3. Can I substitute whole wheat flour for all-purpose flour in this recipe?
Yes, you can substitute whole wheat flour for all-purpose flour, though the texture will become denser, and the bread may require additional water. Experimenting with a mix will help you achieve the desired balance of taste and texture.
4. How should I store leftover no-knead bread?
Store leftover no-knead bread in a bread box or wrapped in a clean kitchen towel to maintain its crustiness. If storing for longer periods, freezing is an excellent option. Slice the bread before freezing, so you can take out just what you need without thawing the entire loaf.
For more detailed tips on no-knead bread storage, check out the detailed guide on Serious Eats.
Print
Dutch Oven No Knead Bread: Easy Homemade Recipe
- Total Time: 45 minutes
Description
🍞 Effortless and delicious—this no-knead Dutch oven bread requires just 4 simple ingredients and minimal prep for a bakery-quality loaf! 🔥
🥖 With a crispy golden crust and soft, airy interior, this foolproof recipe is perfect for beginners and busy bakers alike—just mix, wait, and bake! 🍽️
Ingredients
Flour
Yeast
Salt
Water
Olive oil (optional)
Instructions
1. Mix flour, yeast, salt, and water in a large bowl until combined.
2. Cover the bowl with plastic wrap and let it rise at room temperature for 12-18 hours.
3. Lightly flour a surface and gently shape the sticky dough into a ball.
4. Place the dough onto parchment paper for easy transfer.
5. Preheat the Dutch oven at 450°F for at least 30 minutes.
6. Carefully place the dough with parchment paper into the hot Dutch oven.
7. Cover with the lid and bake for 30 minutes.
8. Remove the lid and bake uncovered for another 10-20 minutes until golden brown.
9. Take the bread out of the Dutch oven and let it cool completely before slicing.
Notes
1. Preheat your Dutch oven before baking to get a crispy, golden crust.
2. Use parchment paper to easily transfer the sticky dough into the hot Dutch oven.
3. Let the bread cool completely before slicing to keep the texture light and airy.
- Prep Time: 5
- Cook Time: 40
- Category: Bread
- Method: No Knead, Dutch Oven
- Cuisine: Global

