
Introduction to Classic Blondie Bars
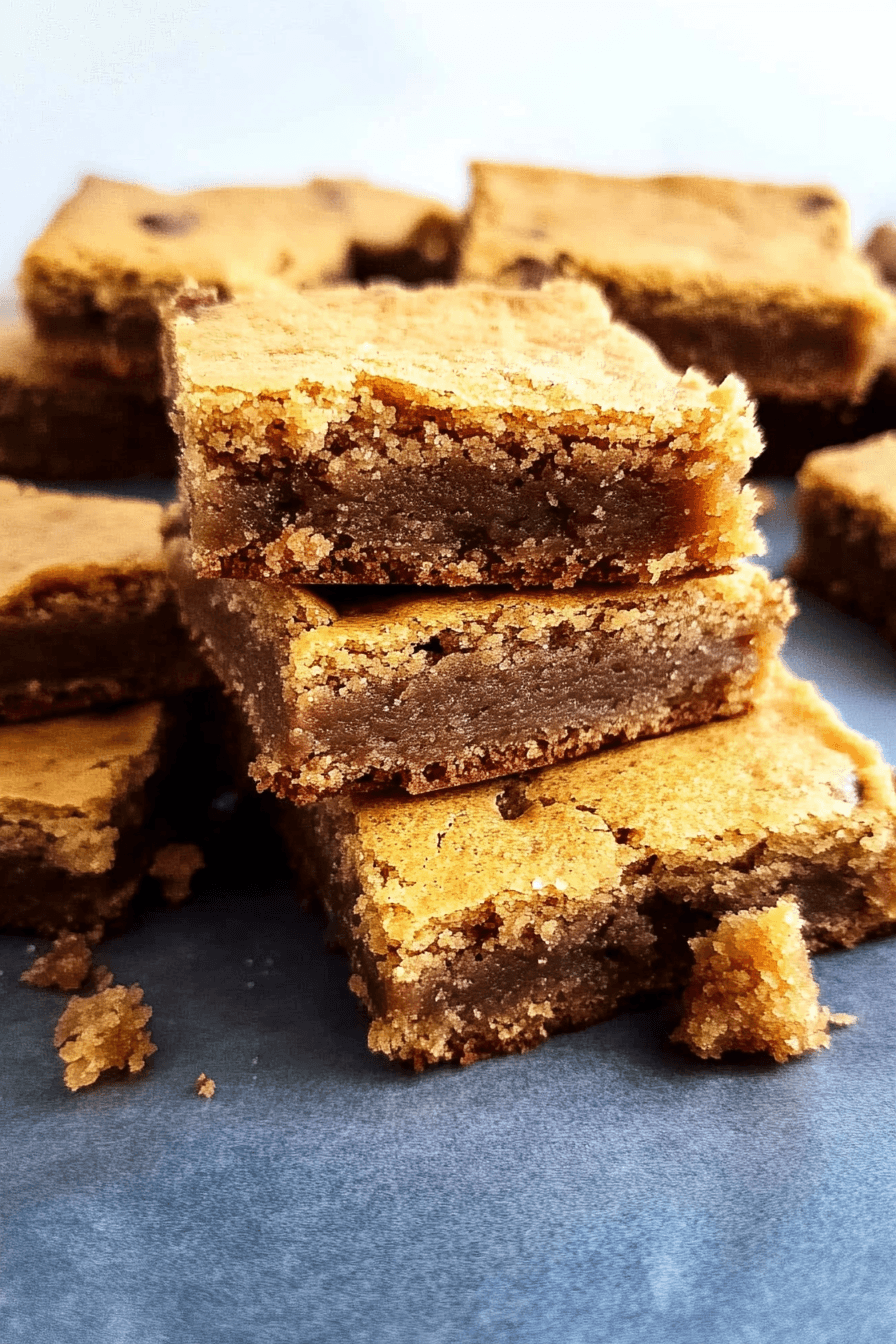
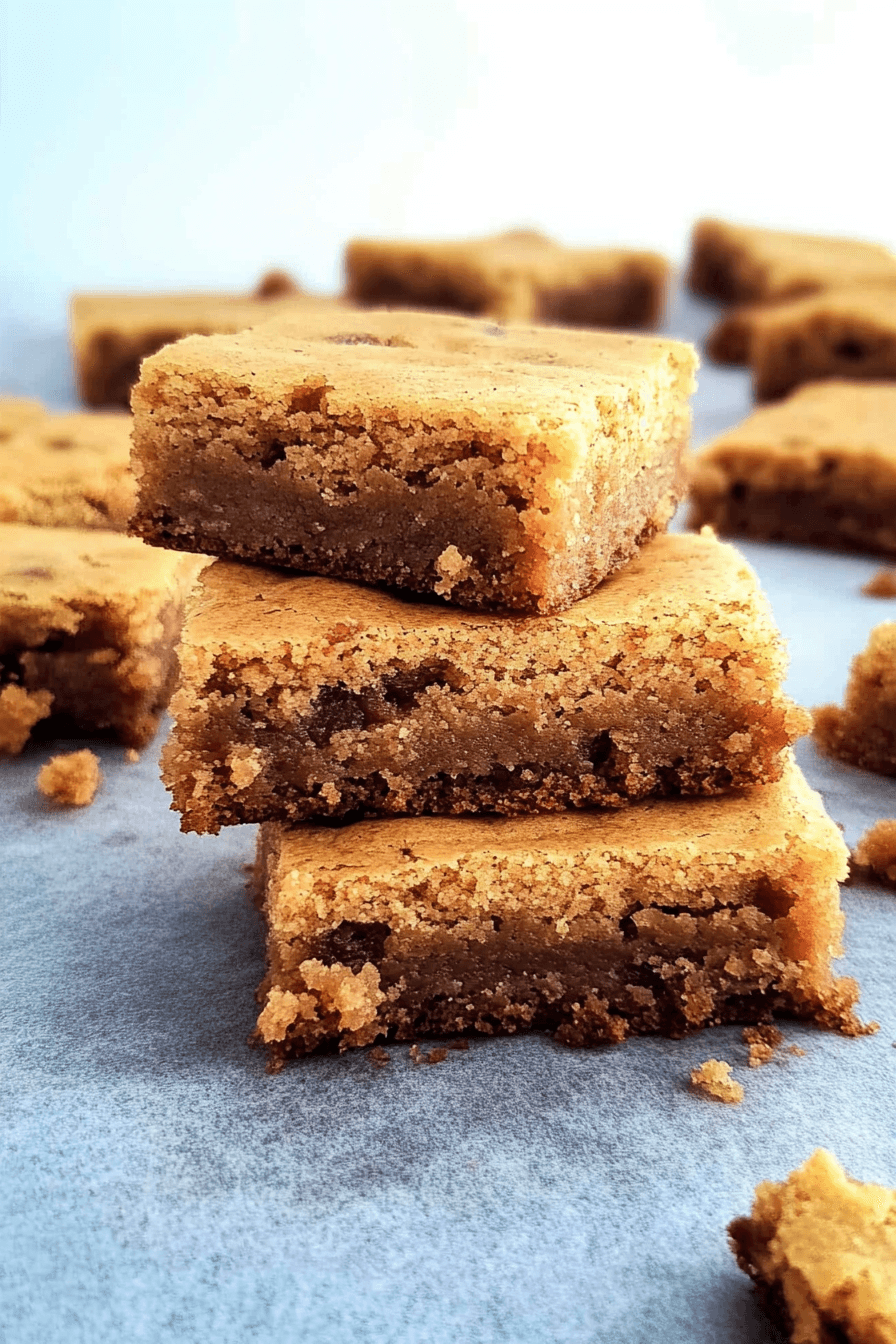
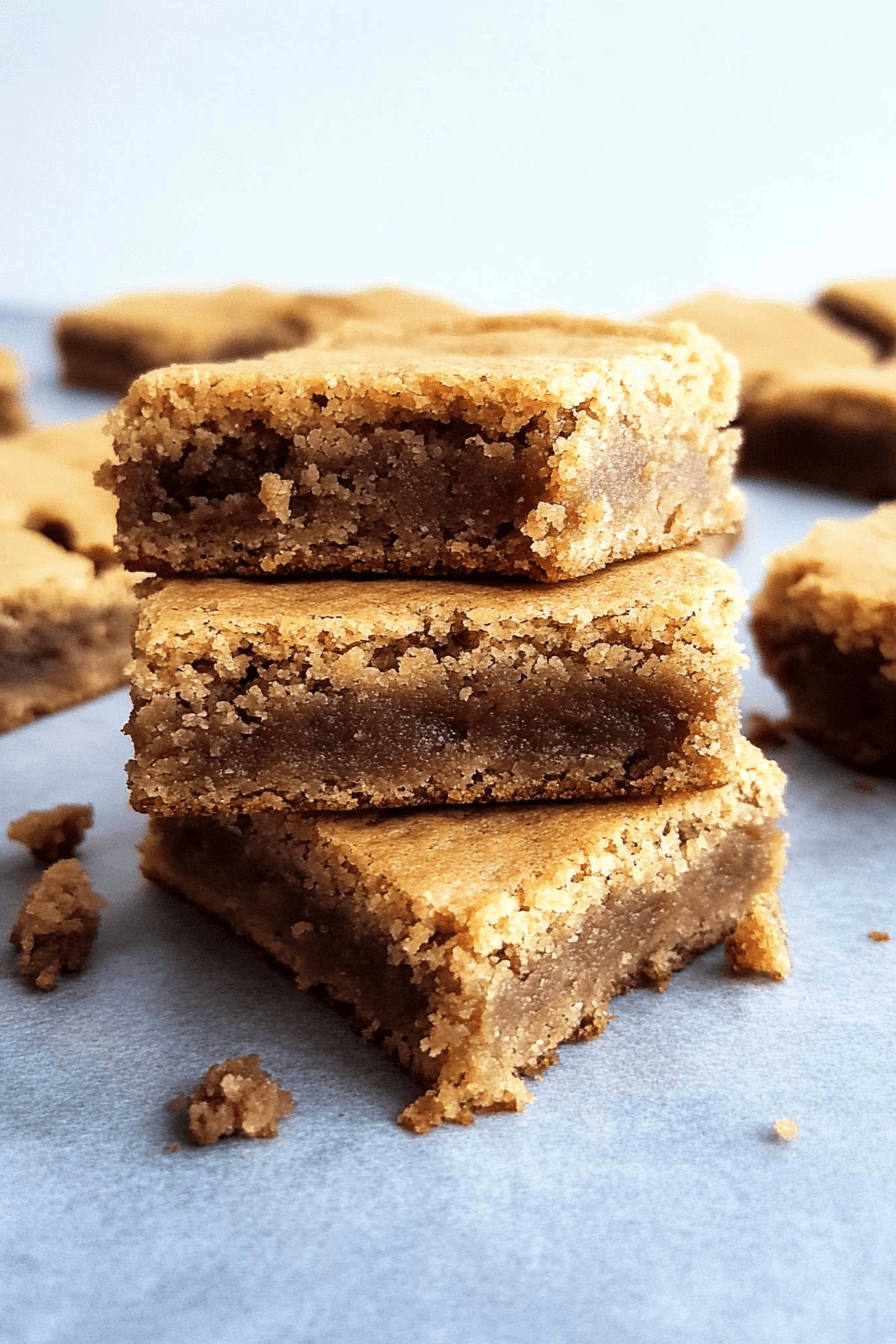
Classic Blondie Bars are the perfect treat for anyone seeking a dessert that’s sweet and simple to make. These chewy, golden-brown bars burst with a rich butterscotch flavor, elevating the traditional cookie experience to a new level. With just a few pantry staples like butter, brown sugar, and vanilla, you can prepare a batch in no time. Great for busy parents, students, and baking enthusiasts alike, these bars will satisfy your sweet tooth without any fuss. Learn more about the history of blondie bars and discover why they are a beloved choice for dessert lovers everywhere.
Benefits and Advantages of Classic Blondie Bars
Classic Blondie Bars stand out for their ease of preparation and versatility, making them a favorite among bakers. These delicious treats don’t require any specialized equipment, allowing you to whip them up in one bowl. Not only are they simple, but they can also be customized with various mix-ins to suit different tastes. Diet-conscious individuals can appreciate the options for low-calorie and gluten-free adjustments, ensuring everyone can enjoy these delectable bars. Their chewy texture and butterscotch undertones make them perfect for any gathering, adding a comforting touch to your dessert lineup. Get creative with your blondies today!
Ingredients Overview
Essential Ingredients for Classic Blondie Bars
Creating that perfect batch of classic blondie bars begins with gathering the right ingredients. Each element plays a critical role in achieving the desirable chewy texture and rich flavor these bars are known for:
- Butter (1 cup): Unsalted butter is preferred for these bars to control the salt content. Melted butter imparts a chewier texture.
- Brown Sugar (1 3/4 cups): Both light and dark brown sugar work well here, providing a moist, caramel-like richness essential to blondies.
- Eggs (2): One whole egg and an extra yolk increase chewiness and richness.
- Vanilla Extract (2 teaspoons): This enhances the overall flavor profile, adding depth.
- All-Purpose Flour (2 cups): Provides the necessary structure to the blondie bars.
- Salt (1/2 teaspoon): Enhances and balances the sweetness of the blondies.
- Baking Powder (Optional, 1/2 teaspoon): Adds a slight lift for those who prefer a cakier texture.
- Cornstarch (1 tablespoon): Provides a soft, chewy texture that compliments the blondie bars’ signature density.
- Mix-ins (1 cup): Traditional mix-ins include chocolate chips and nuts, but feel free to get creative with your favorites.
Dietary Substitutions to Customize Your Classic Blondie Bars
For those needing to customize the classic blondie bars to accommodate various dietary preferences, consider these substitutions:
- Dairy-free: Use a plant-based butter alternative, like vegan margarine or coconut oil, in place of butter.
- Vegan-friendly: Replace eggs with flaxseed meal mixed with water – for each egg, combine 1 tablespoon of flaxseed with 2.5 tablespoons of water, letting it sit until gel-like.
- Gluten-free: Substitute all-purpose flour with a gluten-free flour blend. Ensure the blend contains xanthan gum for excellent binding.
- Low-calorie: Opt for a sugar substitute like erythritol in place of brown sugar, adjusting slightly for sweetness levels.
By experimenting with these alternatives, you can enjoy classic blondie bars while sticking to dietary preferences and needs.
How to Prepare the Perfect Classic Blondie Bars: Step-by-Step Guide
Creating decedent, classic blondie bars is a satisfying endeavor. Below is a step-by-step guide ensuring success every time:
- First Step: Preheat the Oven
Start by preheating your oven to 350°F (175°C) and line an 8×8 or 9×13 inch baking pan with parchment paper, allowing some overhang for easy removal.
- Second Step: Melt the Butter
In a microwave-safe bowl or on the stove, gently melt one cup of unsalted butter. Set aside to cool slightly while preparing other ingredients.
- Third Step: Combine Wet Ingredients
In a large mixing bowl, whisk together 1 3/4 cups of brown sugar, the cooled melted butter, 2 eggs, and 2 teaspoons of vanilla extract. Ensure the mixture is smooth and well combined.
- Fourth Step: Prepare the Dry Ingredients
In a separate bowl, whisk together 2 cups of all-purpose flour, 1/2 teaspoon of salt, and 1 tablespoon of cornstarch along with 1/2 teaspoon of baking powder if using.
- Fifth Step: Combine Wet and Dry Mixtures
Gradually fold the dry mixture into the wet mixture, stirring with a spatula until just combined. Be careful not to overmix to maintain the blondie’s ideal texture.
- Sixth Step: Add Your Mix-ins
Gently fold in your preferred mix-ins, such as chocolate chips or nuts, ensuring they are evenly distributed throughout the dough.
- Seventh Step: Transfer to the Baking Pan
Pour the batter into the prepared baking pan, spreading it out evenly using a spatula. Smooth the top for consistent baking.
- Eighth Step: Bake
Place the pan in the preheated oven and bake for 25-30 minutes, or until the edges are lightly golden and the center has just set.
- Ninth Step: Cool and Serve
Allow the blondies to cool completely in the pan before removing them using the parchment paper overhang. This cooling time is essential for clean slices. Cut into squares and serve.
Throughout these steps, adapt each phase to your preference, keeping the chewy nature of the classic blondie bars intact, ready to charm all who indulge.
Mastering Classic Blondie Bars: Advanced Tips and Variations
Mastering the art of making classic blondie bars involves understanding a few key tips and being open to delightful variations. Whether you’re a seasoned baker or just starting out, these advanced tips will help you achieve that perfect blend of chewiness and flavor, ensuring your blondies are always a hit at gatherings.
Key Tips for Success
- Use Melted Butter: To get that signature chewy texture, opt for melted butter rather than creamed. The melted butter integrates better with brown sugar, resulting in a moist and chewy outcome.
- Brown Sugar is King: Utilize light or dark brown sugar for a depth of flavor that plain sugar just can’t match. The molasses content in brown sugar not only imparts richness but also adds a caramel-like flavor that’s essential to blondies.
- Mixing Method: Mix your ingredients by hand. An electric mixer tends to overmix the batter, leading to tougher bars due to gluten development.
- Baking Time: Pay attention to baking time. For the perfect classic blondie bars, bake until the edges are set, but the center remains slightly soft, as it’ll continue cooking while cooling.
Exciting Variations to Try
Once you’ve mastered the basic blondie recipe, there are endless possibilities for customization to match any occasion or taste preference. Here are some popular variations and mix-ins:
- Chocolate Delight: Add chocolate chips or chunks to introduce a delicious contrast between the butterscotch and chocolate flavors.
- Nuts for Crunch: Incorporate nuts like walnuts or pecans for a crunchy texture and nutty flavor.
- Fruit Infusion: Dried fruits such as cranberries or raisins can add a chewy dimension and sweetness, complementing the richness of the blondie bars.
- Spice it Up: Introduce spices like cinnamon or nutmeg for a warm, aromatic twist, particularly appealing during the fall.
- S’mores Blondies: Add graham cracker pieces, chocolate chunks, and mini marshmallows for a delightful s’mores experience in every bite.
If you’re interested in exploring blondie and brownie history further, Seconds History has an informative resource that dives into the origins of these delightful treats.
How to Store Classic Blondie Bars: Best Practices
Once you’ve baked your batch of classic blondie bars, understanding the best storage practices ensures they remain fresh and flavorful, whether you’re enjoying them immediately or planning for later.
Room Temperature Storage
- Store blondies in an airtight container at room temperature to maintain their chewy texture. They typically stay fresh for up to 5 days.
- If you’re gifting these confections, consider wrapping them individually in plastic wrap before placing them in a container to keep them moist and delectable.
Refrigeration Techniques
For those who prefer a firmer texture, refrigerating blondie bars is an option. Be sure to place them in an airtight container to prevent them from drying out. They’re best consumed within a week when stored this way.
Freezing Blondie Bars
- Blondies freeze exceptionally well, making them perfect for advance planning. Wrap each bar individually in plastic wrap, then place them in a zip-lock freezer bag or an airtight container to prevent freezer burn.
- To enjoy, allow the bars to thaw at room temperature or give them a quick zap in the microwave for a warm, gooey treat.
- Frozen blondie bars can last up to 3 months, ensuring you have them ready for unexpected guests or sudden cravings.
For those intrigued by unique recipes and creative baking techniques, Valentina Recipes offers a variety of delightful options, such as ground beef rice burrito bowls that might pique your culinary interest.
Nutritional Value of Classic Blondie Bars
Understanding the nutritional breakdown of Classic Blondie Bars is essential for anyone interested in balancing flavor with dietary needs. While these delicious treats are a sweet indulgence, moderation and awareness of their nutritional content can help you enjoy them as part of a well-rounded diet.
Calories and Macronutrients
Classic Blondie Bars typically contain:
- Calories: Approximately 120-150 calories per serving, depending on the recipe specifics and add-ins.
- Carbohydrates: Around 20-25 grams, primarily from sugar and flour.
- Fats: About 6-8 grams, with a mix of saturated and unsaturated fats contributed by butter and possible add-ins like nuts.
- Protein: Usually between 1-2 grams per serving.
The precise numbers can vary based on ingredient choices and portion sizes, but these figures provide a general overview.
Vitamins and Minerals
While not particularly rich in vitamins and minerals, Classic Blondie Bars do contribute small amounts of:
- Sodium: Approximately 70-90 mg, which helps balance sweetness.
- Calcium: Present in small amounts, especially with the inclusion of eggs.
- Iron: Derived from flour and any chocolate or nut additions.
Although these bars are primarily a treat, incorporating occasional indulgences can be part of a balanced lifestyle when complemented with a varied and nutritious meal plan.
Making Healthier Choices
For readers who are diet-conscious, there are several ways to create a slightly healthier version of Classic Blondie Bars:
- Substitute half the flour with whole wheat or almond flour to boost fiber content.
- Use dark chocolate chips to increase antioxidant intake.
- Reduce sugar slightly or choose a mix of light and dark brown sugar for a different flavor profile while managing sweetness levels.
For more ideas, consider exploring recipes with similar adaptations, such as these scrumptious Honey Butter Sweet Alabama Pecanbread, which offers an exciting twist on traditional treats.
FAQs: Frequently Asked Questions About Classic Blondie Bars
1. Can classic blondie bars be baked in different pan sizes, and how does this affect their texture?
Yes, Classic Blondie Bars can be baked in various pan sizes. An 8×8 inch pan typically results in thicker, chewier bars, while a 9×13 inch pan yields thinner, slightly crispier edges. It’s important to adjust baking times accordingly; thicker bars need a few extra minutes than their thinner counterparts.
2. How do you know when blondies are done baking, and what signs should you look for?
The key to perfect Classic Blondie Bars lies in their texture. When done, the edges should be set and slightly golden brown, while the center remains soft but not gooey. A toothpick inserted in the center should come out with a few moist crumbs, ensuring the interior remains chewy and moist.
3. Can you freeze blondies, and if so, how long do they last in the freezer?
Blondies freeze exceptionally well, making them a convenient treat to prepare in advance. Once baked and cooled, wrap each bar individually in plastic wrap and store them in an airtight container or freezer bag. They can last up to three months in the freezer. Thaw them at room temperature or warm them slightly in an oven for a freshly baked taste.
4. What are some common mix-ins or variations that can be added to classic blondie bars?
Classic Blondie Bars are wonderfully versatile. Common mix-ins include chocolate chips, walnuts, pecans, or dried fruit. To experiment further, try adding white chocolate chips for added sweetness or swirl in a spoonful of peanut butter or Nutella for an extra layer of flavor. For more creative inspiration, consider sampling our delightful Butter Pecan Fudge.
For more historical context on the beloved blondie, take a look at this detailed exploration on the history of brownies and blondies.
Print
Classic Blondie Bars: Chewy and Simple
- Total Time: 35 minutes
Description
🍪 Indulge in the rich, buttery goodness of Classic Blondie Bars—chewy, fudgy, and packed with sweet vanilla and caramel flavors! 😋✨
🔥 Quick & easy to make in one bowl, these bars are the perfect treat for any occasion—customize with your favorite mix-ins and enjoy every bite! 🍫🥜
Ingredients
Butter
Brown sugar (light or dark)
Eggs
Egg yolk
Vanilla extract
All-purpose flour
Salt
Cornstarch
(Optional) Baking powder
(Optional) Chocolate chips, nuts, or other mix-ins
Instructions
1. Preheat your oven to 350°F (175°C) and grease an 8×8 or 9×13 inch baking pan.
2. Melt the butter in a microwave or on the stovetop, then let it cool slightly.
3. In a mixing bowl, whisk together the melted butter and brown sugar until smooth.
4. Add eggs and vanilla extract, whisking until fully combined.
5. In a separate bowl, mix the flour, salt, and optional cornstarch or baking powder.
6. Gradually fold the dry ingredients into the wet mixture until just combined.
7. Stir in chocolate chips, nuts, or other mix-ins if desired.
8. Pour the batter into the prepared pan and spread evenly.
9. Bake for 20-30 minutes until the edges are set but the center is slightly soft.
10. Let cool completely in the pan before slicing for clean cuts.
11. Store at room temperature in an airtight container or freeze for up to 3 months.
Notes
Use melted butter instead of creamed butter for a chewier texture.
Add an extra egg yolk to make the blondies richer and more tender.
Mix the batter by hand to avoid overmixing and keep the texture dense and fudgy.
- Prep Time: 10
- Cook Time: 25
- Category: Dessert
- Method: Baking
- Cuisine: American